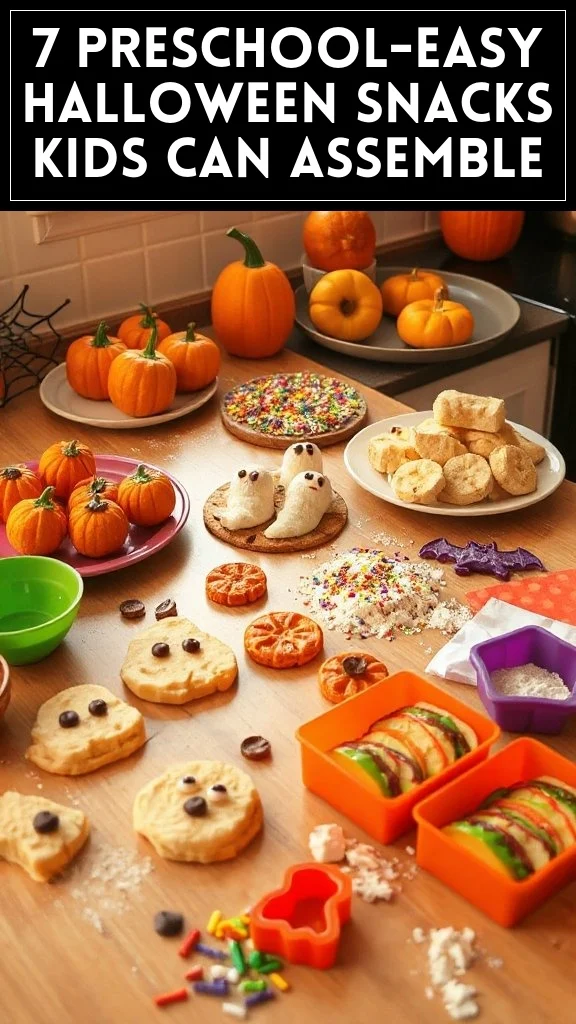
Ghostly Banana Pops
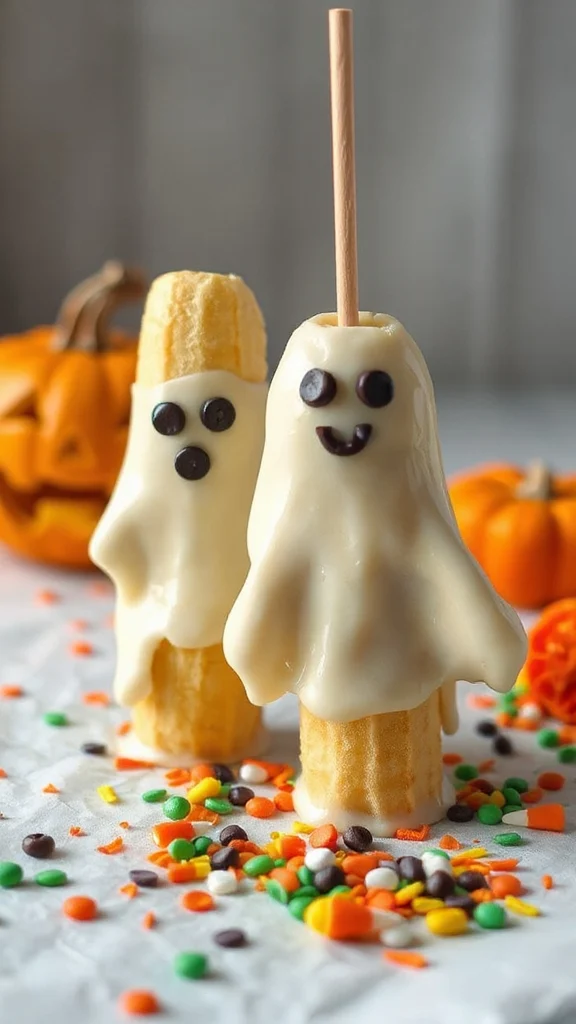
Ghostly Banana Pops are a fun and healthy Halloween treat that your preschoolers will love! These adorable snacks are made from bananas, which are transformed into cute little ghost pops. Not only are they easy to make, but they also provide a nutritious option for Halloween festivities, making them perfect for classroom parties or home celebrations.
| Ingredients | Quantity |
|---|---|
| Bananas | 2 |
| White chocolate chips | 1 cup |
| Mini chocolate chips | ¼ cup |
| Popsicle sticks | 4 |
| Butter or coconut oil | 1 tablespoon |
Cooking Steps Instructions:
- Preparation: Start by peeling the bananas and cutting them in half. You should end up with 4 banana halves. Each half will become a ghost.
- Insert Sticks: Take a popsicle stick and gently insert it into the flat end of each banana half. Make sure it goes in about halfway through to guarantee the banana stays on the stick.
- Melt Chocolate: In a microwave-safe bowl, add the white chocolate chips and 1 tablespoon of butter or coconut oil. Microwave in 30-second intervals, stirring in between, until the chocolate is fully melted and smooth. Be cautious not to overheat.
- Coat Bananas: Once the chocolate is melted, dip each banana half into the melted chocolate, guaranteeing they are completely coated. You can use a spoon to help spread the chocolate if needed.
- Add Eyes: After coating the bananas with chocolate, place them on a parchment-lined baking sheet. While the chocolate is still wet, add mini chocolate chips to create eyes for the ghosts.
- Chill: Once all the banana pops are coated and decorated, place the baking sheet in the freezer for about 30 minutes, or until the chocolate hardens.
- Serve: After the chocolate has set, your Ghostly Banana Pops are ready to enjoy! Serve them as a fun and spooky Halloween snack for kids to enjoy.
Enjoy making these ghostly treats!
Spooky Spider Web Dip
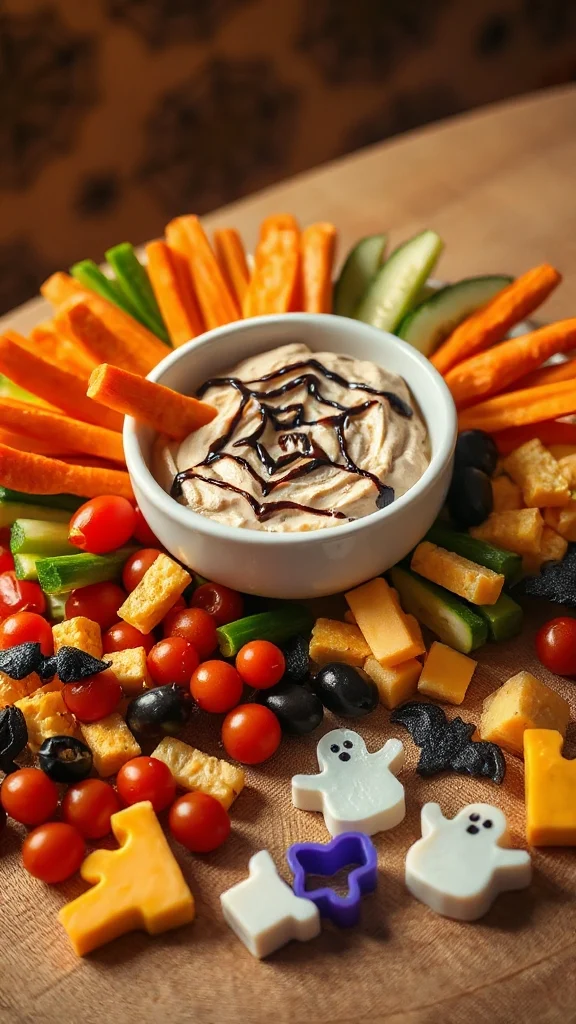
Spooky Spider Web Dip is a delicious and festive Halloween appetizer that your preschoolers will enjoy creating—and eating! This creamy dip, combined with colorful toppings and a spooky spider web design, is not only fun to make but also perfect for classroom parties or family gatherings. Serve it with a variety of dippers like tortilla chips, veggies, or crackers for a delightful Halloween-themed snack.
| Ingredients | Quantity |
|---|---|
| Cream cheese | 8 oz |
| Sour cream | 1 cup |
| Taco seasoning | 1 packet (1 oz) |
| Shredded cheddar cheese | 1 cup |
| Black olives (sliced) | ½ cup |
| Guacamole (optional) | 1 cup |
| Salsa | 1 cup |
| Tortilla chips or veggies | As needed |
| Black decorating gel (for web) | 1 tube |
Cooking Steps Instructions:
- Prepare the Base: In a mixing bowl, combine the cream cheese and sour cream. Mix well until smooth and creamy. You can use a hand mixer or simply mix it by hand with a spatula.
- Season: Add the taco seasoning to the cream cheese mixture and stir until well incorporated. This will give your dip a tangy, flavorful kick.
- Layer the Dip: In a serving dish or shallow bowl, spread the cream cheese mixture evenly across the bottom to create the first layer of the dip.
- Add Guacamole: If using, spread the guacamole evenly on top of the cream cheese layer for added flavor and color.
- Top with Salsa: Spoon salsa on top of the guacamole layer as the next layer of your dip. Make sure to spread it out evenly.
- Cheese Layer: Sprinkle the shredded cheddar cheese generously over the salsa layer to create a cheesy topping.
- Create the Spider Web: Using the black decorating gel, carefully squeeze out a spiral design starting from the center of the cheese layer and working your way outwards to the edge. Then, use a toothpick to drag lines from the center of the web outwards, creating a spider web effect.
- Add Spooky Decor: Place a few black olive slices on the dip to resemble spiders or other creepy crawlers to enhance the spooky theme.
- Chill and Serve: Place the Spooky Spider Web Dip in the refrigerator for about 30 minutes to chill. Serve with tortilla chips or vegetable sticks for dipping.
Enjoy your festive Spooky Spider Web Dip at your Halloween celebration!
Mummy-Wrapped Hot Dogs
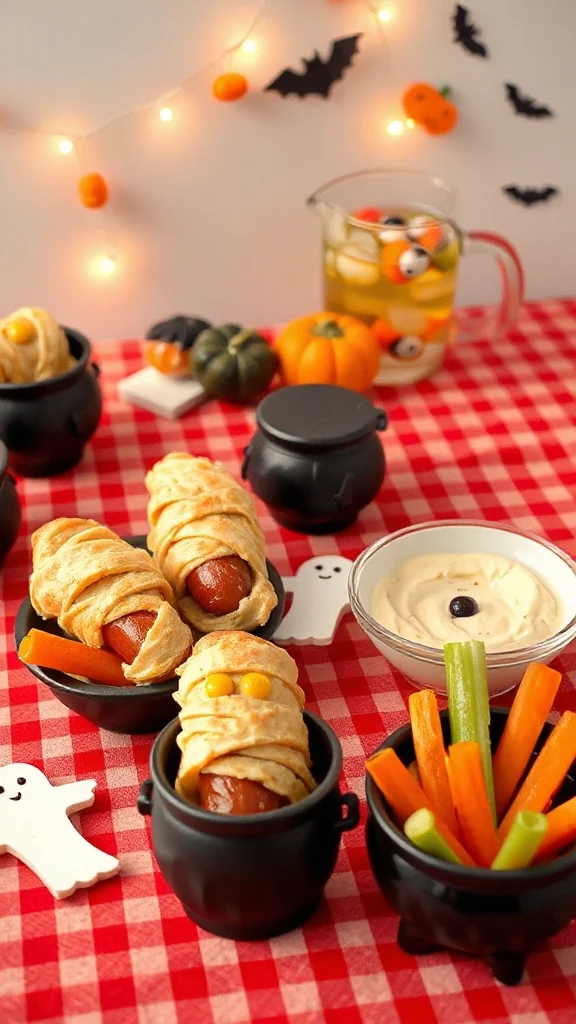
Mummy-Wrapped Hot Dogs are a fun and easy Halloween snack that your preschoolers will love! These adorable little mummies are made by wrapping hot dogs in crescent roll dough and baking them until golden brown. They make a perfect treat for Halloween-themed parties and are bound to be a hit with kids and adults alike. Plus, you can get creative by adding eyes to your mummies using mustard or small pieces of olives.
| Ingredients | Quantity |
|---|---|
| Hot dogs | 8 |
| Crescent roll dough | 1 tube (8 oz) |
| Mustard or olive pieces (for eyes) | As needed |
Cooking Steps Instructions:
- Preheat the Oven: Begin by preheating your oven to 375°F (190°C). This will guarantee that your mummies cook evenly and turn golden brown.
- Prepare the Crescent Roll Dough: Open the tube of crescent roll dough and unroll it onto a clean surface. Do not separate the triangles; instead, pinch the seams together to create a solid sheet of dough.
- Cut the Dough: Using a sharp knife or pizza cutter, slice the crescent sheet into thin strips, about 1/2 inch wide. These will be the “bandages” for your mummies.
- Wrap the Hot Dogs: Take a hot dog and start wrapping it with the strips of dough, leaving a small gap for the face. Make sure to overlap the strips slightly as you wrap to give it a mummy-like appearance. Repeat this process for all the hot dogs.
- Bake the Mummies: Place the wrapped hot dogs on a baking sheet lined with parchment paper. Bake in the preheated oven for about 12-15 minutes, or until the dough is golden brown and cooked through.
- Add Eyes: Once the mummies are done baking, remove them from the oven and let them cool slightly. Using mustard or small pieces of olive, add eyes to each mummy by placing them in the gap you left in the dough.
- Serve and Enjoy: Arrange your Mummy-Wrapped Hot Dogs on a platter and serve with ketchup and mustard for dipping, if desired. Enjoy your delicious and spooky Halloween snack!
These Mummy-Wrapped Hot Dogs are not only fun to eat but also an exciting activity to get kids involved in the kitchen. Happy Halloween!
Pumpkin Snack Cups
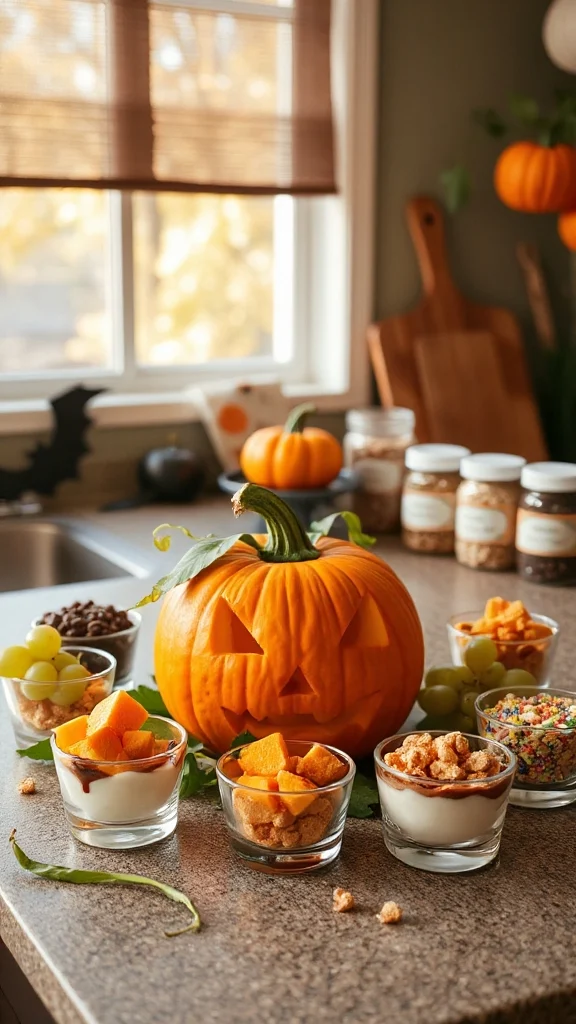
Pumpkin Snack Cups are a delightful and healthy Halloween treat that your preschoolers will adore! These charming little cups are made from fresh fruit and served in simple, hollowed-out mini pumpkins, making them a great way to incorporate some nutritious snacks into your Halloween festivities. The vibrant color of the pumpkins adds a festive flair to any table, and children will have a blast scooping out their fruity treats.
| Ingredients | Quantity |
|---|---|
| Mini pumpkins | 4 |
| Apples (diced) | 1 cup |
| Mandarin oranges | 1 cup |
| Grapes (halved) | 1 cup |
| Raisins | 1/2 cup |
| Honey or yogurt (optional) | As needed |
Cooking Steps Instructions:
- Prepare the Mini Pumpkins: Start by thoroughly washing the mini pumpkins under running water to remove any dirt. Then, using a sharp knife, carefully cut a small circle around the stem of each pumpkin to create a lid. Remove the lid and scoop out the seeds and pulp from the inside with a spoon. Set the hollowed-out pumpkins aside.
- Prepare the Fruit: In a large mixing bowl, combine the diced apples, mandarin oranges, and halved grapes. Toss in the raisins for added sweetness and chewiness. If desired, drizzle a little honey or add a dollop of yogurt to the mixture to create a delicious dressing for the fruit.
- Fill the Pumpkins: Using a spoon, carefully fill each hollowed-out mini pumpkin with the prepared fruit mixture. Pack it in lightly, but don’t overfill, as you still want to place the lids back on.
- Replace the Lids: Put the lids back on each pumpkin to create cute little snack cups. The vibrant color of the pumpkins will contrast beautifully with the bright fruit inside, making for an appealing display.
- Serve and Enjoy: Arrange your Pumpkin Snack Cups on a festive platter and serve them as a fun and healthy Halloween snack. Kids can easily pick them up, nibble on the fruit, and enjoy their spooky treats!
These Pumpkin Snack Cups not only make for an engaging Halloween activity but also encourage children to eat their fruits. Enjoy your Halloween celebrations with this sweet and seasonal treat!
Creepy-Crawly Cheese and Crackers
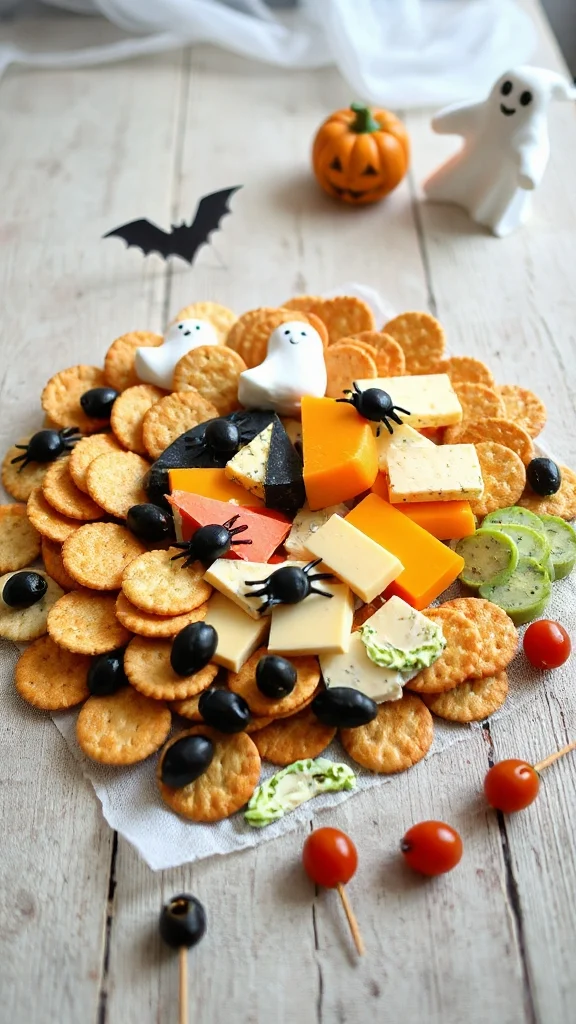
Creepy-Crawly Cheese and Crackers are a fun and interactive Halloween snack that will delight preschoolers while also allowing them to use their imagination. These spooky snacks feature a variety of cheese shapes arranged on crackers to resemble creepy crawlies like spiders and bugs. Perfect for a Halloween party or just a playful afternoon snack, this recipe is sure to be a hit with kids and adults alike!
| Ingredients | Quantity |
|---|---|
| Crackers | 1 box (variety of shapes) |
| Cheese slices | 8 slices (cheddar, mozzarella, or your favorite) |
| Black olives | 1 can |
| Pretzel sticks | 1 cup |
| Edible googly eyes | Optional |
| Green bell pepper (for legs) | 1 (sliced into strips) |
Cooking Steps Instructions:
- Gather Your Ingredients: Start by gathering all the ingredients listed in the table above. Make sure you have a clean work surface and all utensils ready for use.
- Cut the Cheese: If using slices of cheese, you can cut them into fun shapes to resemble various creepy crawlies. Use cookie cutters for fun shapes like spiders, bugs, or even ghosts. If you want to create simple cheese creatures, you can also cut them into basic squares or triangles.
- Assemble the Snacks: Begin by placing a cracker onto a clean plate. Next, position the cheese shape on top of the cracker. This base will serve as the body of your creepy crawly creature.
- Create Legs and Eyes: For spiders, use small pieces of pretzel sticks for legs. Stick four pretzel legs on each side of the cheese shape. For added fun, you can slice the green bell pepper into thin strips and use them as additional legs. To make the creatures even creepier, add black olives on top of the cheese for eyes or use edible googly eyes if you have them.
- Decorate the Plate: Once you’ve assembled the desired number of creepy-crawly cheese and crackers, arrange them on a festive platter. You can fill in gaps with leftover green bell pepper strips or extra olives to create a spooky scene.
- Serve and Enjoy: Present your Creepy-Crawly Cheese and Crackers to the kids and watch as they delight in their spooky snacks. Encourage them to imagine their own creepy-crawly creations and get creative with the ingredients!
This whimsical snack will not only satisfy those little appetites but also add a fun and festive touch to your Halloween celebrations!
Monster Apple Bites
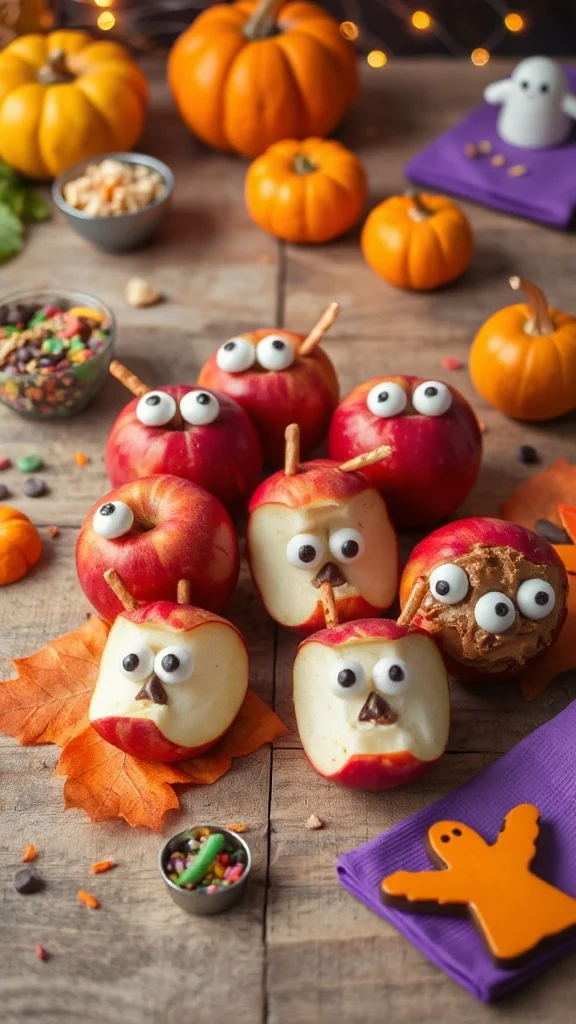
Monster Apple Bites are a delightful and nutritious Halloween treat that will surely spark excitement among preschoolers. These easy-to-make snacks transform ordinary apple slices into playful monster faces using simple ingredients. Kids will enjoy assembling their own monster creations, making it a fun activity for Halloween parties or as a special after-school treat.
| Ingredients | Quantity |
|---|---|
| Apples (any variety) | 2 large |
| Peanut butter (or almond butter) | 1/2 cup |
| Mini marshmallows | 1 cup |
| Chocolate chips | 1/4 cup |
| Sliced almonds (for teeth) | 1/4 cup |
| Edible googly eyes | Optional |
Cooking Steps Instructions:
- Prepare the Apples: Start by washing the apples thoroughly. Once they are clean, slice each apple into wedges or halves, depending on your preference. Remove any seeds you may encounter.
- Spread the Peanut Butter: Take a slice of apple and spread a generous layer of peanut butter (or almond butter) on one side of each apple wedge. This will act as the “glue” for attaching the monster features.
- Add Marshmallow Monsters: Place mini marshmallows on top of the peanut butter spread to create the body of the monster. You can use as many as you like to give the monster plenty of “puffy” features.
- Create Monster Faces: Use chocolate chips as “eyes” by pressing two chips into the top of the marshmallows. If you have edible googly eyes, utilize those for an extra fun touch. For teeth, stick sliced almonds into the sides, adding a menacing look to the monster.
- Assemble and Display: Once all apple slices are decorated, arrange them on a plate to showcase your adorable Monster Apple Bites. Have fun mixing and matching different features to create a variety of monsters!
- Serve and Enjoy: Present the Monster Apple Bites to the kids, reminding them to come up with names for their creations. Encourage them to eat their delicious and spooky snacks while enjoying the Halloween festivities!
This playful snack will not only treat their taste buds but also spark creativity and fun during your Halloween celebrations.
Witch’s Brew Fruit Salad
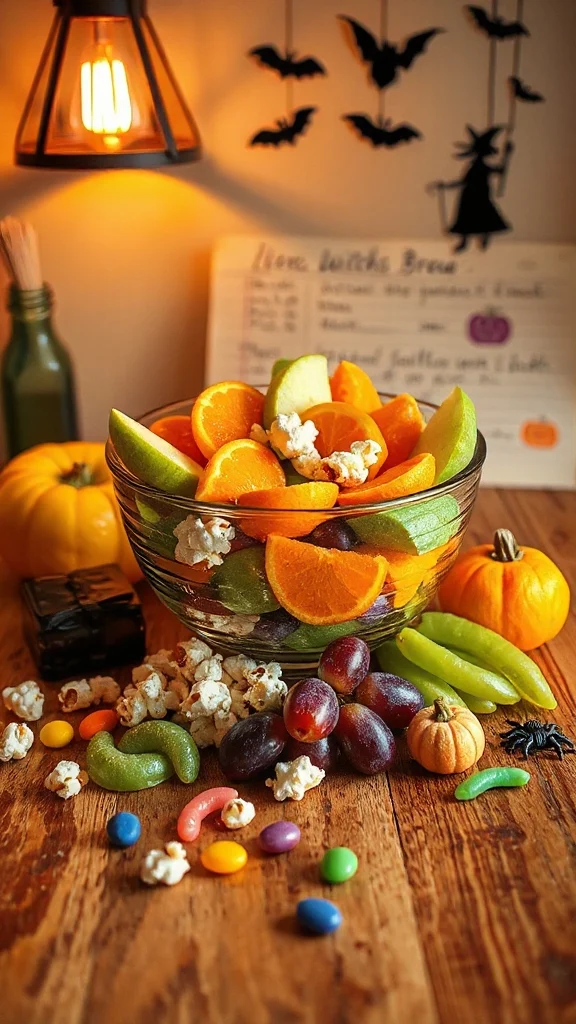
Witch’s Brew Fruit Salad is a colorful and enchanting Halloween treat that’s both healthy and appealing to preschoolers. This fun, festive salad combines various fruits, making it a deliciously sweet addition to any Halloween gathering. The vibrant colors and whimsical presentation will capture the children’s imaginations and provide a treat they can enjoy without the guilt of traditional Halloween sweets.
| Ingredients | Quantity |
|---|---|
| Green grapes | 2 cups |
| Orange mandarin oranges | 2 cups |
| Kiwi (peeled and diced) | 3 large |
| Strawberries (sliced) | 1 cup |
| Blueberries | 1 cup |
| Mini marshmallows | 1 cup |
| Honey (optional) | 2 tablespoons |
| Halloween-themed sprinkles | Optional for garnish |
Cooking Steps Instructions:
- Prepare the Fruits: Begin by washing all the fruits thoroughly. For the grapes, remove them from their stems and shake off any excess water. Peel and dice the kiwis into bite-sized pieces. Slice the strawberries into halves or quarters, depending on size.
- Combine the Ingredients: In a large mixing bowl, gently combine the green grapes, orange mandarin segments, diced kiwi, sliced strawberries, and blueberries. Be careful not to mash the fruit; you want to keep the pieces intact for a great texture.
- Add Marshmallows: Stir in the mini marshmallows, adding a fun and fluffy texture to the fruit salad. This also gives it a spooky, whimsical element perfect for Halloween.
- Sweeten if Desired: If you prefer a sweeter salad, drizzle honey over the mixture and gently stir to coat the fruit evenly. This step is optional, as the fruit’s natural sweetness usually suffices.
- Garnish for Festivity: If desired, sprinkle some Halloween-themed sprinkles over the top of the fruit salad for a festive touch. This is a great way to engage preschoolers in the decorating process.
- Serve the Salad: Transfer the Witch’s Brew Fruit Salad to a large serving bowl or individual snack cups. Encourage the children to dig in and enjoy their potion-like creation.
- Storage: If there are any leftovers, cover the bowl with plastic wrap and refrigerate immediately. The fruit salad can be enjoyed for up to 2 days after preparation.
This whimsical Witch’s Brew Fruit Salad is a fun and nutritious way to celebrate Halloween while introducing preschoolers to a variety of fruits!