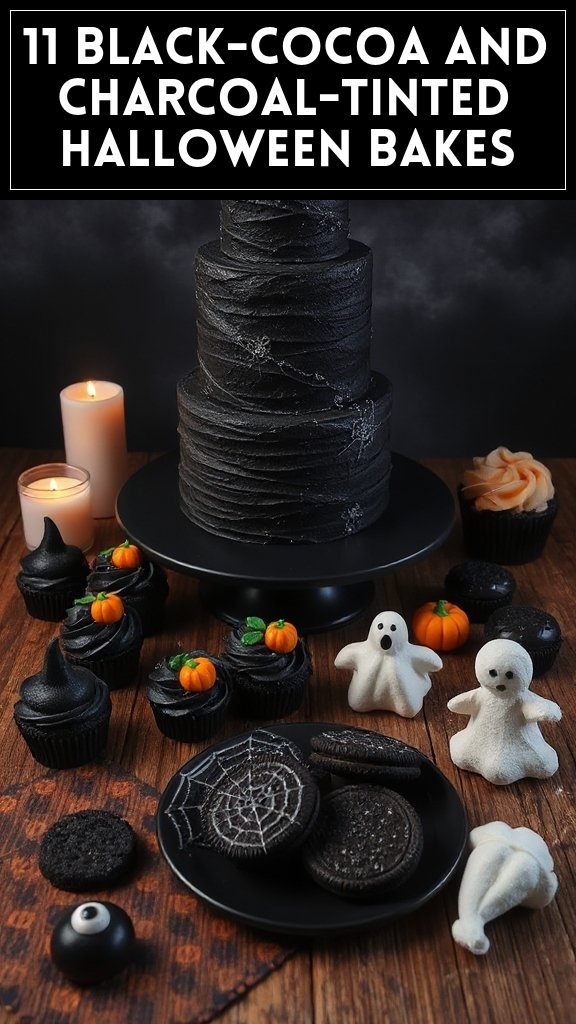
Black Cocoa and Charcoal Angel Food Cake
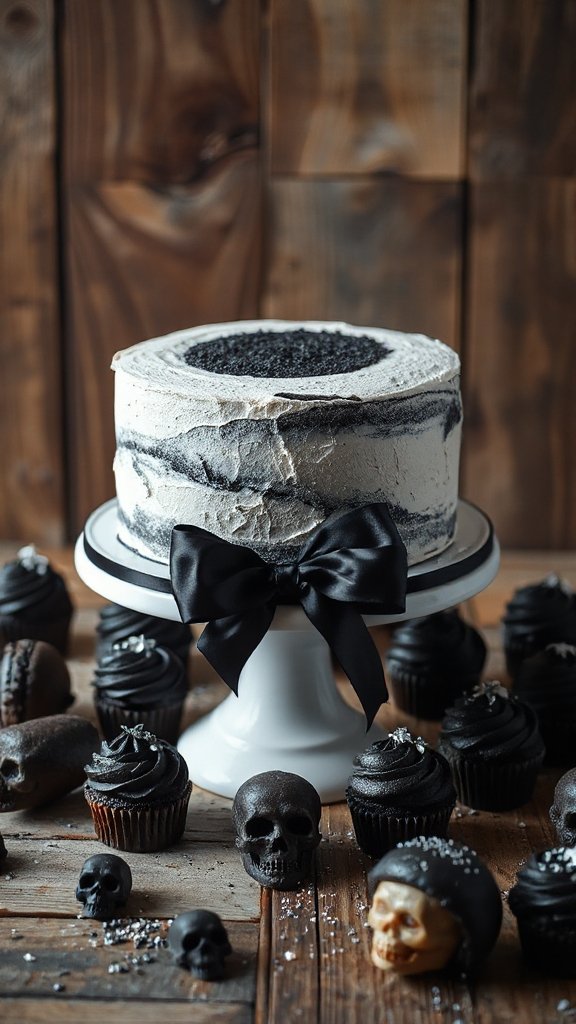
This Black Cocoa and Charcoal Angel Food Cake is a spooky yet delightful dessert perfect for Halloween gatherings. With its dark color and airy texture, it not only tastes delicious but also stands out as a showstopper on any dessert table. The earthy flavors from the black cocoa and activated charcoal make for a unique and intriguing cake that’s bound to impress.
| Ingredients | Quantity |
|---|---|
| Egg whites | 1 ½ cups |
| Granulated sugar | 1 cup |
| Black cocoa powder | ¾ cup |
| All-purpose flour | 1 cup |
| Activated charcoal powder | 1 teaspoon |
| Cream of tartar | 1 teaspoon |
| Vanilla extract | 1 teaspoon |
| Salt | ¼ teaspoon |
Cooking Instructions
- Preheat the Oven: Begin by preheating your oven to 350°F (175°C). Confirm that your oven rack is positioned in the lower third to allow for adequate airflow around the cake.
- Prepare the Pan: Take an ungreased 10-inch angel food cake pan, as it will allow the cake to rise properly. Avoid greasing the pan, as it helps the cake cling to the sides for the ideal rise.
- Sift the Dry Ingredients: In a bowl, sift together the black cocoa powder, all-purpose flour, activated charcoal powder, and salt. Sifting guarantees there are no lumps and helps incorporate air, which is crucial for an angel food cake’s texture.
- Beat the Egg Whites: In a separate clean bowl, using an electric mixer, beat the egg whites until they become frothy. Add in the cream of tartar and continue to beat until soft peaks form. Gradually add the granulated sugar, a couple of tablespoons at a time, and keep mixing until the mixture reaches stiff peaks.
- Incorporate Vanilla: Once you have stiff peaks, gently fold in the vanilla extract. Make sure to do this carefully to maintain the volume of the egg whites.
- Combine Dry and Wet Ingredients: Gradually add the sifted dry ingredients into the egg white mixture in half-cup increments. Use a rubber spatula to fold the ingredients together, being cautious not to deflate the whipped egg whites.
- Transfer to the Pan: Once fully combined and no streaks remain, pour the batter into the prepared angel food cake pan. Use the spatula to smooth the top if necessary.
- Bake: Place the pan in the preheated oven and bake for about 30-35 minutes or until the cake is springy to touch and a toothpick inserted into the center comes out clean.
- Cool the Cake: Once baked, remove the cake from the oven and let it cool in the pan upside down. This is usually done by placing the pan on a bottle neck or resting it on a cooling rack.
- Release from Pan: After the cake has completely cooled, use a thin knife to carefully run around the edges to release it from the pan. Inverting the pan should allow the cake to fall out easily.
- Serve: Slice the cake and serve as-is or with a spooky topping, such as black frosting, whipped cream, or seasonal fruit to enhance the Halloween theme. Enjoy your Black Cocoa and Charcoal Angel Food Cake!
Eerie Black Velvet Cupcakes
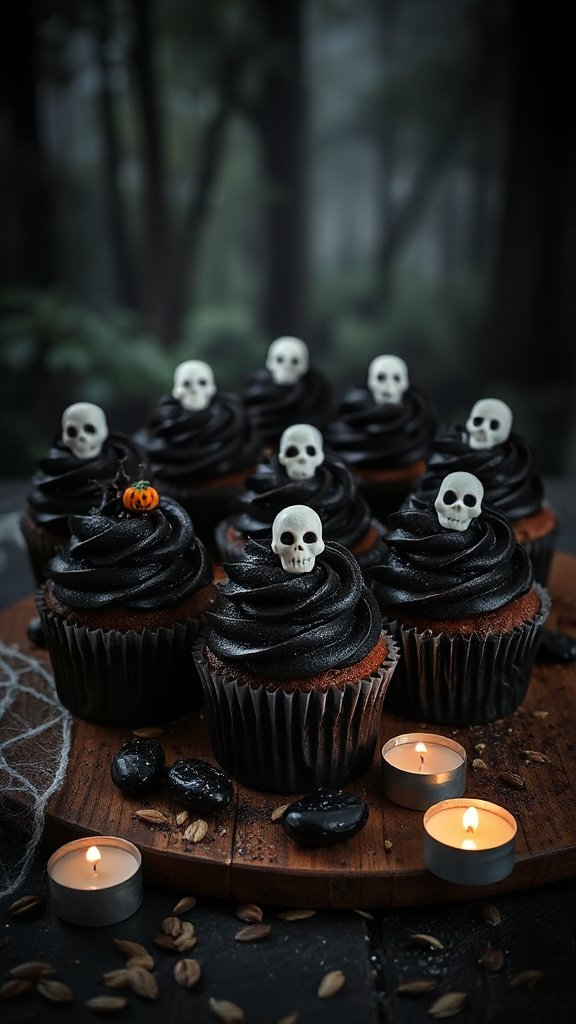
Eerie Black Velvet Cupcakes are a hauntingly beautiful twist on the classic red velvet version. These cupcakes feature a rich, dark color thanks to black cocoa powder and have a velvety texture that’s perfectly balanced with a sweet and creamy frosting. Ideal for Halloween or any spooky gathering, these cupcakes are guaranteed to be a hit with both kids and adults.
| Ingredients | Quantity |
|---|---|
| All-purpose flour | 1 ½ cups |
| Black cocoa powder | ½ cup |
| Baking soda | 1 teaspoon |
| Baking powder | ½ teaspoon |
| Salt | ¼ teaspoon |
| Granulated sugar | 1 cup |
| Vegetable oil | ½ cup |
| Eggs | 2 large |
| Buttermilk | 1 cup |
| Vanilla extract | 1 teaspoon |
| White vinegar | 1 teaspoon |
Cooking Instructions
- Preheat the Oven: Start by preheating your oven to 350°F (175°C). Line a standard muffin tin with cupcake liners to prepare for the batter.
- Mix Dry Ingredients: In a medium bowl, whisk together the all-purpose flour, black cocoa powder, baking soda, baking powder, and salt. This step guarantees that all the dry ingredients are evenly distributed.
- Combine Wet Ingredients: In a separate large bowl, mix the granulated sugar and vegetable oil until well combined. Add the eggs one at a time, beating well after each addition. Incorporate the buttermilk, vanilla extract, and white vinegar into the mixture, stirring until smooth.
- Combine Dry and Wet Mixtures: Gradually add the dry ingredients to the wet mixture. Use a spatula to gently fold the ingredients together until just combined, being careful not to overmix.
- Fill Cupcake Liners: Spoon the batter into the prepared cupcake liners, filling each about two-thirds full to allow room for rising.
- Bake: Place the muffin tin in the preheated oven and bake for 18-20 minutes or until a toothpick inserted in the center comes out clean.
- Cool: Remove the cupcakes from the oven and let them cool in the tin for about 5 minutes. Then, transfer them to a wire rack to cool completely before frosting.
- Frost (Optional): Once the cupcakes are cooled, feel free to frost them with your favorite cream cheese or buttercream frosting for an added festive touch. You can also sprinkle edible glitter or spooky decorations on top to enhance the Halloween theme.
Enjoy your Eerie Black Velvet Cupcakes at your next Halloween gathering!
Sinister Charcoal Whoopie Pies
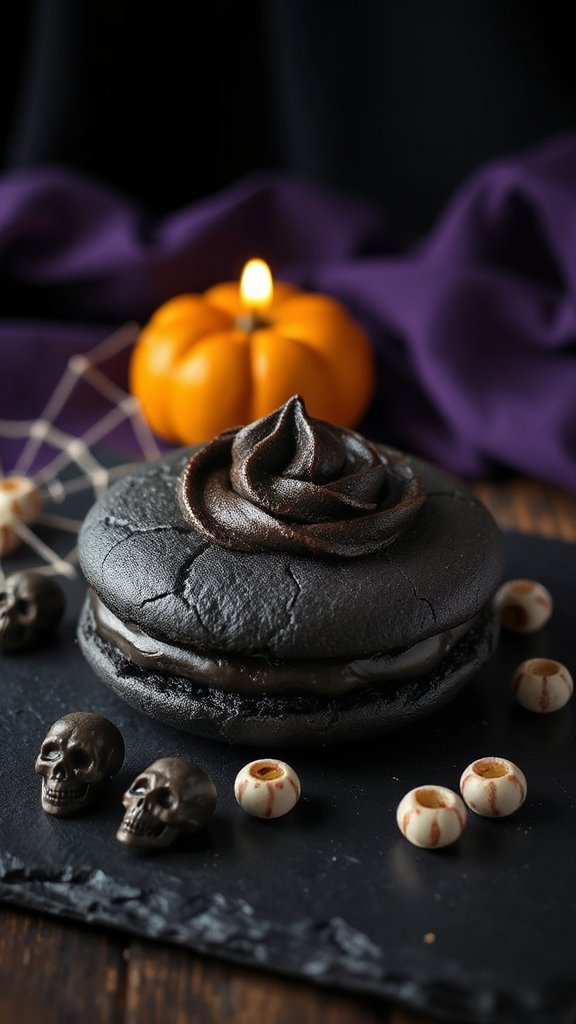
Sinister Charcoal Whoopie Pies are a wickedly delightful treat for Halloween, combining two soft, dark cocoa cookies with a luscious and creamy filling. The use of activated charcoal not only gives these whoopie pies their spooky color but also adds a unique flavor that pairs perfectly with the sweetness of the filling. These treats are guaranteed to impress and bring some eerie charm to your Halloween festivities.
| Ingredients | Quantity |
|---|---|
| All-purpose flour | 1 ½ cups |
| Black cocoa powder | ½ cup |
| Baking soda | 1 teaspoon |
| Baking powder | 1 teaspoon |
| Activated charcoal (food grade) | 1 teaspoon |
| Salt | ¼ teaspoon |
| Granulated sugar | 1 cup |
| Vegetable oil | ½ cup |
| Eggs | 2 large |
| Milk | ½ cup |
| Vanilla extract | 1 teaspoon |
Cooking Instructions
- Preheat the Oven: Begin by preheating your oven to 350°F (175°C). Prepare two baking sheets by lining them with parchment paper.
- Mix Dry Ingredients: In a medium bowl, whisk together the all-purpose flour, black cocoa powder, baking soda, baking powder, activated charcoal, and salt. This guarantees the dry ingredients are well combined and evenly distributed.
- Combine Wet Ingredients: In a larger mixing bowl, beat together the granulated sugar and vegetable oil until the mixture is smooth. Add the eggs one by one, mixing well after each addition. Stir in the milk and vanilla extract until everything is well incorporated.
- Combine Mixtures: Gradually add the dry ingredient mixture to the wet mixture, gently folding the ingredients together with a spatula until just combined. Be careful not to overmix as this can lead to tough cookies.
- Scoop the Batter: Using a cookie scoop or spoon, drop rounded tablespoons of the batter onto the prepared baking sheets, spacing them about 2 inches apart. You should be able to fit about 12 cookies on each sheet.
- Bake: Place the baking sheets in the preheated oven and bake for 10-12 minutes, or until the edges are set and the tops look slightly cracked. The cookies should spring back when gently pressed in the center.
- Cool Completely: Once baked, remove the sheets from the oven and let the cookies cool on the baking sheets for about 5 minutes before transferring them to a wire rack to cool completely.
- Prepare the Filling (Optional): While the cookies are cooling, you can prepare a simple filling by mixing together softened butter, powdered sugar, and a splash of milk. Feel free to add some vanilla or even a hint of black cocoa powder for extra flavor.
- Assemble the Whoopie Pies: Once the cookies are cooled, spread a generous amount of filling onto the flat side of one cookie, then top it with another cookie, flat side down. Press gently to secure the filling.
- Chill and Serve: If you prefer a firmer filling, place the assembled whoopie pies in the refrigerator for about 30 minutes before serving. Enjoy your Sinister Charcoal Whoopie Pies at your next spooky gathering!
These treats are bound to bring a ghoulish delight to your Halloween celebrations!
Ghostly Black Cocoa Brownies
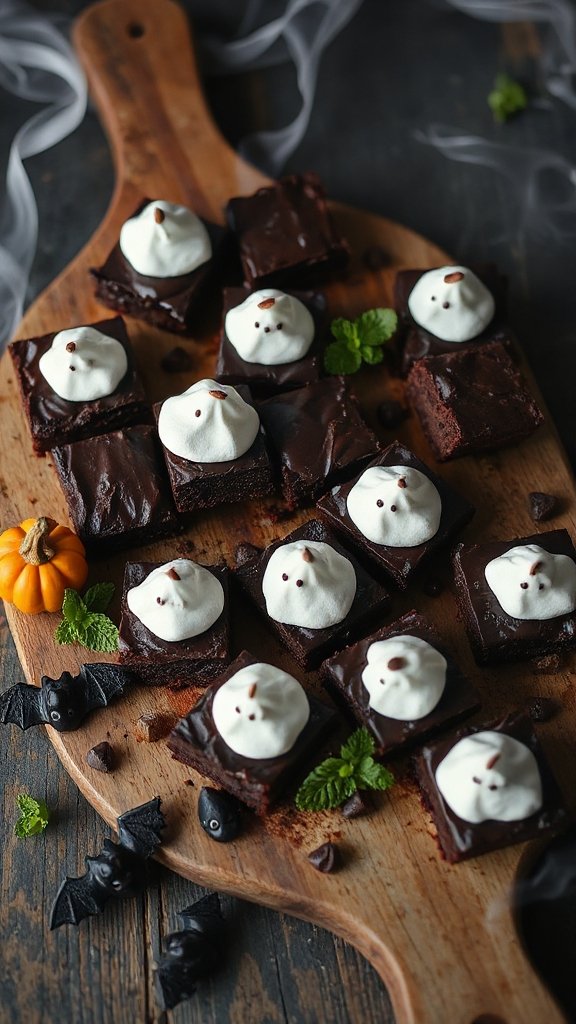
Ghostly Black Cocoa Brownies are a hauntingly delicious dessert perfect for Halloween! The rich, fudgy brownies feature deep black cocoa powder for a spooktacular color, while their moist texture and rich flavor will leave your guests begging for more. To make these eerie treats even more festive, consider topping them with ghostly meringue decorations or a dusting of powdered sugar to mimic ghostly apparitions.
| Ingredients | Quantity |
|---|---|
| Unsalted butter | ½ cup (1 stick) |
| Granulated sugar | 1 cup |
| Brown sugar | ½ cup |
| Large eggs | 2 |
| Vanilla extract | 1 teaspoon |
| All-purpose flour | ½ cup |
| Black cocoa powder | ⅔ cup |
| Baking powder | ½ teaspoon |
| Salt | ¼ teaspoon |
| Semi-sweet chocolate chips | ½ cup |
Cooking Instructions
- Preheat the Oven: Start by preheating your oven to 350°F (175°C). Grease an 8-inch square baking pan or line it with parchment paper, allowing some overhang for easy removal.
- Melt the Butter: In a medium saucepan, melt the unsalted butter over low heat. Once melted, remove the pan from heat and stir in granulated sugar and brown sugar until well blended.
- Add Eggs and Vanilla: Allow the butter-sugar mixture to cool slightly before adding the eggs, one at a time, mixing well after each addition. Then stir in the vanilla extract until fully combined.
- Combine Dry Ingredients: In a separate bowl, sift together the all-purpose flour, black cocoa powder, baking powder, and salt. This guarantees that the dry ingredients are lump-free and evenly mixed.
- Mix Wet and Dry Ingredients: Gradually add the dry ingredient mixture to the wet mixture, stirring just until combined. Be careful not to overmix, as this can lead to dense brownies.
- Fold in Chocolate Chips: Gently fold in the semi-sweet chocolate chips until they are evenly distributed throughout the batter.
- Pour the Batter: Pour the brownie batter into the prepared baking pan, using a spatula to spread it evenly.
- Bake: Place the pan in the preheated oven and bake for 25-30 minutes, or until a toothpick inserted into the center comes out with a few moist crumbs (not wet batter).
- Cool and Cut: Once baked, remove the brownies from the oven and let them cool in the pan on a wire rack. When cool, lift them out using the parchment paper, and cut them into squares.
- Serve: Enjoy your Ghostly Black Cocoa Brownies as they are, or decorate with a dusting of powdered sugar or ghostly meringues to enhance the Halloween spirit!
Midnight Oreo Cheesecake
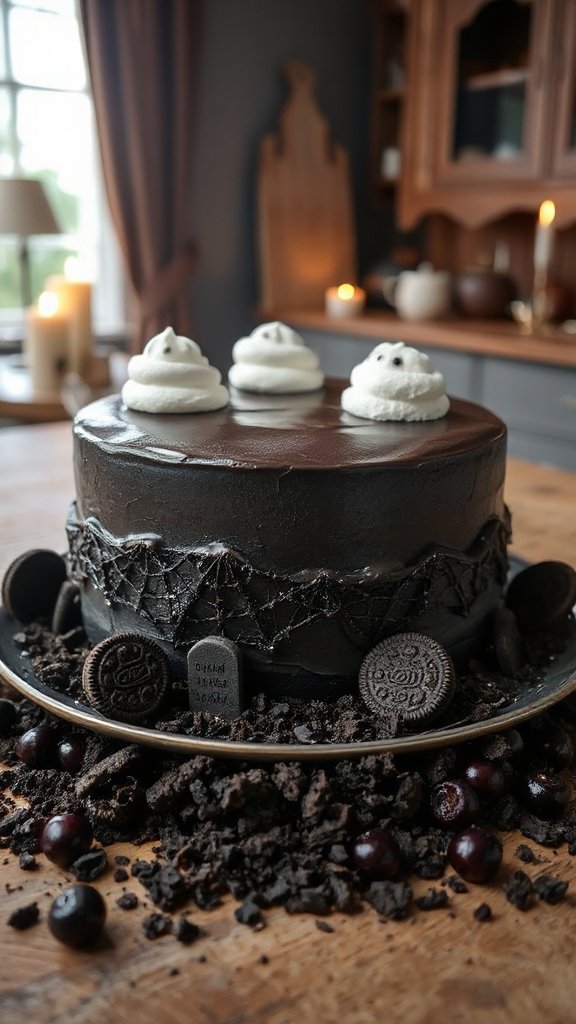
Midnight Oreo Cheesecake is a decadent and visually striking dessert that combines rich cream cheese and whipped cream with the irresistible crunch of crushed Oreo cookies. This cheesecake, with its dark, mysterious flavor, is perfect for Halloween celebrations or any occasion where you want to impress with a stunning and delicious treat. Its luscious layers and cookie crust will have everyone asking for a second slice!
| Ingredients | Quantity |
|---|---|
| Oreo cookies | 24 (plus more for garnish) |
| Unsalted butter | ½ cup (1 stick) |
| Cream cheese | 16 oz (2 packages) |
| Granulated sugar | ¾ cup |
| Sour cream | 1 cup |
| Vanilla extract | 1 teaspoon |
| Large eggs | 3 |
| Heavy whipping cream | 2 cups |
| Powdered sugar | ¼ cup |
| Cocoa powder | ¼ cup |
| Salt | ¼ teaspoon |
Cooking Instructions
- Preheat the Oven: Begin by preheating your oven to 325°F (160°C). Grease a 9-inch springform pan with non-stick spray or line the bottom with parchment paper for easy release.
- Prepare the Crust: In a food processor, blend the 24 Oreo cookies into fine crumbs. Melt the unsalted butter in a microwave-safe bowl and then mix it into the cookie crumbs until fully combined. Press the mixture firmly into the bottom of the prepared springform pan, creating an even layer for the crust.
- Make the Cheesecake Filling: In a large mixing bowl, beat the cream cheese with an electric mixer until smooth and creamy. Add the granulated sugar, sour cream, and vanilla extract, mixing until well combined. Scrape down the sides of the bowl as needed.
- Incorporate the Eggs: Add the eggs, one at a time, to the cream cheese mixture, mixing on low speed after each addition until just combined. Be careful not to overmix, as this can add too much air to the batter.
- Add Cocoa Powder: Gently fold in the cocoa powder into the cheesecake batter until it is evenly distributed, creating a rich chocolate flavor.
- Combine with Oreo Pieces: Coarsely chop some additional Oreo cookies (about 4-5) and fold them into the cheesecake batter for added texture.
- Pour the Batter: Carefully pour the cheesecake mixture over the prepared Oreo crust in the springform pan. Use a spatula to spread it evenly.
- Bake the Cheesecake: Place the springform pan in the preheated oven and bake for 55-60 minutes, or until the edges are set but the center is still slightly jiggly. Turn off the oven and leave the cheesecake inside for an additional hour to cool gradually.
- Chill: Remove the cheesecake from the oven and let it cool to room temperature. Once cooled, refrigerate it for at least 4 hours, or overnight for best results.
- Prepare Whipped Cream Topping: In a medium bowl, beat the heavy whipping cream with powdered sugar until soft peaks form. Spread or pipe the whipped cream over the top of the chilled cheesecake.
- Garnish & Serve: Crush some additional Oreos and sprinkle them on top of the whipped cream for a festive touch. Carefully remove the sides of the springform pan before slicing the cheesecake and serving it to your guests. Enjoy your Midnight Oreo Cheesecake!
Creepy Black Cocoa Marble Cake
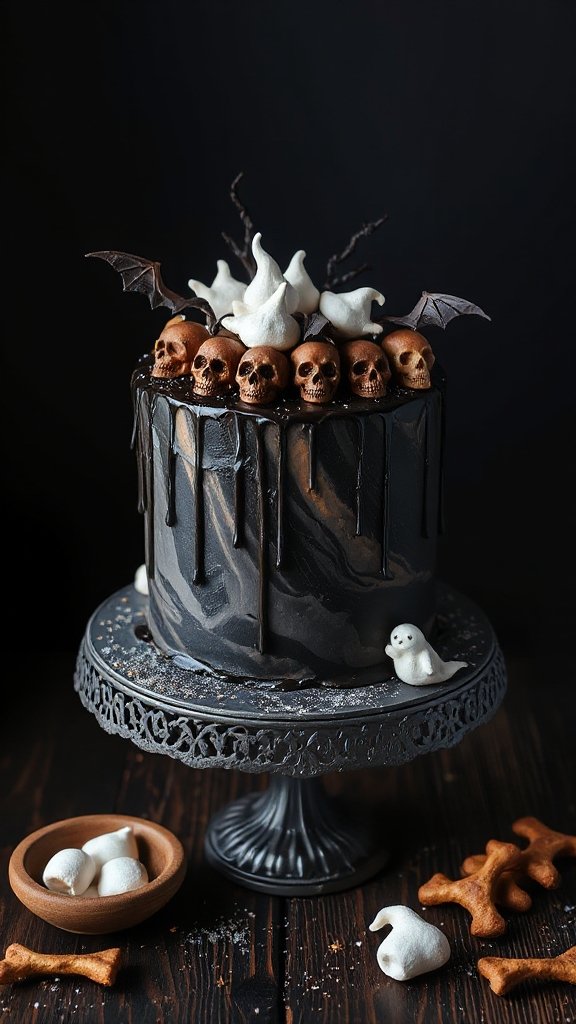
Creepy Black Cocoa Marble Cake is a hauntingly delicious dessert that combines the rich flavors of chocolate with a striking marbled appearance. Perfect for Halloween gatherings or any spooky occasion, this cake not only looks impressive with its dark swirl but also offers a moist and decadent bite that chocolate lovers will adore. The use of black cocoa powder gives it an intense flavor and deep color, making it an unforgettable treat for your festive festivities.
| Ingredients | Quantity |
|---|---|
| All-purpose flour | 2 cups |
| Black cocoa powder | ¾ cup |
| Baking powder | 1 teaspoon |
| Baking soda | ½ teaspoon |
| Salt | ½ teaspoon |
| Unsalted butter | 1 cup (2 sticks) |
| Granulated sugar | 1 ½ cups |
| Large eggs | 3 |
| Vanilla extract | 1 teaspoon |
| Whole milk | 1 cup |
| Chocolate chips (optional) | 1 cup |
Cooking Instructions
- Preheat the Oven: Preheat your oven to 350°F (175°C). Grease and flour a 9-inch bundt pan or any cake pan of your choice, making certain it’s well-coated to allow for easy release after baking.
- Combine Dry Ingredients: In a mixing bowl, sift together the all-purpose flour, black cocoa powder, baking powder, baking soda, and salt. This step will help to aerate the dry ingredients and guarantee an even distribution of the cocoa.
- Cream Butter and Sugar: In a large mixing bowl, use an electric mixer to cream the unsalted butter and granulated sugar together until the mixture is light and fluffy. This process usually takes about 3-5 minutes and helps to incorporate air into the batter.
- Add Eggs and Vanilla: Add the large eggs, one at a time, to the butter-sugar mixture, mixing well on low speed after each addition. Then, add the vanilla extract and mix until well combined.
- Alternate Adding Dry Ingredients and Milk: Gradually add the dry ingredient mixture to the butter mixture, alternating with the whole milk. Start and end with the dry ingredients: add a third of the flour mixture, then half the milk, followed by another third of the flour, the remaining milk, and finally the last third of the flour. Mix until just combined; do not overmix.
- Create the Marble Effect: Divide the batter into two equal portions. In one bowl, stir in additional black cocoa powder (about 2 tablespoons) to enhance the dark color.
- Layer the Batter: Spoon alternating dollops of the light batter and the dark batter into the prepared bundt pan. Use a knife or a skewer to swirl the batters together, creating a marbled effect. Be careful not to overmix; you want to see distinct swirls.
- Add Chocolate Chips: If desired, sprinkle chocolate chips on top of the batter for extra richness. Press them slightly into the batter to confirm they stay in place during baking.
- Bake the Cake: Place the bundt pan in the preheated oven and bake for 40-50 minutes, or until a toothpick inserted into the center comes out clean. Check for doneness around the 40-minute mark to avoid overbaking.
- Cool and Serve: Once baked, remove the cake from the oven and allow it to cool in the pan for about 15 minutes. Then carefully invert it onto a wire rack to cool completely. Once cooled, dust with powdered sugar or serve with a spooky decoration to enhance the Halloween theme before slicing and enjoying your Creepy Black Cocoa Marble Cake!
Spooky Charcoal Macarons
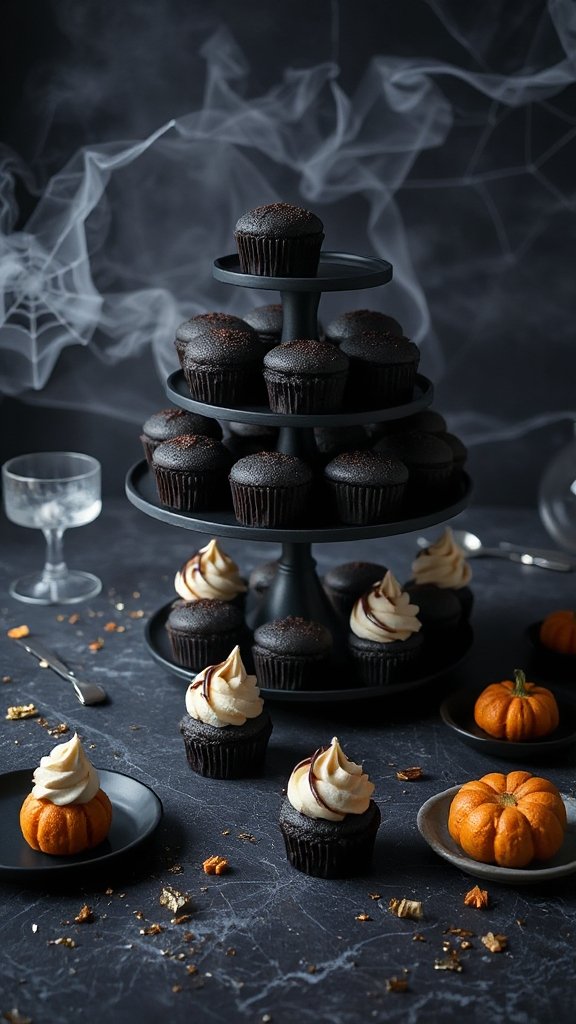
Spooky Charcoal Macarons are a delightful twist on the classic French pastry, featuring a striking dark color and a light, chewy texture. These elegant meringue-based cookies are made with activated charcoal, giving them an eerie appearance perfect for Halloween celebrations. Filled with a rich and creamy filling, these macarons are not only visually stunning but also delicious, making them an ideal treat for spook-tacular gatherings.
| Ingredients | Quantity |
|---|---|
| Almond flour | 1 cup |
| Powdered sugar | 1 ¾ cups |
| Activated charcoal powder | 1 teaspoon |
| Egg whites | 3 large |
| Granulated sugar | ¼ cup |
| Cream of tartar | ½ teaspoon |
| Vanilla extract | 1 teaspoon |
| Butter | ½ cup (1 stick) |
| Heavy cream | ¼ cup |
| Dark chocolate (for ganache) | 4 oz |
Cooking Instructions
- Prep the Baking Sheet: Line two baking sheets with parchment paper. If desired, you can use a macaron template under the parchment paper to guarantee uniform sizes.
- Combine Almond Flour and Sugar: In a mixing bowl, sift together the almond flour, powdered sugar, and activated charcoal powder. This step is essential for achieving a smooth batter and preventing lumps.
- Whip Egg Whites: In a clean, dry mixing bowl, use an electric mixer to whip the egg whites on medium speed until foamy. Add the cream of tartar and continue whipping until soft peaks form.
- Add Granulated Sugar: Gradually add the granulated sugar, one tablespoon at a time, while continuing to whip the egg whites on high speed. Continue whipping until the meringue reaches stiff peaks and is glossy.
- Fold in Dry Ingredients: Carefully fold the almond flour mixture into the whipped egg whites using a spatula. Be gentle to avoid deflating the meringue. The batter should be smooth and slightly runny, similar to lava.
- Pipe the Macarons: Transfer the batter to a piping bag fitted with a round tip. Pipe small circles onto the prepared baking sheets, leaving some space between each macaron. Tap the baking sheets gently on the counter to release any air bubbles.
- Rest the Macarons: Let the piped macarons sit at room temperature for 30-60 minutes, or until a skin forms on the surface. This step is essential for achieving that perfect macaron foot when baked.
- Preheat the Oven: While the macarons are resting, preheat your oven to 300°F (150°C).
- Bake the Macarons: Bake the macarons in the preheated oven for 15-20 minutes. Keep an eye on them; they should have a smooth surface and not crack. Allow them to cool completely on the baking sheet.
- Make the Ganache Filling: While the macarons cool, chop the dark chocolate and place it in a heatproof bowl. In a small saucepan, heat the heavy cream until it just begins to simmer; pour it over the chocolate. Let it sit for a minute, then stir until smooth and glossy. Allow the ganache to cool and thicken.
- Assemble the Macarons: Once the macarons are completely cool, pair them up in similar-sized halves. Pipe a small dollop of ganache onto the flat side of one macaron and sandwich it with its pair.
- Chill Before Serving: For the best flavor and texture, refrigerate the assembled macarons for at least 24 hours before serving. Serve chilled or at room temperature for a spooky treat that everyone will love!
Dark Chocolate Charcoal Cookies
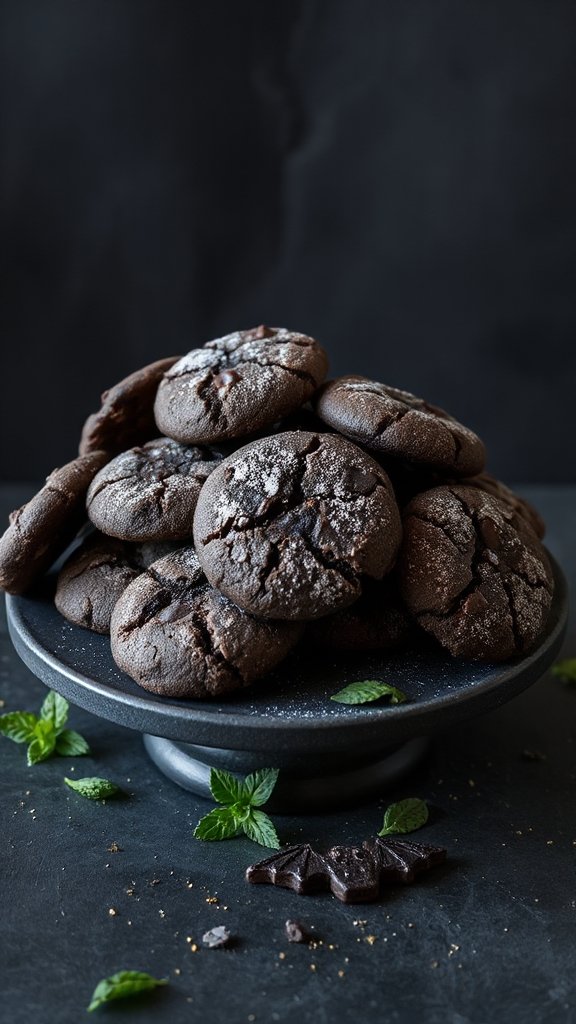
Dark Chocolate Charcoal Cookies are a spooky and indulgent treat perfect for Halloween festivities. These cookies feature a rich dark chocolate flavor complemented by activated charcoal, giving them a unique appearance and a hint of mystery. With a chewy center and slightly crispy edges, they are a delicious blend of decadence and fun, making them a must-have for your Halloween dessert table.
| Ingredients | Quantity |
|---|---|
| All-purpose flour | 1 ½ cups |
| Cocoa powder | ⅓ cup |
| Activated charcoal | 1 teaspoon |
| Baking soda | ½ teaspoon |
| Baking powder | ¼ teaspoon |
| Salt | ½ teaspoon |
| Dark chocolate chips | 1 cup |
| Unsalted butter | ½ cup (1 stick) |
| Granulated sugar | ¾ cup |
| Brown sugar | ¾ cup |
| Egg | 1 large |
| Vanilla extract | 1 teaspoon |
| Milk | 2 tablespoons |
Cooking Instructions
- Preheat Oven: Preheat your oven to 350°F (175°C). Prepare a baking sheet by lining it with parchment paper or a silicone baking mat.
- Melt Butter and Chocolate: In a medium microwave-safe bowl, combine the unsalted butter and dark chocolate chips. Microwave in 30-second intervals, stirring frequently, until melted and smooth. Allow to cool slightly.
- Mix Dry Ingredients: In a separate mixing bowl, sift together the all-purpose flour, cocoa powder, activated charcoal, baking soda, baking powder, and salt. Mix well to verify the dry ingredients are evenly combined.
- Combine Wet Ingredients: In a large mixing bowl, whisk together the granulated sugar, brown sugar, and the slightly cooled melted chocolate mixture until well combined. Beat in the egg and vanilla extract until smooth.
- Incorporate Dry Ingredients: Gradually add the dry ingredient mixture into the wet mixture, stirring gently with a spatula until just combined. Avoid overmixing to keep the cookies tender. If the dough is too thick, add the milk and mix until it is fully incorporated.
- Scoop the Dough: Use a cookie scoop or spoon to portion out tablespoons of dough onto the prepared baking sheet, spacing them about 2 inches apart.
- Bake the Cookies: Place the baking sheet in the preheated oven and bake for 10-12 minutes, or until the edges are set but the centers are still slightly soft. The cookies will continue to firm up as they cool.
- Cool and Serve: Remove the baking sheet from the oven and let the cookies cool on the sheet for 5 minutes before transferring them to a wire rack to cool completely. Enjoy your Dark Chocolate Charcoal Cookies as a delightful Halloween treat!
Haunted Black Cocoa Pancakes
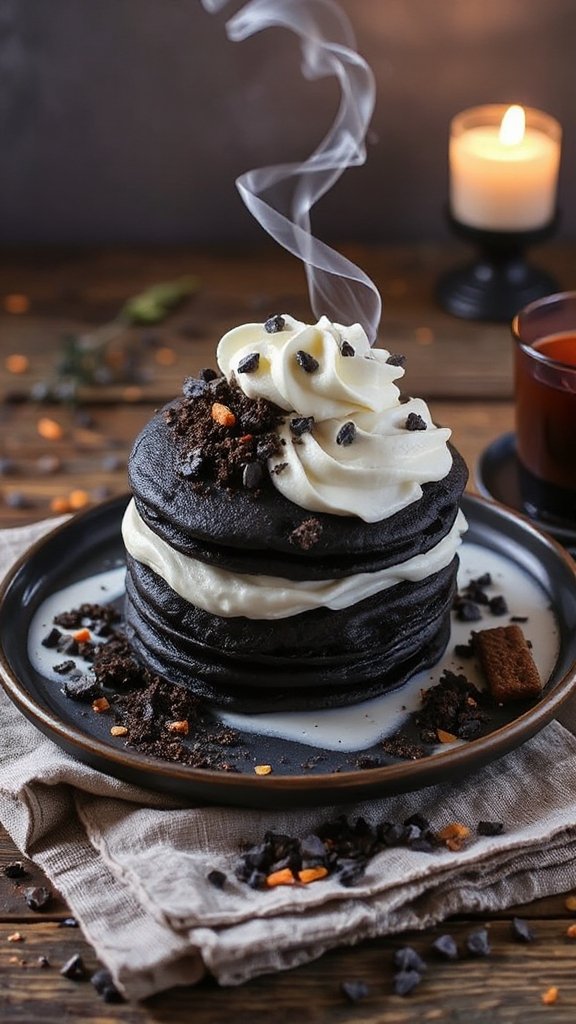
Haunted Black Cocoa Pancakes are a thrilling twist on the classic breakfast staple, making them a perfect choice for Halloween brunch. These dark and dreamy pancakes have an intense chocolate flavor from the black cocoa powder, giving them an hauntingly delicious appearance. Light, fluffy, and adorned with spooky toppings like whipped cream or dark chocolate shavings, they are sure to delight both kids and adults alike during the Halloween season.
| Ingredients | Quantity |
|---|---|
| All-purpose flour | 1 cup |
| Black cocoa powder | ¼ cup |
| Baking powder | 2 teaspoons |
| Baking soda | ½ teaspoon |
| Salt | ¼ teaspoon |
| Granulated sugar | 2 tablespoons |
| Egg | 1 large |
| Milk | 1 cup |
| Unsalted butter (melted) | 2 tablespoons |
| Vanilla extract | 1 teaspoon |
| Chocolate chips (optional) | ½ cup (for topping) |
| Whipped cream (optional) | For serving |
Cooking Instructions
- Prepare the Dry Ingredients: In a large mixing bowl, whisk together the all-purpose flour, black cocoa powder, baking powder, baking soda, salt, and granulated sugar until combined.
- Combine the Wet Ingredients: In a separate bowl, beat the egg. Add in the milk, melted unsalted butter, and vanilla extract. Whisk until the mixture is smooth.
- Mix Wet and Dry Ingredients: Pour the wet ingredients into the dry ingredients. Stir gently with a spatula until combined; be careful not to overmix. Some lumps are okay.
- Preheat the Pan: Preheat a non-stick skillet or griddle over medium heat. If necessary, lightly grease with cooking spray or butter.
- Cook the Pancakes: Pour about ¼ cup of batter onto the pan for each pancake. Cook for 2-3 minutes or until bubbles form on the surface and the edges look set. Carefully flip the pancakes and cook for an additional 1-2 minutes until the other side is cooked through.
- Set Aside: Remove the cooked pancakes from the skillet and place them on a plate. Keep them warm by covering with a clean kitchen towel or placing them in a warm oven.
- Serve: Stack the pancakes on plates and top them with optional chocolate chips and whipped cream. For an extra spooky effect, consider dusting with powdered sugar or adding Halloween-themed decorations.
Enjoy your Haunted Black Cocoa Pancakes as a deliciously spooky start to your Halloween celebrations!
Bewitching Black Velvet Cake Pops
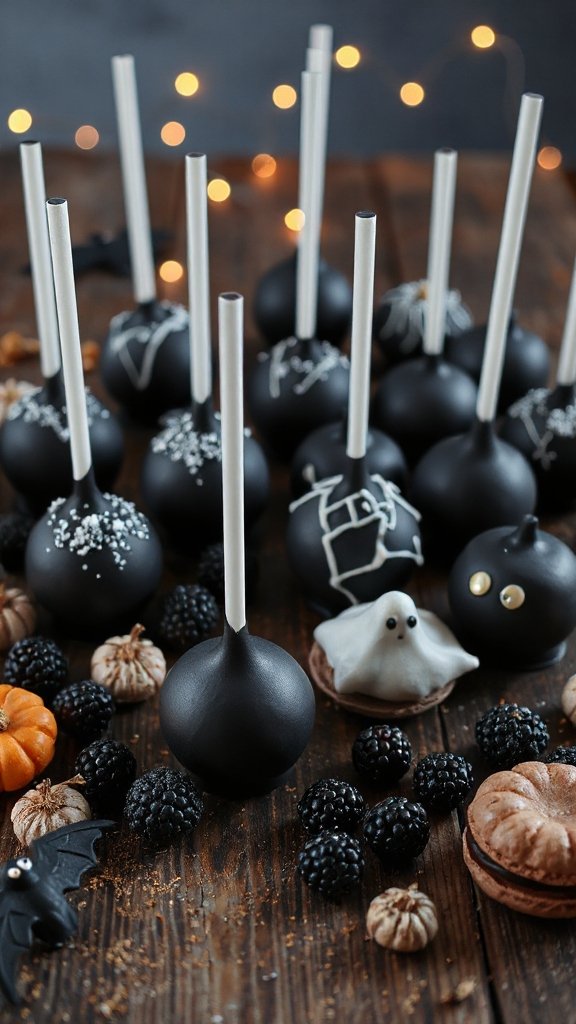
Bewitching Black Velvet Cake Pops are an enchanting Halloween treat that combines the rich flavor of black velvet cake with the fun of cake pops. These delightful bites are not only visually striking with their deep black hue but also irresistibly moist and decadent, making them a perfect addition to any Halloween celebration. Coated in chocolate and adorned with festive sprinkles, these cake pops are sure to satisfy any sweet tooth while capturing the spirit of the season.
| Ingredients | Quantity |
|---|---|
| All-purpose flour | 1 ½ cups |
| Granulated sugar | 1 cup |
| Unsweetened cocoa powder | ½ cup |
| Baking powder | 1 teaspoon |
| Baking soda | 1 teaspoon |
| Salt | ½ teaspoon |
| Vegetable oil | ½ cup |
| Large eggs | 2 |
| Vanilla extract | 1 teaspoon |
| Buttermilk | 1 cup |
| Black food coloring | 2 tablespoons |
| Chocolate candy coating | 12 ounces |
| Lollipop sticks | 10-12 |
| Sprinkles (optional) | For decoration |
Cooking Instructions
- Preheat the Oven: Begin by preheating your oven to 350°F (175°C). Grease and flour a 9×13-inch baking pan.
- Mix Dry Ingredients: In a large mixing bowl, sift together the all-purpose flour, granulated sugar, unsweetened cocoa powder, baking powder, baking soda, and salt. Whisk until well combined.
- Combine Wet Ingredients: In another bowl, mix together the vegetable oil, eggs, vanilla extract, buttermilk, and black food coloring. Whisk until the mixture is smooth.
- Combine Mixtures: Gradually add the wet ingredients to the dry ingredients, stirring gently until just combined. Be careful not to overmix; small lumps are okay.
- Bake the Cake: Pour the cake batter into the prepared baking pan and spread evenly. Bake in the preheated oven for 30-35 minutes, or until a toothpick inserted into the center comes out clean. Once done, allow the cake to cool completely in the pan on a wire rack.
- Prepare Cake Crumbs: Once the cake has cooled, crumble it into a large mixing bowl using your hands or a fork until you achieve fine crumbs.
- Form Cake Pops: Add a few tablespoons of frosting to the crumbled cake, starting with 2-3 tablespoons and mixing until it holds together well but is not overly wet. Roll the mixture into small balls, about 1 inch in diameter. Place them on a lined baking sheet.
- Insert Sticks: Melt a small amount of chocolate candy coating, then dip one end of each lollipop stick into the melted chocolate and insert it into the center of each cake ball. This helps keep the stick in place. Freeze the cake pops for at least 30 minutes.
- Coat the Cake Pops: Melt the chocolate candy coating according to package instructions. Dip each chilled cake pop in the melted coating, ensuring it is fully coated. Allow excess chocolate to drip off.
- Decorate: Before the coating sets, sprinkle with festive Halloween sprinkles as desired. Place the finished cake pops upright into a foam block or a decorated container to dry completely.
- Serve: Once the coating has hardened, the Bewitching Black Velvet Cake Pops are ready to be enjoyed. Arrange them on a serving platter for a spooky treat at your Halloween gathering!
Charcoal-Infused Halloween Truffles
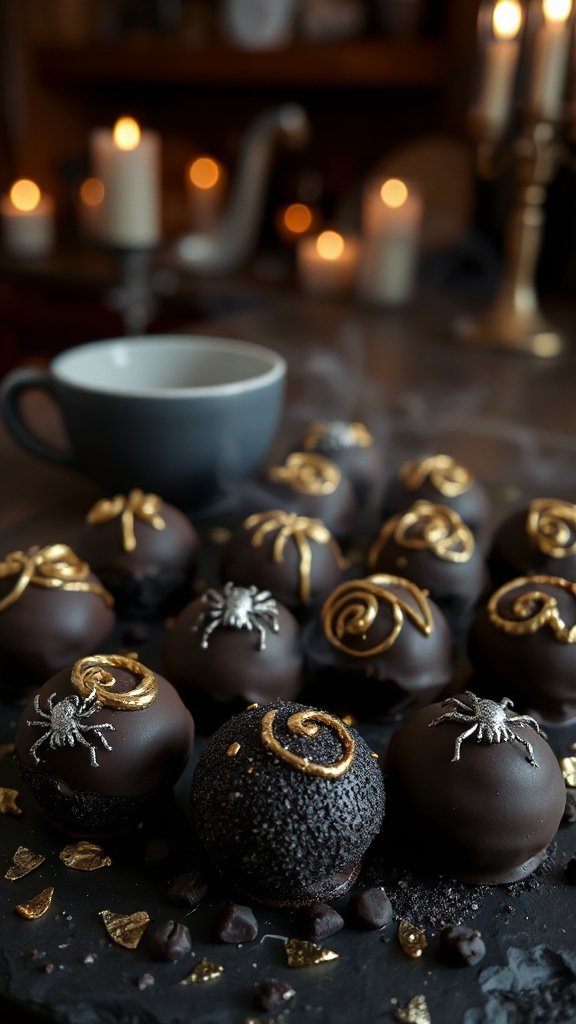
Charcoal-Infused Halloween Truffles are a spooky yet indulgent treat that combines rich chocolate with activated charcoal for a striking appearance. These truffles not only highlight the Halloween spirit but also provide a unique flavor experience that is a delight to both the eyes and the palate. Perfect for parties, they are easy to make and can be tailored with various coatings to add a fun twist.
| Ingredients | Quantity |
|---|---|
| Dark chocolate (chopped) | 8 ounces |
| Heavy cream | ½ cup |
| Activated charcoal powder | 1 teaspoon |
| Vanilla extract | ½ teaspoon |
| Cocoa powder (for dusting) | For dusting |
| Shredded coconut (optional) | For coating |
| Chopped nuts (optional) | For coating |
Cooking Instructions
- Heat the Cream: In a small saucepan, bring the heavy cream to a gentle simmer over medium heat. Stir occasionally to prevent it from burning.
- Melt the Chocolate: Once the cream is simmering, remove it from the heat and add the chopped dark chocolate to the saucepan. Let it sit for a minute to soften the chocolate.
- Mix in Ingredients: Stir the chocolate and cream mixture until smooth and fully combined. Add the activated charcoal powder and vanilla extract, stirring until everything is well incorporated and the mixture is completely black.
- Chill the Mixture: Pour the chocolate ganache into a shallow bowl and cover it with plastic wrap. Place it in the refrigerator for about 1-2 hours, or until firm enough to handle.
- Form the Truffles: Once the ganache is set, use a melon baller or your hands to scoop a small amount of the mixture and roll it into a ball about 1 inch in diameter. Place the truffles on a parchment-lined baking sheet.
- Coat the Truffles: After rolling all the truffles, you can either roll them in cocoa powder, shredded coconut, or chopped nuts for a decorative finish. Confirm they are evenly coated.
- Final Chill: Place the coated truffles back in the refrigerator for about 30 minutes to firm up before serving.
- Serve and Enjoy: Once chilled, your Charcoal-Infused Halloween Truffles are ready to be enjoyed! Arrange them on a platter for a festive appearance and watch as they become the star of your Halloween treat table.
