As an Amazon Associate I earn from qualifying purchases.
Editorial Policy | Disclosure Policy
Mini Caprese Skewers
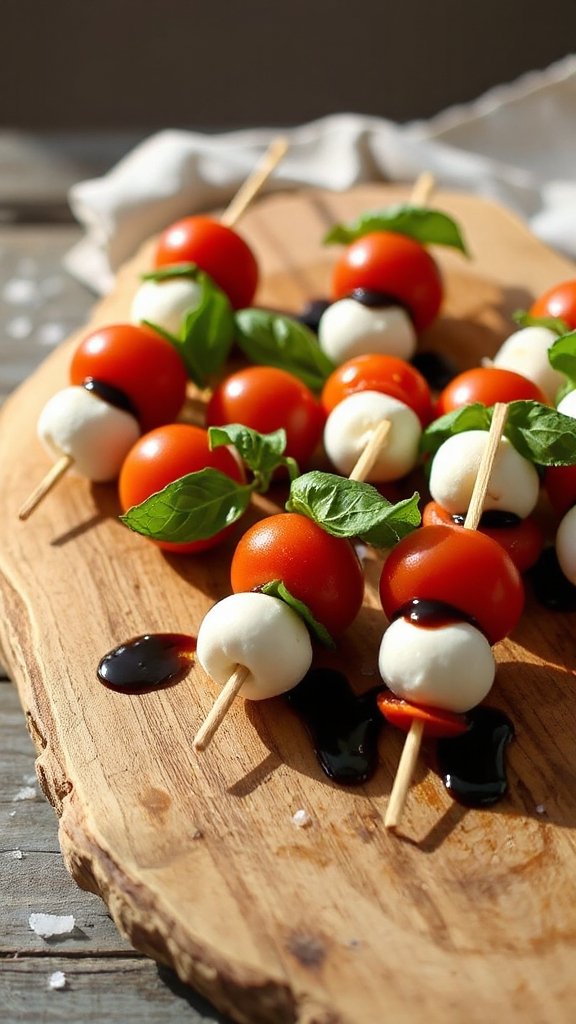
Mini Caprese Skewers are a delightful and invigorating appetizer that combines the classic flavors of a traditional Caprese salad in a convenient bite-sized form. These skewers are incredibly easy to assemble, making them a perfect choice for entertaining guests. With fresh mozzarella, ripe tomatoes, fragrant basil, and a drizzle of balsamic glaze, they are sure to impress.
| Ingredients | Quantity |
|---|---|
| Cherry tomatoes | 1 pint |
| Fresh mozzarella balls | 8 oz (small) |
| Fresh basil leaves | 1 bunch |
| Balsamic glaze | To drizzle |
| Salt | To taste |
| Black pepper | To taste |
| Skewers (toothpick or small) | 12-16 |
Instructions:
- Prepare the Ingredients: Start by washing the cherry tomatoes and basil leaves under cold water. Pat them dry with a clean kitchen towel.
- Assemble the Skewers: Take a skewer and begin by threading a cherry tomato onto it. Follow this with a basil leaf, folding it if necessary to fit. Next, add a mozzarella ball. Repeat this process until the skewer is filled, leaving a bit of space at both ends for easy handling. Depending on the length of your skewers, you can usually fit 2-3 sets of tomato, basil, and mozzarella.
- Season the Skewers: Once all your skewers are assembled, lay them out on a serving platter. Sprinkle some salt and black pepper over the skewers to enhance the flavors.
- Drizzle with Balsamic Glaze: Finally, take the balsamic glaze and drizzle it generously over the assembled skewers. This adds a lovely sweetness and acidity that balances perfectly with the other ingredients.
- Serve and Enjoy: These Mini Caprese Skewers can be served immediately or chilled for a short period before serving. They make for a vibrant and tasty addition to any party platter—enjoy!
Stuffed Mini Peppers
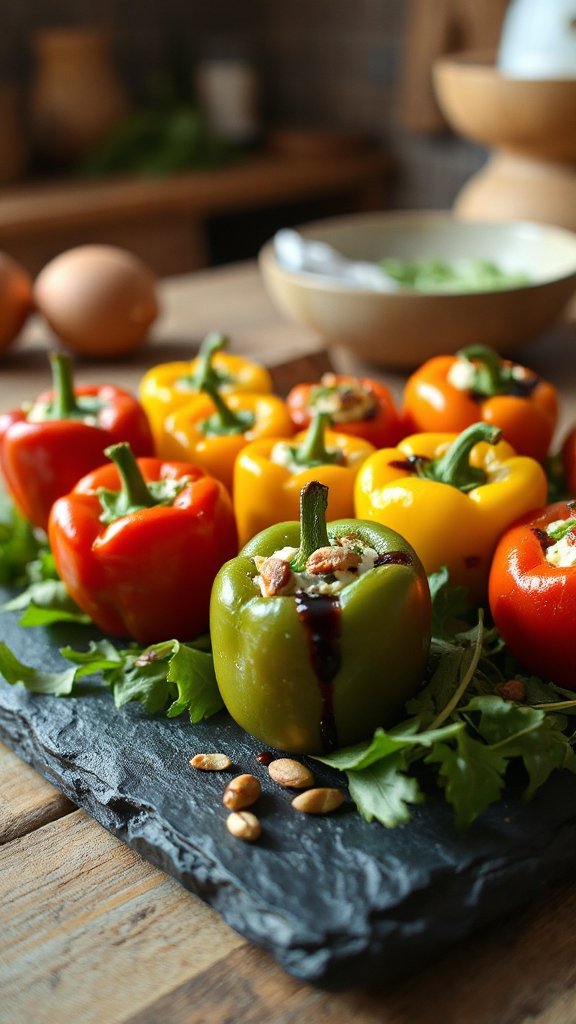
Stuffed Mini Peppers are a colorful and flavorful appetizer that is certain to delight your guests. These bite-sized beauties are filled with a savory mixture of cream cheese, herbs, and spices, creating a perfect balance of creamy, sweet, and zesty flavors. They are not only visually appealing but also easy to prepare, making them an excellent choice for any gathering.
| Ingredients | Quantity |
|---|---|
| Mini bell peppers | 12-16 |
| Cream cheese | 8 oz (softened) |
| Cheddar cheese | 1 cup (shredded) |
| Fresh chives | 2 tablespoons (chopped) |
| Garlic powder | 1 teaspoon |
| Onion powder | 1 teaspoon |
| Salt | ½ teaspoon |
| Black pepper | ¼ teaspoon |
| Paprika | ½ teaspoon |
| Olive oil | 1 tablespoon |
Instructions:
- Preheat the Oven: Begin by preheating your oven to 375°F (190°C). This will guarantee that your stuffed mini peppers cook evenly and thoroughly.
- Prepare the Mini Peppers: Wash the mini bell peppers under cold water. Pat them dry with a towel. Once they are dry, cut each pepper in half lengthwise and remove the seeds and white membranes. Place the halved peppers on a baking sheet lined with parchment paper or lightly greased.
- Make the Filling: In a mixing bowl, combine the softened cream cheese, shredded cheddar cheese, chopped chives, garlic powder, onion powder, salt, black pepper, and paprika. Mix well until all the ingredients are thoroughly blended into a creamy filling.
- Stuff the Peppers: Using a spoon or a piping bag, generously fill each half of the mini peppers with the cheese mixture. Be sure to pack the filling in nicely to prevent any from falling out during cooking.
- Drizzle with Olive Oil: Once all the peppers are stuffed, drizzle a little olive oil over the top of each one. This will help them brown slightly and add flavor while baking.
- Bake the Peppers: Place the baking sheet in the preheated oven and bake for about 20-25 minutes, or until the peppers are tender and the cheese filling is bubbly and golden.
- Serve Hot: Remove the stuffed mini peppers from the oven and let them cool for a minute or two. Transfer them to a serving platter and enjoy them warm. These delightful bites are perfect for sharing and will surely be a hit at your next gathering!
Savory Spinach and Feta Puffs
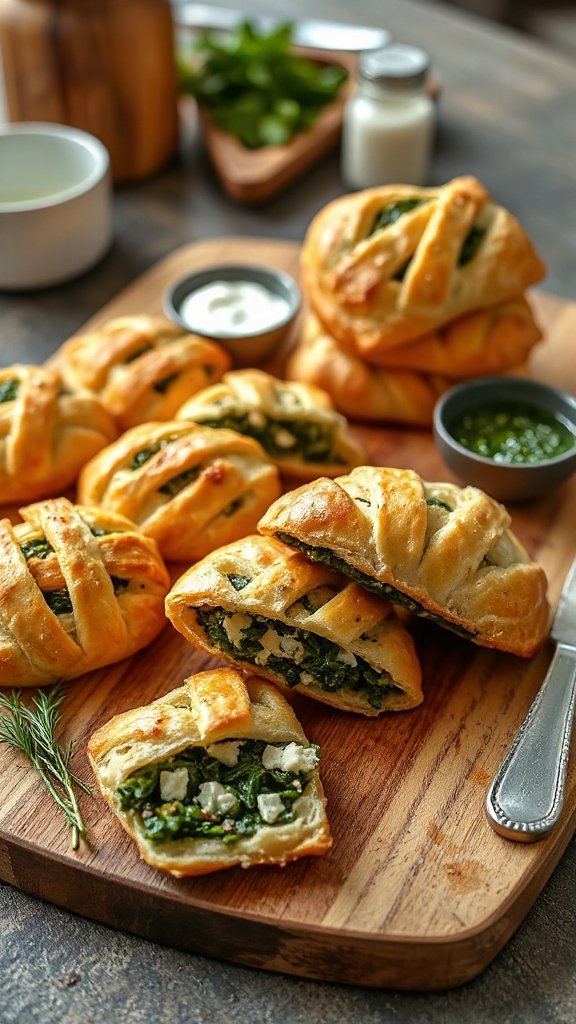
Savory Spinach and Feta Puffs are delightful, flaky pastries filled with a vibrant mix of spinach, creamy feta cheese, and aromatic herbs. These savory bites are perfect for entertaining guests, providing a crispy exterior with a warm, flavorful filling that will leave everyone wanting more. Easy to prepare and quick to bake, they are certain to be a hit at any gathering!
| Ingredients | Quantity |
|---|---|
| Puff pastry sheets | 1 package (about 17.3 oz) |
| Fresh spinach | 4 cups (chopped) |
| Feta cheese | 1 cup (crumbled) |
| Cream cheese | 4 oz (softened) |
| Onion | 1 small (finely chopped) |
| Garlic | 2 cloves (minced) |
| Olive oil | 1 tablespoon |
| Salt | ½ teaspoon |
| Black pepper | ¼ teaspoon |
| Egg | 1 (for egg wash) |
Instructions:
- Preheat the Oven: Start by preheating your oven to 400°F (200°C). This establishes that your puffs will bake evenly and achieve a golden-brown color.
- Sauté the Spinach: In a large skillet, heat the olive oil over medium heat. Add the chopped onion and minced garlic, sautéing until the onion is translucent, about 3-5 minutes. Next, add the chopped spinach and cook until wilted, roughly 2-3 minutes. Remove the skillet from heat and let the mixture cool slightly.
- Mix the Filling: In a mixing bowl, combine the sautéed spinach mixture, crumbled feta cheese, and softened cream cheese. Season with salt and black pepper. Stir well until all ingredients are thoroughly combined.
- Prepare the Puff Pastry: Roll out the puff pastry sheets on a lightly floured surface and cut them into squares, approximately 4 inches by 4 inches.
- Assemble the Puffs: Place about a tablespoon of the spinach and feta filling in the center of each pastry square. Be careful not to overfill to avoid leaks while baking. Fold the pastry over the filling to create triangles (or any desired shape), and press the edges together firmly to seal.
- Egg Wash: Beat the egg in a small bowl and brush it over the top of each pastry to give them a shiny, golden finish while baking.
- Bake: Arrange the filled pastries on a parchment-lined baking sheet, ensuring they have enough space between them. Bake in the preheated oven for 15-20 minutes, or until the pastries are puffed up and golden brown.
- Serve Warm: Once baked, remove the spinach and feta puffs from the oven and let them cool for a few minutes before serving. Enjoy them warm as a perfect appetizer or snack that will please any crowd!
Meatballs on a Stick

Meatballs on a Stick are a fun and portable appetizer perfect for gatherings and parties. These bite-sized meatballs, skewered for easy handling, are full of flavor and can be served with a variety of dipping sauces. They are certain to impress your guests with their savory taste and delightful presentation!
| Ingredients | Quantity |
|---|---|
| Ground beef or turkey | 1 lb (about 450g) |
| Bread crumbs | ½ cup |
| Parmesan cheese (grated) | ¼ cup |
| Fresh parsley (chopped) | 2 tablespoons |
| Garlic (minced) | 2 cloves |
| Egg | 1 |
| Salt | ½ teaspoon |
| Black pepper | ¼ teaspoon |
| Olive oil | 1 tablespoon |
| Wooden or metal skewers | 10-12 skewers |
| Optional dipping sauce | (your choice) |
Instructions:
- Preheat the Oven: Begin by preheating your oven to 400°F (200°C). This guarantees that your meatballs cook evenly and become deliciously browned.
- Mix the Meatball Mixture: In a large mixing bowl, combine the ground beef or turkey, bread crumbs, grated Parmesan cheese, chopped parsley, minced garlic, egg, salt, and black pepper. Use your hands or a spoon to mix until well combined, but do not overmix to keep the meatballs tender.
- Form the Meatballs: Using your hands, scoop out about a tablespoon of the meat mixture and roll it into a small ball, about 1 inch in diameter. Place the formed meatballs on a baking sheet lined with parchment paper.
- Skewer the Meatballs: Take each meatball and carefully insert a wooden or metal skewer through the center, pushing it through to create a “popsicle” effect. Space the meatballs about 1-2 inches apart on the baking sheet.
- Drizzle with Olive Oil: Lightly drizzle olive oil over the meatballs to help them brown and add flavor while baking.
- Bake: Place the baking sheet in the preheated oven and bake for 20-25 minutes, or until the meatballs are cooked through and reach an internal temperature of 165°F (74°C).
- Serve: Once baked, remove the meatballs from the oven and allow them to cool slightly. Serve them warm on the skewers with your choice of dipping sauce, such as marinara, barbecue, or honey mustard.
Enjoy your delicious Meatballs on a Stick as a savory treat that’s sure to please your guests!
Crispy Zucchini Fries
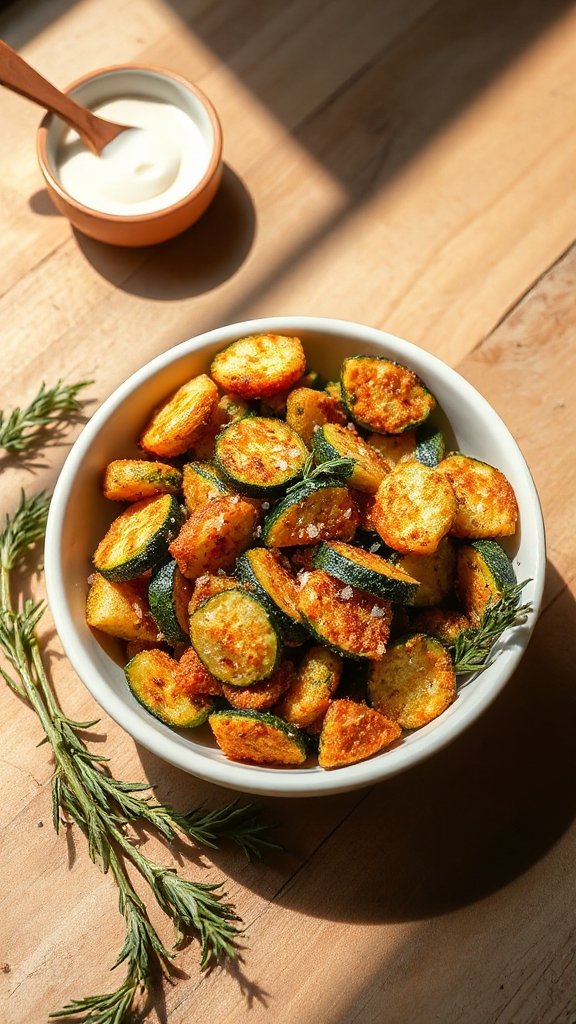
Crispy Zucchini Fries are a delicious and healthier alternative to traditional French fries, making them a perfect appetizer or snack that will please both kids and adults alike. They are coated in a crunchy seasoned breadcrumb mixture and baked until golden, giving you that satisfying crunch without the guilt of frying. These zucchini fries can be served with various dips, such as ranch dressing or marinara sauce.
| Ingredients | Quantity |
|---|---|
| Zucchini | 2 medium |
| All-purpose flour | ½ cup |
| Eggs | 2 large |
| Breadcrumbs | 1 cup |
| Parmesan cheese (grated) | ¼ cup |
| Garlic powder | 1 teaspoon |
| Italian seasoning | 1 teaspoon |
| Salt | ½ teaspoon |
| Black pepper | ¼ teaspoon |
| Olive oil | 1 tablespoon |
| Optional dipping sauce | (your choice) |
Instructions:
1. Preheat the Oven: Preheat your oven to 425°F (220°C). This high temperature will help the zucchini fries become crispy and golden.
2. Prepare the Zucchini: Wash the zucchinis and cut them into fry-like shapes, about ¼ to ½ inch thick. Try to keep the pieces uniform for even cooking.
3. Set Up Your Breading Station: In three separate bowls, prepare your coating station:
- In the first bowl, add the all-purpose flour.
- In the second bowl, beat the eggs until well combined.
- In the third bowl, mix the breadcrumbs, grated Parmesan cheese, garlic powder, Italian seasoning, salt, and black pepper.
4. Coat the Zucchini: Take each zucchini strip and first dip it into the flour, guaranteeing it is fully coated and shaking off any excess. Next, dip it into the beaten eggs, allowing any excess to drip off. Finally, coat the zucchini in the breadcrumb mixture, pressing gently to guarantee the crumbs adhere well.
5. Place on Baking Sheet: Arrange the coated zucchini fries on a baking sheet lined with parchment paper in a single layer, making sure they aren’t crowded; this will help them crisp up better.
6. Drizzle with Olive Oil: Lightly drizzle olive oil over the zucchini fries. This will help them brown more evenly while baking.
7. Bake: Place the baking sheet into the preheated oven and bake for 20-25 minutes, flipping the fries halfway through, until they are golden brown and crispy.
8. Serve: Once baked, remove the zucchini fries from the oven and let them cool slightly. Serve them warm with your choice of dipping sauce, such as ranch or marinara.
Enjoy your delicious and crispy Zucchini Fries, perfect for any gathering or as a satisfying snack!
Chicken Satay With Peanut Sauce

Chicken Satay with Peanut Sauce is a beloved Southeast Asian dish that’s perfect for a vibrant appetizer or a light meal. Featuring marinated chicken skewers grilled to perfection and served with a rich, creamy peanut sauce, it’s packed with flavor and guaranteed to impress your guests. This dish is not only delicious but also quick and easy to prepare.
| Ingredients | Quantity |
|---|---|
| Boneless chicken thighs | 1 lb (450 g) |
| Soy sauce | ¼ cup |
| Coconut milk | ¼ cup |
| Brown sugar | 2 tablespoons |
| Garlic (minced) | 2 cloves |
| Fresh ginger (grated) | 1 tablespoon |
| Lime juice | 2 tablespoons |
| Skewers (soaked in water if wooden) | 8-10 pieces |
Peanut Sauce Ingredients:
| Ingredients | Quantity |
|---|---|
| Peanut butter | ½ cup |
| Coconut milk | ½ cup |
| Soy sauce | 2 tablespoons |
| Lime juice | 1 tablespoon |
| Brown sugar | 1 tablespoon |
| Red pepper flakes (optional) | 1 teaspoon |
Instructions:
- Prepare the Chicken Marinade: In a large bowl, combine the soy sauce, coconut milk, brown sugar, minced garlic, grated ginger, and lime juice. Whisk until well combined.
- Marinate the Chicken: Cut the boneless chicken thighs into 1-inch strips. Add the chicken to the marinade, ensuring each piece is well coated. Cover the bowl and let it marinate in the refrigerator for at least 30 minutes (or up to 2 hours for more flavor).
- Prepare the Skewers: If using wooden skewers, soak them in water for about 30 minutes to prevent burning on the grill. Metal skewers can be used directly.
- Preheat the Grill: Preheat your grill to medium-high heat. If you don’t have a grill, you can also use a grill pan or broiler.
- Assemble the Skewers: Remove the chicken from the marinade and thread the pieces onto the skewers. Discard any leftover marinade.
- Make the Peanut Sauce: In a small saucepan over medium heat, combine the peanut butter, coconut milk, soy sauce, lime juice, and brown sugar. Stir until the mixture is smooth. Adjust the consistency with additional coconut milk if it’s too thick. Add red pepper flakes for a bit of spice if desired.
- Grill the Chicken: Place the skewers on the grill and cook for about 3-4 minutes on each side, or until the chicken is cooked through and has grill marks. Make sure to monitor closely to avoid overcooking.
- Serve: Once the chicken is cooked, remove from the grill and let rest for a few minutes. Serve the chicken satay warm with the peanut sauce on the side for dipping. Enjoy your flavorful appetizer!
Cheese and Charcuterie Bites
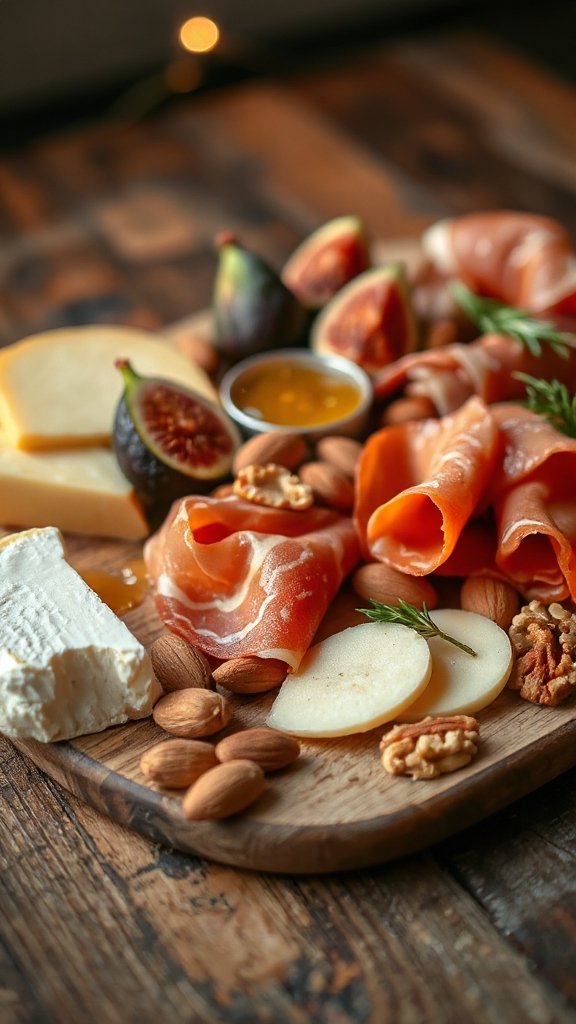
Cheese and Charcuterie Bites are the ultimate crowd-pleasing appetizer, perfect for any gathering or celebration. This assortment of cured meats, cheeses, and accompaniments offers a variety of flavors and textures that will delight your guests. The beauty of this dish lies in its simplicity and the capacity to customize it to suit your taste preferences.
| Ingredients | Quantity |
|---|---|
| Assorted cheeses (cheddar, brie, gouda) | 8 oz (225 g) |
| Assorted cured meats (salami, prosciutto, chorizo) | 8 oz (225 g) |
| Crackers | 1 box (8-10 oz) |
| Fresh fruits (grapes, apple slices, or figs) | 1 cup |
| Nuts (almonds, walnuts, or pecans) | ½ cup |
| Olives (green or black) | ½ cup |
| Honey or fig jam | 2 tablespoons |
| Fresh herbs (rosemary or thyme) for garnish (optional) | A handful |
Instructions:
- Select and Prepare the Board: Choose a large serving board or platter to arrange your cheese and charcuterie bites. Verify the board is clean and dry before adding any ingredients.
- Cut and Arrange Cheeses: Slice your assorted cheeses into bite-sized pieces. If using soft cheese like brie, leave it whole or cut it into wedges for easy serving. Arrange these pieces on one section of the board.
- Slice Cured Meats: Cut your cured meats into bite-sized pieces or leave some slices whole for a rustic look. If using thinly sliced meats like prosciutto, you can gently fold them for texture. Place the cured meats next to the cheeses on the board.
- Add Crackers and Bread: Open the box of crackers and arrange them around the cheese and meat sections. You can also include slices of baguette or breadsticks for more variety.
- Incorporate Fresh Fruits: Rinse your fresh fruit (grapes, apple slices, figs) and dry them gently with a paper towel. Scatter the fruits around the board for color and sweetness.
- Include Nuts and Olives: Place a small bowl or scatter your choice of nuts and olives on the board. This adds crunch and a salty contrast to the cheeses and meats.
- Drizzle with Honey or Jam: Pour honey or fig jam into a small bowl and place it on the board. This offers a delicious addition that complements the savory elements beautifully.
- Garnish and Present: If desired, sprinkle fresh herbs over the board for an aromatic touch. Finally, present your cheese and charcuterie bites with some small forks or toothpicks for easy serving.
- Serve and Enjoy: Encourage guests to mix and match flavors—pair different cheeses with meats and fruits, or enjoy them alone. Enjoy the conversation and delight in the wonderful assortment of tastes!
Bruschetta With Tomato and Basil
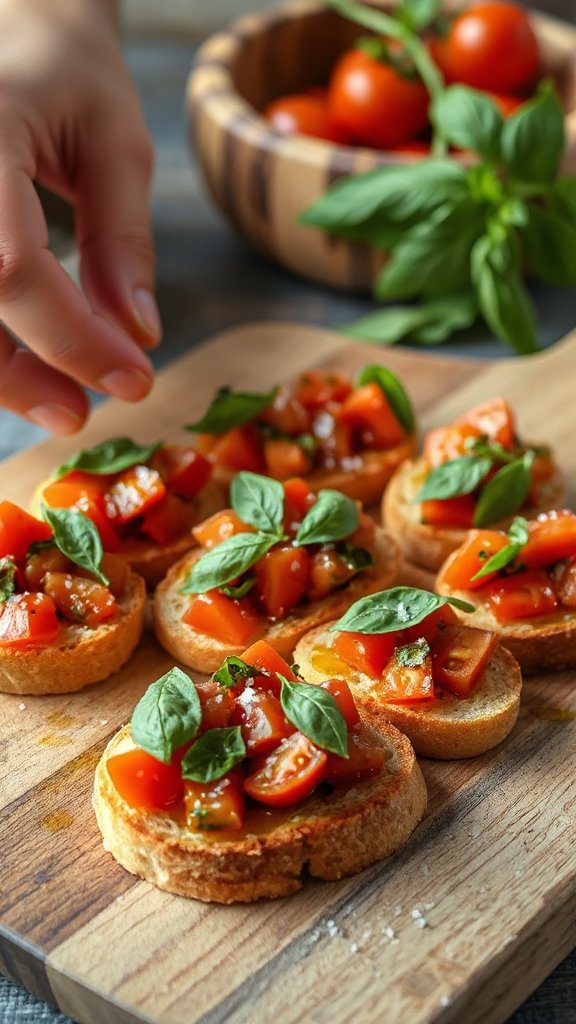
Bruschetta with Tomato and Basil is a classic Italian appetizer that highlights the vibrant flavors of fresh tomatoes and aromatic basil over crispy toasted bread. This dish is not only simple to prepare but also incredibly invigorating, making it a favorite for gatherings and summer parties. Each bite brings a delightful crunch paired with a burst of savory goodness.
| Ingredients | Quantity |
|---|---|
| Fresh tomatoes | 4 cups, diced |
| Fresh basil leaves | 1 cup, chopped |
| Garlic | 2 cloves, minced |
| Extra virgin olive oil | ¼ cup |
| Balsamic vinegar | 1 tablespoon |
| Salt | To taste |
| Black pepper | To taste |
| Baguette or Italian bread | 1 loaf |
Instructions:
- Prepare the Tomato Mixture: In a large mixing bowl, combine the diced fresh tomatoes, minced garlic, and chopped basil leaves. Drizzle in the extra virgin olive oil and balsamic vinegar. Season with salt and black pepper to taste. Stir the mixture gently to combine all the ingredients and let it sit for about 10-15 minutes. This allows the flavors to meld beautifully.
- Preheat the Oven: While the tomato mixture is resting, preheat your oven to 400°F (200°C). This is the perfect temperature for toasting the bread.
- Slice the Bread: Take the baguette or Italian bread and slice it diagonally into ½-inch thick slices. Arrange the slices on a baking sheet in a single layer.
- Toast the Bread: Place the baking sheet in the preheated oven. Toast the bread slices for about 5-7 minutes, or until they are golden and crispy. Keep an eye on them to prevent burning.
- Assemble the Bruschetta: Once the bread is toasted, remove it from the oven and let it cool slightly. Use a spoon to pile a generous amount of the tomato mixture onto each slice of bread.
- Serve and Enjoy: Arrange the assembled bruschetta on a platter. Optionally, drizzle a little extra olive oil or balsamic vinegar on top for added flavor. Serve immediately and watch your guests enjoy this delicious, fresh appetizer!
Spicy Shrimp Tacos
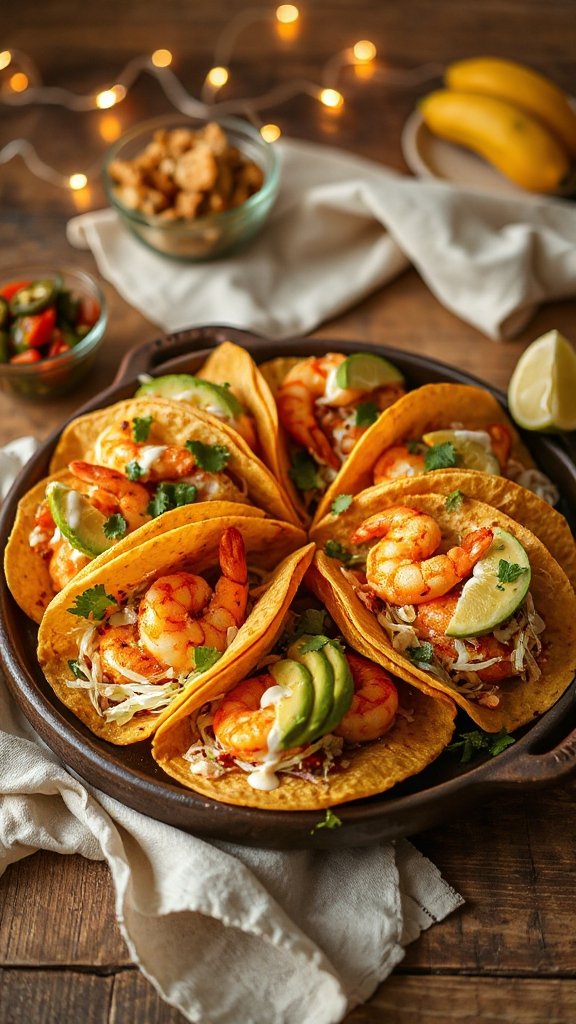
Spicy Shrimp Tacos are a vibrant and flavorful dish that combines succulent shrimp with a medley of spices, served in soft tortillas. This dish is perfect for casual gatherings and summer barbecues, offering a delightful mixture of textures and a kick of heat that will leave your guests wanting more. Topped with fresh ingredients, these tacos are both invigorating and satisfying.
| Ingredients | Quantity |
|---|---|
| Raw shrimp (peeled and deveined) | 1 pound |
| Olive oil | 2 tablespoons |
| Chili powder | 1 teaspoon |
| Cumin | 1 teaspoon |
| Paprika | 1 teaspoon |
| Garlic powder | 1 teaspoon |
| Salt | To taste |
| Black pepper | To taste |
| Corn tortillas | 8 |
| Cabbage (shredded) | 2 cups |
| Avocado (sliced) | 1 |
| Lime (cut into wedges) | 1 |
| Fresh cilantro (chopped) | ¼ cup |
| Sour cream or Greek yogurt | Optional, for serving |
Instructions:
- Prepare the Shrimp: In a medium bowl, combine the peeled and deveined shrimp with olive oil, chili powder, cumin, paprika, garlic powder, salt, and black pepper. Toss until the shrimp are evenly coated with the spices.
- Cook the Shrimp: Heat a non-stick skillet over medium-high heat. Add the seasoned shrimp to the skillet in a single layer. Cook for about 2-3 minutes on each side, or until the shrimp are opaque and cooked through. Avoid overcrowding the pan; you may need to cook them in batches. Once cooked, remove the shrimp from the heat and set aside.
- Warm the Tortillas: In the same skillet, lightly warm the corn tortillas for about 30 seconds on each side, or until they are soft and pliable. You can also warm them in a microwave for a few seconds if preferred.
- Assemble the Tacos: Take a warm tortilla and place a generous portion of the cooked shrimp in the center. Top the shrimp with shredded cabbage, avocado slices, and chopped cilantro.
- Serve: Squeeze fresh lime juice over the tacos for added brightness and flavor. Serve the tacos warm, accompanied by additional lime wedges and sour cream or Greek yogurt on the side for those who like a creamy addition.
- Enjoy: Gather your guests around and let them build their own tacos just the way they like them. Enjoy the explosion of flavors and the spicy goodness of these shrimp tacos!
