
As an Amazon Associate I earn from qualifying purchases.
Editorial Policy | Disclosure Policy
DIY Fruit Battery: Power Your Snack
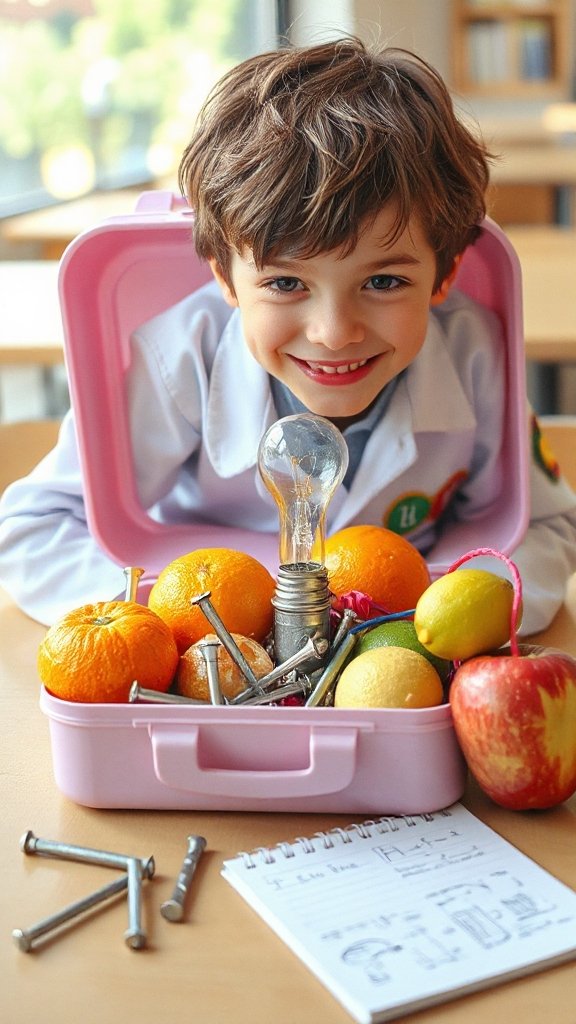
The DIY Fruit Battery is not a traditional dish to cook, but rather an exciting and educational experiment that allows you to create your own battery using fruits. By utilizing the natural acids in fruits like lemons or oranges, you can generate a small amount of electricity to power a simple device, such as a LED light. This fun and hands-on activity combines science with creativity, perfect for young scientists enthusiastic to understand the principles of energy and electricity.
| Ingredients | Quantity |
|---|---|
| Lemon or Orange | 1 |
| Copper Coin or Wire | 1 piece |
| Zinc Nail or Wire | 1 piece |
| LED Light (optional) | 1 |
| Connecting Wires | 2 |
Instructions:
- Cut the lemon or orange in half.
- Insert the copper coin or wire into one half of the fruit.
- Insert the zinc nail or wire into the same half, making sure it does not touch the copper.
- Use a connecting wire to connect the copper to the positive (longer) leg of the LED light.
- Connect another wire from the zinc to the negative (shorter) leg of the LED light.
- If the connections are good, the LED light should illuminate!
Edible Water Bottles: A Sustainable Science Project
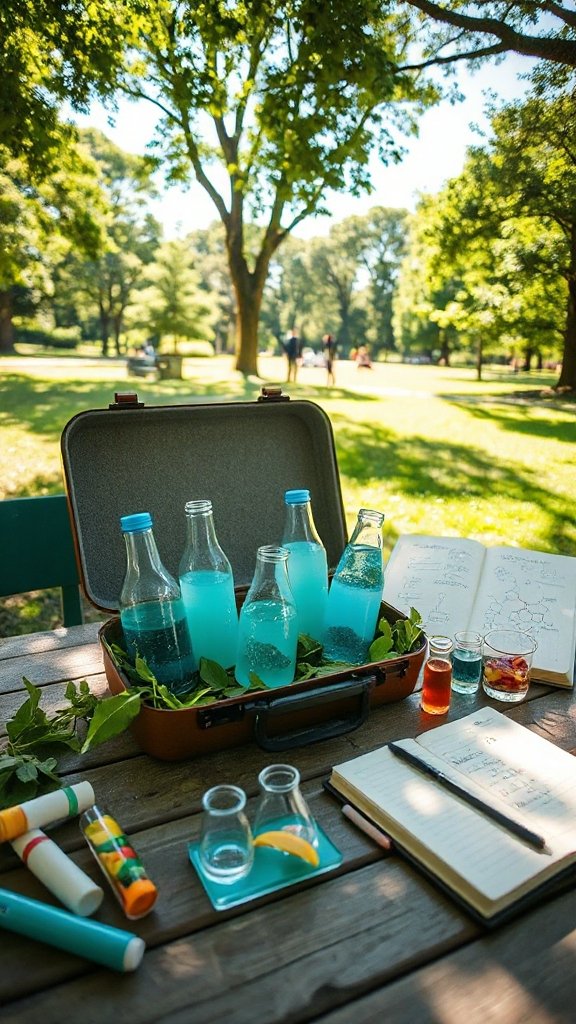
Edible Water Bottles are a fun and innovative way to tackle waste from plastic bottles while enjoying hydration. This unique science project involves creating water-filled capsules using natural ingredients, making a sustainable snack that can be eaten or tossed after use. It’s an excellent educational experience for young scientists, blending food science with environmental consciousness.
| Ingredients | Quantity |
|---|---|
| Water | 1 cup |
| Sodium Alginate | 1 teaspoon |
| Calcium Chloride | 1 teaspoon |
| Food Color (optional) | A few drops |
Instructions:
- In a bowl, mix 1 cup of water with 1 teaspoon of sodium alginate until fully dissolved. Add food color if desired.
- In another bowl, dissolve 1 teaspoon of calcium chloride in 1 cup of water to create a calcium bath.
- Using a spoon or syringe, carefully drop small amounts of the alginate mixture into the calcium bath.
- Allow the droplets to sit in the bath for a few minutes until they form a gel-like, edible skin.
- Gently remove the water capsules from the calcium bath and rinse them in plain water.
- Your edible water bottles are ready to enjoy! Just bite or squeeze to drink.
Milk Magic: Color Change Experiment
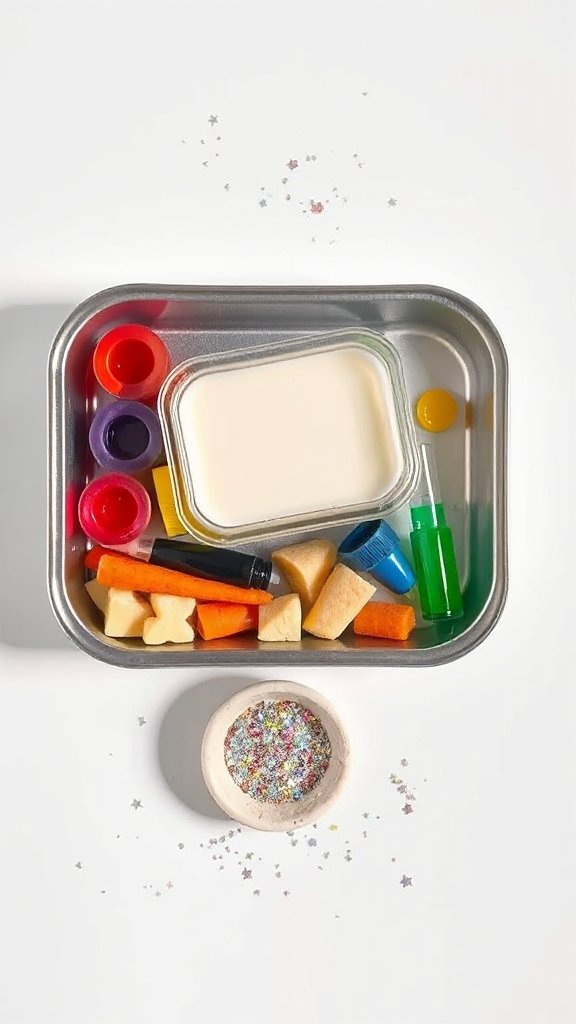
Milk Magic is a fascinating science experiment that demonstrates the power of chemical reactions using common kitchen ingredients. This colorful activity is perfect for young scientists, as it showcases how food coloring interacts with milk and dish soap to create a beautiful swirling effect. It’s a fun way to explore concepts such as surface tension and chemical reactions, all while creating a mesmerizing visual display.
| Ingredients | Quantity |
|---|---|
| Whole Milk | 1 cup |
| Food Coloring (3 colors) | A few drops of each color |
| Dish Soap | 1 teaspoon |
| Shallow Dish or Plate | 1 |
Instructions:
- Pour 1 cup of whole milk into a shallow dish or plate until it covers the bottom.
- Drop a few drops of different food coloring around the milk surface, spacing them out.
- Dip a cotton swab into the dish soap and gently touch it to the center of the milk.
- Watch as the colors start to swirl and create beautiful patterns due to the reaction!
- Feel free to experiment by adding more soap or food coloring to see different effects.
Homemade Ice Cream in a Bag: Chemistry in Action
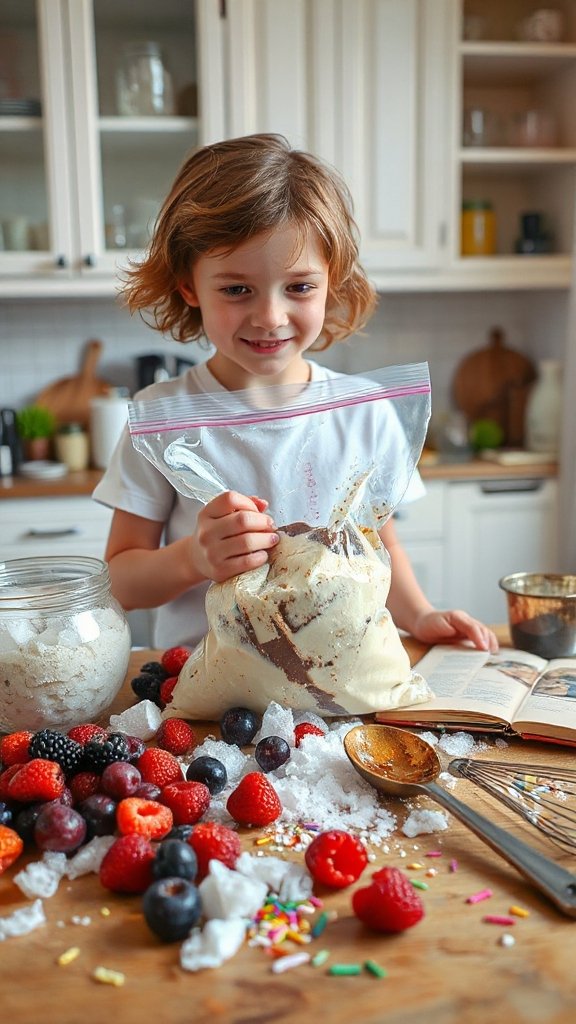
Homemade Ice Cream in a Bag is a delightful and engaging science experiment that not only satisfies a sweet tooth but also teaches kids about the principles of freezing and the effects of salt on ice. By using simple ingredients and a zip-top bag, young scientists can make their own ice cream while exploring the science behind the process. It’s a fun blend of chemistry and culinary skills that results in a delicious treat.
| Ingredients | Quantity |
|---|---|
| Heavy Cream | 1 cup |
| Whole Milk | 1 cup |
| Sugar | 1/2 cup |
| Vanilla Extract | 1 teaspoon |
| Ice | 4 cups |
| Salt (rock or table salt) | 1/2 cup |
| Zip-top Plastic Bags | 2 (1 large, 1 small) |
Instructions:
- In a small zip-top plastic bag, combine heavy cream, whole milk, sugar, and vanilla extract. Seal the bag tightly, ensuring there is no air inside.
- In a larger zip-top bag, add the ice and salt. Place the smaller bag inside the larger bag, making sure it’s surrounded by the ice mixture.
- Seal the larger bag tightly and shake vigorously for about 5-10 minutes. The shaking helps mix the cream while the salt lowers the freezing point of the ice, allowing the mixture to freeze faster.
- Once the ice cream reaches your desired consistency, carefully remove the smaller bag, wipe it down to prevent any salt from getting into your treat, and enjoy!
Lava Lamp Lunch: A Fizzy Reaction
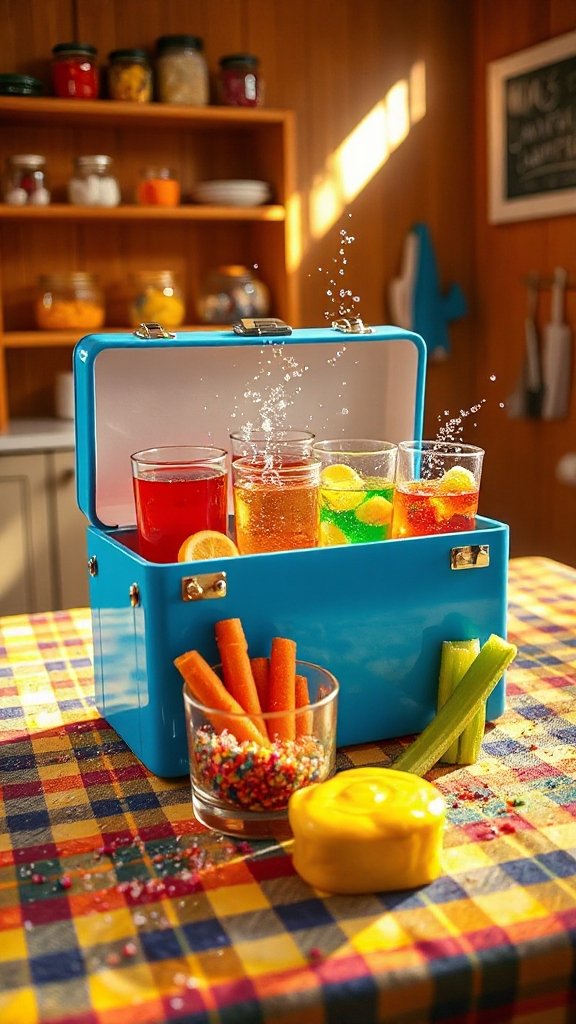
Lava Lamp Lunch is a fun and visually enthralling science experiment that turns a simple meal into a fizzy, colorful display. This dish combines the elements of food and science, teaching kids about chemical reactions while they enjoy a playful lunch. With the bubbling, swirling effect reminiscent of a lava lamp, this dish is not only entertaining but also easy to prepare, making it a perfect hands-on learning experience for young scientists.
| Ingredients | Quantity |
|---|---|
| Water | 1 cup |
| Cooking Oil | 1/2 cup |
| Food Coloring | 3-5 drops (multiple colors) |
| Baking Soda | 1 teaspoon |
| Vinegar | 1/4 cup |
| Clear Plastic Bottle or Jar | 1 |
Instructions:
- Fill the clear plastic bottle or jar about one-third full with water.
- Pour in the cooking oil, filling the container nearly to the top. Let it settle for a moment, as the oil will float on top of the water.
- Add 3-5 drops of food coloring to the jar. Watch as the color creates beautiful pockets in the oil.
- In a small bowl, mix the vinegar with the baking soda to create a fizzy reaction.
- Carefully pour the vinegar mixture into the bottle or jar and watch your lava lamp come to life as the colorful bubbles rise and fall!
Veggie Volcano: Eruption With Baking Soda
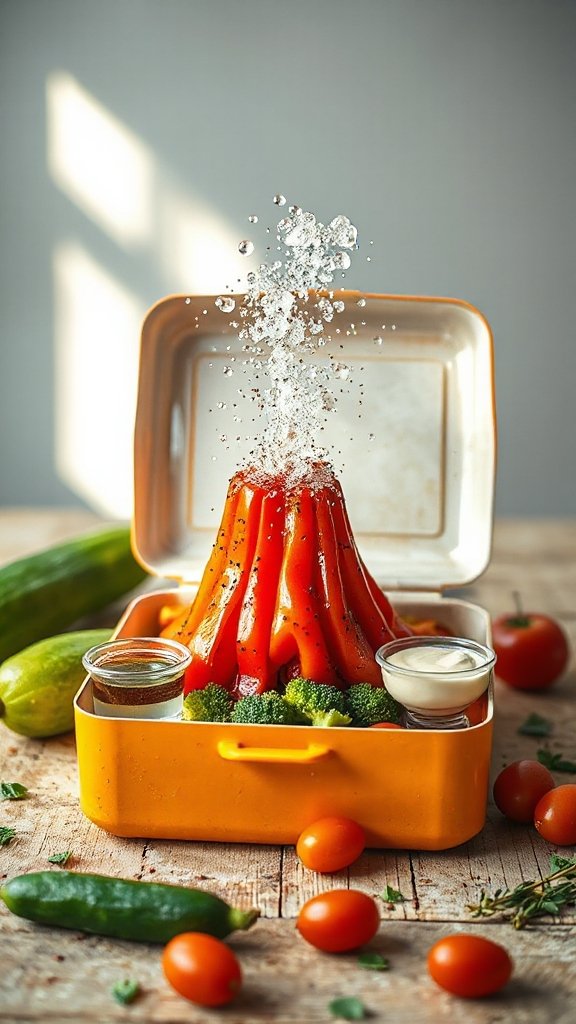
Veggie Volcano is an exciting and interactive science experiment that allows kids to witness a mini eruption using fresh vegetables and baking soda. By combining simple household ingredients, this dish demonstrates the principles of chemical reactions in a fun and edible way. It provides a perfect opportunity for young scientists to explore the concepts of acidity and alkalinity while creating a visually dynamic display with their healthy snack!
| Ingredients | Quantity |
|---|---|
| Bell Pepper or Tomato | 1 (hollowed out) |
| Baking Soda | 2 tablespoons |
| Vinegar | 1/4 cup |
| Food Coloring (optional) | 3-5 drops |
| Plastic Tray or Dish | 1 |
Instructions:
- Take your bell pepper or tomato and carefully hollow it out so that it resembles a small volcano shape.
- Place the hollow vegetable on a plastic tray or dish to catch any overflow.
- In a small bowl, mix 2 tablespoons of baking soda with food coloring if desired, and then pour it into the hollowed vegetable.
- Slowly pour 1/4 cup of vinegar into the vegetable, causing it to erupt with colorful fizz and bubbles!
- Enjoy the visual display and discuss the science behind the eruption with your young scientists.
Bread Mold Investigation: The Science of Decay
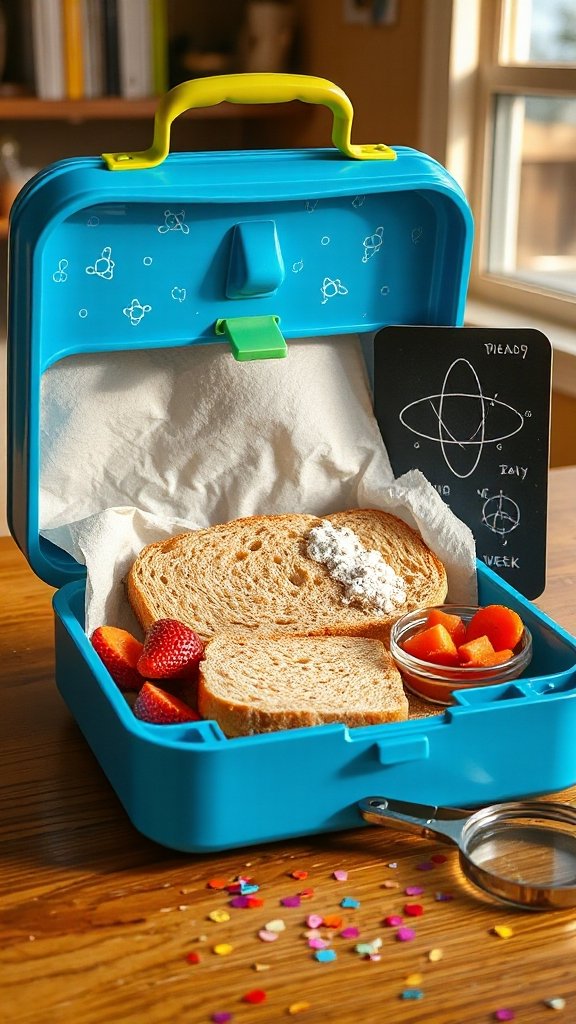
Bread Mold Investigation: The Science of Decay
The Bread Mold Investigation is a fascinating experiment that allows young scientists to observe how mold grows on bread over time. This hands-on activity not only explores the science of decay and decomposition but also gives insight into the importance of mold in our ecosystem. Participants can set up different conditions to test how various environments affect mold growth—an engaging way to learn about microorganisms and their life cycles!
| Ingredients | Quantity |
|---|---|
| Slices of Bread | 2-4 slices |
| Ziplock Bags | 2-4 bags |
| Water | A few teaspoons |
| Marker | 1 |
| Optional: Sugar, Salt, or Other Foods | Small amounts |
Instructions:
- Start by placing each slice of bread in separate Ziplock bags. Label each bag with the conditions you want to test (e.g., “Control,” “Wet,” “Sugary,” etc.) using a marker.
- For the “Wet” bag, lightly mist the bread with water using a spray bottle and seal the bag.
- For bags testing sugar or salt, sprinkle a small amount onto the bread before sealing. The control bag should remain plain.
- Store the bags in a warm, dark location and observe them daily for signs of mold growth.
- Record any changes observed, such as color, texture, and amount of mold in a science journal. Discuss the findings with your young scientists!
Jelly Bean Density Tower: Exploring Buoyancy

The Jelly Bean Density Tower is a fun and colorful science experiment that explores the concept of buoyancy and density using jelly beans. This hands-on activity not only allows kids to learn about how different liquids have different densities, but it also challenges them to create a tasty “tower” of jelly beans that float, sink, or hover in a stack of different flavored liquids. It’s a sweet way to combine science and snack time!
| Ingredients | Quantity |
|---|---|
| Jelly Beans | 1 cup (variety of colors/flavors) |
| Water | 1 cup |
| Vegetable Oil | 1 cup |
| Corn Syrup | 1 cup |
| Food Coloring (optional) | Several drops |
| Clear Cup or Container | 1 large |
Instructions:
- Begin by adding the water to the clear cup or container as the first layer.
- Slowly pour the corn syrup into the cup, ensuring it doesn’t mix with the water; it should create a distinct layer.
- Next, gently add the vegetable oil on top of the corn syrup to form another layer.
- If desired, use food coloring in each liquid to enhance visibility and make the layers more distinct.
- Finally, carefully place the jelly beans on top of the oil layer, allowing them to float based on their density. Observe and record which jelly beans sink, float, or hover in the layers! Enjoy your tasty science experiment!
Snack Time Silly Putty: Creating Non-Newtonian Fluids
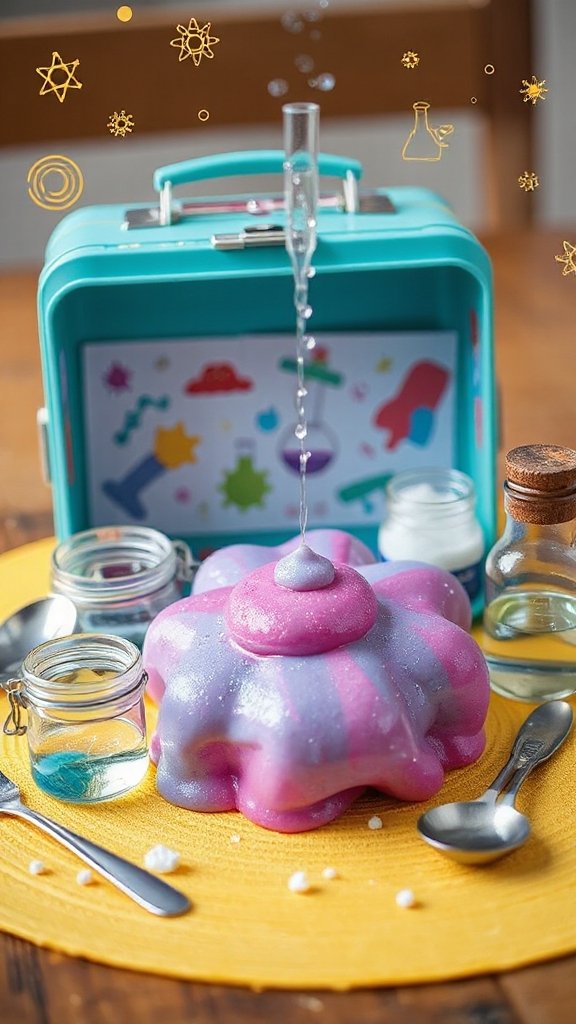
Snack Time Silly Putty is an exciting and interactive science experiment that allows kids to create a fun, stretchy, and squishy non-Newtonian fluid using simple kitchen ingredients. This activity not only provides a sensory experience but also teaches about the fascinating properties of fluids that behave differently under various conditions. Get ready to mix, play, and learn with this edible twist on a classic science experiment!
| Ingredients | Quantity |
|---|---|
| Cornstarch | 1 cup |
| Peanut Butter or Almond Butter | 1/2 cup |
| Water | 1/4 cup |
| Food Coloring (optional) | Several drops |
Instructions:
- In a mixing bowl, combine the cornstarch and peanut butter (or almond butter) until well blended.
- Gradually add water to the mixture while stirring until you achieve a smooth consistency.
- If desired, incorporate food coloring to make your silly putty more colorful.
- Knead and stretch the mixture with your hands to explore its non-Newtonian properties—observe how it flows slowly when left alone but becomes solid when pressure is applied!
- Enjoy your edible silly putty and use it for fun sensory play!
Cookie Crumble Soil Layers: Understanding Earth Science
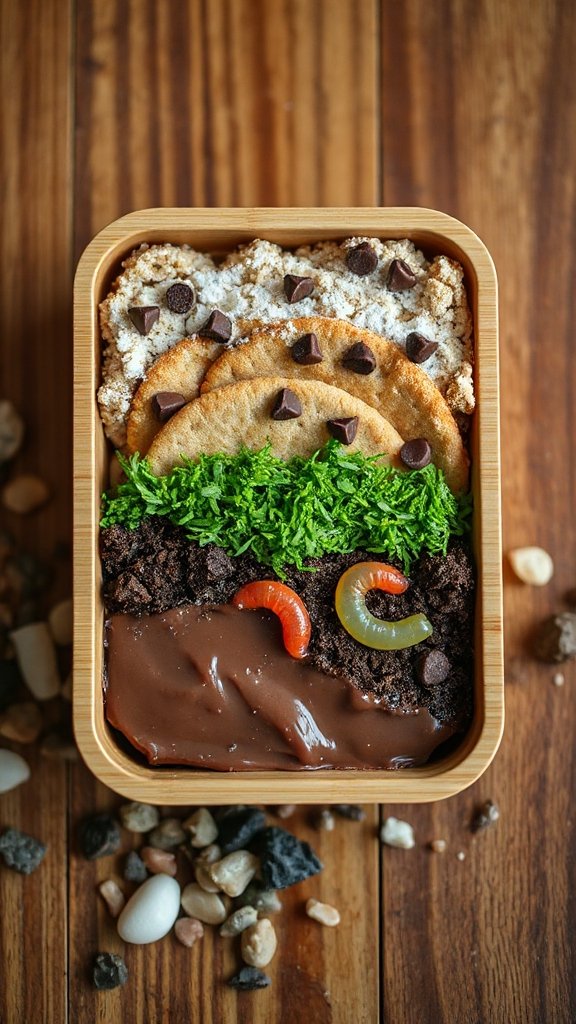
Cookie Crumble Soil Layers is a delicious and creative way to teach kids about earth science and soil composition using edible ingredients! This dessert resembles the layers of soil you’ll find in nature, combining different textures and flavors to represent the various strata of the earth. Perfect for a hands-on science lesson, this sweet treat will not only satisfy your taste buds but also spark curiosity about the world beneath our feet.
| Ingredients | Quantity |
|---|---|
| Chocolate Cookie Crumbs | 1 cup |
| Crushed Graham Crackers | 1 cup |
| Pudding (vanilla or chocolate) | 2 cups |
| Whipped Cream | 1 cup |
| Gummy Worms | 10-15 pieces |
| Chocolate Syrup (optional) | for drizzling |
Instructions:
- In clear cups or small jars, start layering the chocolate cookie crumbs at the bottom to represent the topsoil.
- Next, add a layer of pudding as the subsoil.
- Follow this with a layer of crushed graham crackers to represent the sand or sediment.
- Add another layer of pudding or whipped cream for the next soil layer.
- Finish with a dollop of whipped cream and top with gummy worms for a fun, earthy touch!
- Drizzle with chocolate syrup if desired, then present and enjoy your Cookie Crumble Soil Layers while discussing the importance of soil in the ecosystem!
DIY Seed Germination: Botanical Experiments on the Go
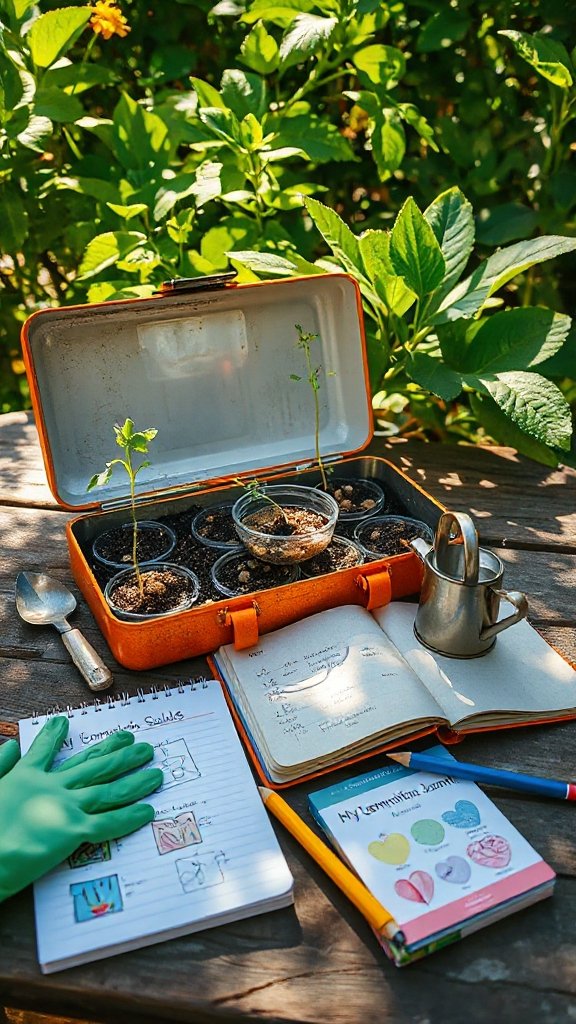
DIY Seed Germination is an engaging and educational experiment that allows young scientists to observe the magic of plants sprouting from seeds. This hands-on activity not only teaches kids about botany but also introduces them to the plant life cycle and the conditions necessary for seed germination. Using simple materials, children can set up their own mini gardens and watch as seeds transform into beautiful plants right before their eyes!
| Ingredients | Quantity |
|---|---|
| Seeds (beans, peas, etc.) | 10-12 seeds |
| Cotton balls | 10-12 pieces |
| Plastic cups or containers | 2-4 cups |
| Water | As needed |
| Clear plastic wrap | Optional (for humidity) |
Instructions:
- Place a few cotton balls at the bottom of each plastic cup, ensuring they cover the base.
- Moisten the cotton balls with a small amount of water; they should be damp but not soaking.
- Place 2-3 seeds on top of the cotton balls in each cup.
- Cover the cups with clear plastic wrap to create a humid environment for the seeds.
- Place the cups in a warm, sunny spot and check them daily, adding water if the cotton balls dry out.
- After a few days, observe the seeds germinating and document the growth progress as they sprout into seedlings!