
As an Amazon Associate I earn from qualifying purchases.
Editorial Policy | Disclosure Policy
Decadent Chocolate Cake
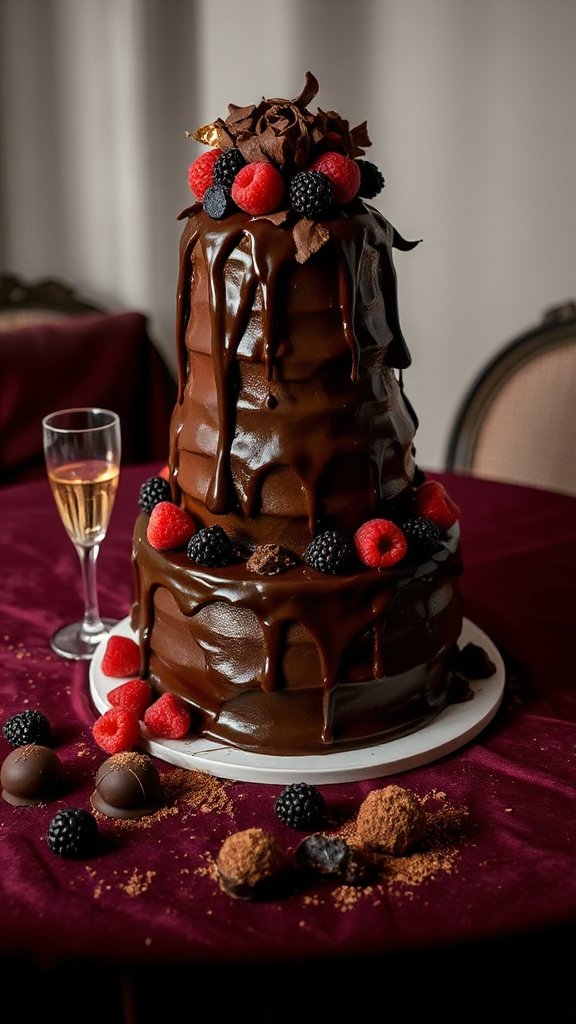
Chocolate cake is a classic dessert that delights the taste buds and elevates any celebration day. This decadent chocolate cake is rich, moist, and features layers of velvety chocolate frosting. Perfect for birthdays, anniversaries, or any special occasion, this treat is sure to be the centerpiece of your celebration.
| Ingredients | Quantity |
|---|---|
| All-purpose flour | 1 ¾ cups |
| Granulated sugar | 2 cups |
| Unsweetened cocoa powder | ¾ cup |
| Baking powder | 1 ½ teaspoons |
| Baking soda | 1 ½ teaspoons |
| Salt | 1 teaspoon |
| Large eggs | 2 |
| Whole milk | 1 cup |
| Vegetable oil | ½ cup |
| Vanilla extract | 2 teaspoons |
| Boiling water | 1 cup |
| Butter (for frosting) | 1 cup |
| Confectioners’ sugar | 3 ½ cups |
| Unsweetened cocoa powder | ½ cup |
| Heavy cream | 1/4 cup |
| Vanilla extract (for frosting) | 1 teaspoon |
Cooking Steps:
- Preheat your oven to 350°F (175°C) and grease two 9-inch round cake pans.
- In a large bowl, mix the flour, sugar, cocoa powder, baking powder, baking soda, and salt.
- Add eggs, milk, oil, and vanilla to the dry ingredients, and mix until well combined.
- Carefully stir in the boiling water until the batter is smooth (the batter will be thin).
- Pour the batter evenly into the prepared pans and bake for 30-35 minutes or until a toothpick comes out clean.
- Let the cakes cool in the pans for 10 minutes, then turn them out onto wire racks to cool completely.
- For the frosting, beat the butter until creamy, then gradually add confectioners’ sugar and cocoa powder, alternating with heavy cream and vanilla until smooth and spreadable.
- Assemble the cake by placing one layer on a serving plate, frosting the top, adding the second layer, and covering the entire cake with the remaining frosting.
- Decorate as desired and enjoy your decadent chocolate cake at your celebration!
Colorful Cupcake Assortment
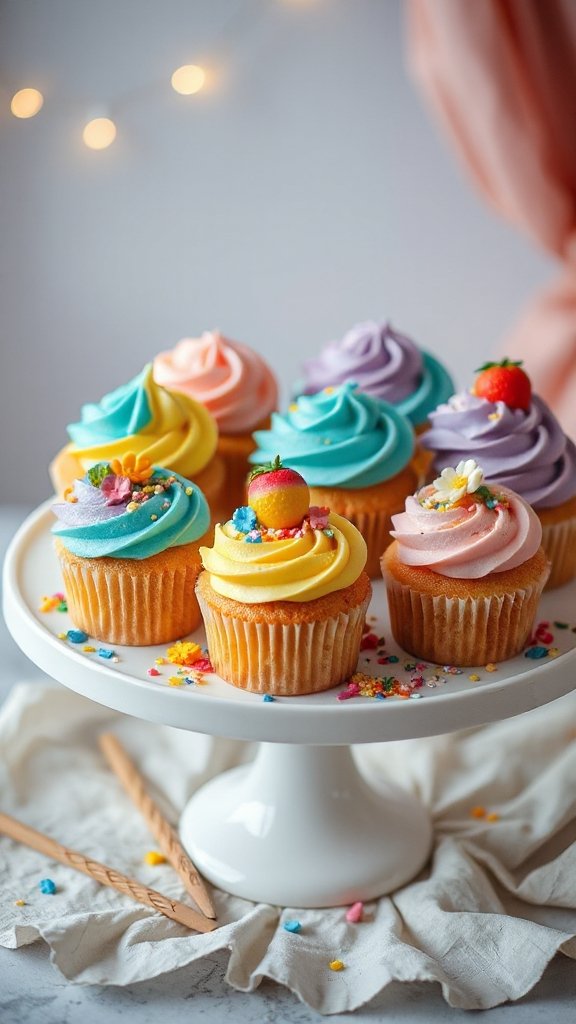
Colorful cupcakes are a delightful addition to any celebration, bringing fun and flair to your dessert table. These mini treats can be customized with various flavors and vibrant frosting colors, making them perfect for birthdays, baby showers, or any festive occasion. Here’s a simple recipe for an assortment of colorful cupcakes that will impress your guests and satisfy their sweet tooth.
| Ingredients | Quantity |
|---|---|
| All-purpose flour | 2 cups |
| Granulated sugar | 1 ½ cups |
| Baking powder | 1 tablespoon |
| Salt | ½ teaspoon |
| Unsalted butter (softened) | ½ cup |
| Large eggs | 3 |
| Whole milk | 1 cup |
| Vanilla extract | 2 teaspoons |
| Food coloring | Assorted colors |
| Confectioners’ sugar | 4 cups |
| Heavy cream | ¼ cup |
Cooking Steps:
- Preheat your oven to 350°F (175°C) and line a muffin tin with cupcake liners.
- In a large bowl, combine flour, sugar, baking powder, and salt.
- Add softened butter, eggs, milk, and vanilla extract to the dry ingredients and mix until smooth.
- Divide the batter into separate bowls and mix in different food coloring shades to create a vibrant assortment.
- Use a spoon to layer the different colors in each cupcake liner, creating a marbled effect.
- Bake for 18-20 minutes or until a toothpick comes out clean when inserted.
- Allow the cupcakes to cool completely before frosting them.
- In a separate bowl, whip heavy cream and gradually add confectioners’ sugar until you reach your desired frosting consistency and sweetness.
- Decorate the cooled cupcakes with colorful frosting and additional toppings as desired. Enjoy your beautiful and festive cupcakes at your celebration!
Exquisite Cheesecake Variations
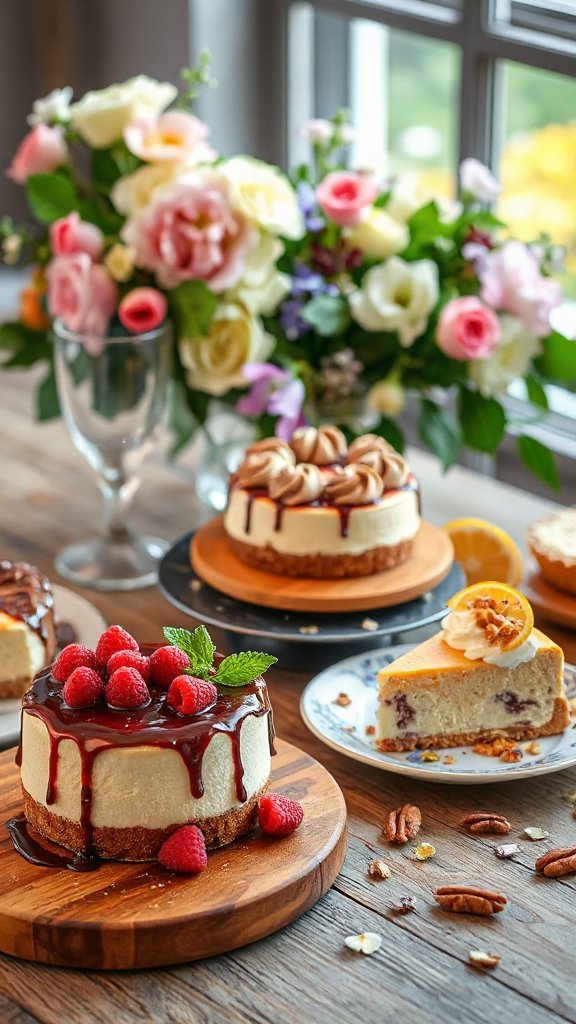
Exquisite cheesecakes are a luxurious treat that can elevate any celebration, offering creamy textures and rich flavors that delight the taste buds. From classic styles to unique variations, cheesecakes can be customized with various toppings and swirls, making them perfect for special occasions like anniversaries, graduations, or holiday gatherings. Here’s a recipe for a delightful mixed berry cheesecake that will wow your guests and add elegance to your dessert spread.
| Ingredients | Quantity |
|---|---|
| Cream cheese | 24 oz (3 packages) |
| Granulated sugar | 1 cup |
| Sour cream | 1 cup |
| Large eggs | 3 |
| Vanilla extract | 2 teaspoons |
| Lemon juice | 2 tablespoons |
| Graham cracker crumbs | 1 ½ cups |
| Unsalted butter (melted) | ½ cup |
| Mixed berries (fresh or frozen) | 2 cups |
| Cornstarch | 2 tablespoons |
| Confectioners’ sugar (for topping) | ¼ cup |
Cooking Steps:
- Preheat the oven to 325°F (163°C) and grease a 9-inch springform pan.
- In a medium bowl, combine graham cracker crumbs and melted butter to create the crust, then press mixture firmly into the bottom of the pan.
- In a large mixing bowl, beat cream cheese until smooth, then add in sugar, sour cream, vanilla extract, lemon juice, and cornstarch, mixing until well combined.
- Add eggs, one at a time, and mix on low speed until just blended, being careful not to overmix.
- Pour the cheesecake batter over the crust and spread evenly.
- Bake for 50-60 minutes or until the center is set but still slightly jiggly.
- Allow the cheesecake to cool, then refrigerate for at least 4 hours or overnight to firm up.
- Before serving, top with mixed berries and sprinkle confectioners’ sugar on top for presentation. Enjoy your luxurious cheesecake at your celebration!
Festive Fruit Tart
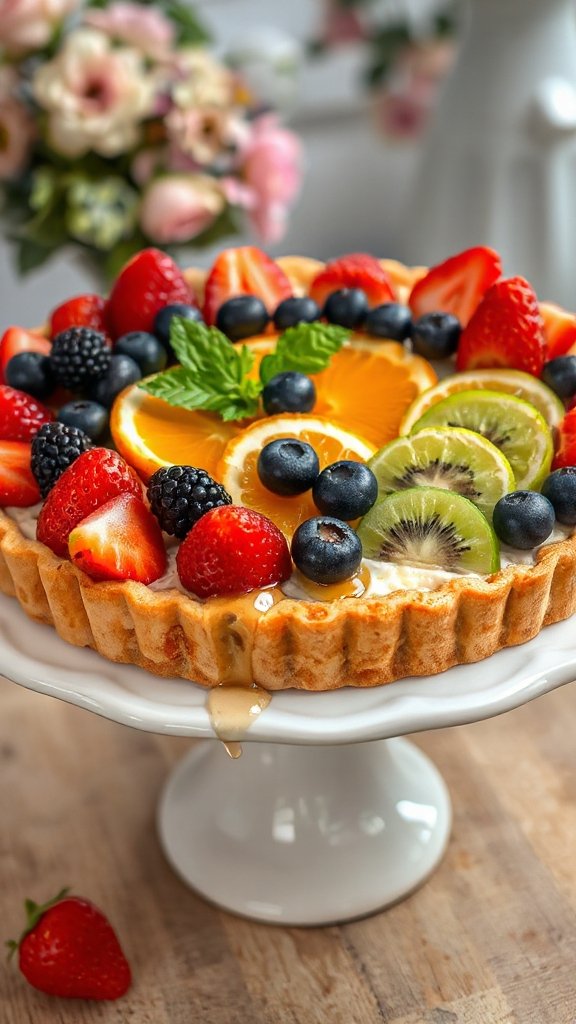
A festive fruit tart is a delightful dessert perfect for any celebration day, showcasing a crisp pastry crust filled with creamy custard and topped with an array of vibrant, fresh fruits. This beautiful tart not only pleases the palate but also adds a visual appeal to your dessert table, making it ideal for birthdays, baby showers, or any joyous occasion. Here’s how to make a stunning festive fruit tart that will impress your guests.
| Ingredients | Quantity |
|---|---|
| All-purpose flour | 1 ½ cups |
| Unsalted butter, cold | ½ cup (1 stick) |
| Granulated sugar | ¼ cup |
| Egg yolks | 2 |
| Ice water | 2-3 tablespoons |
| Milk | 1 cup |
| Heavy cream | 1 cup |
| Vanilla extract | 1 teaspoon |
| Cornstarch | 2 tablespoons |
| Fresh fruit (kiwi, strawberries, blueberries, etc.) | 2 cups (sliced) |
Cooking Steps:
- In a food processor, blend flour, butter, and sugar until crumbly. Add egg yolks and ice water, mix until dough forms. Chill the dough for 30 minutes.
- Preheat oven to 375°F (190°C). Roll out dough and press it into a tart pan. Prick the bottom with a fork and bake for 15-20 minutes until golden. Let cool.
- In a saucepan, combine milk, heavy cream, vanilla, and cornstarch over medium heat. Stir until thickened, then remove from heat to cool.
- Fill the cooled tart shell with the custard mixture. Decorate with assorted fresh fruits on top.
- Chill the tart for at least 1 hour before serving. Enjoy your festive fruit tart at your celebration!
Classic Cookies and Cream Pudding
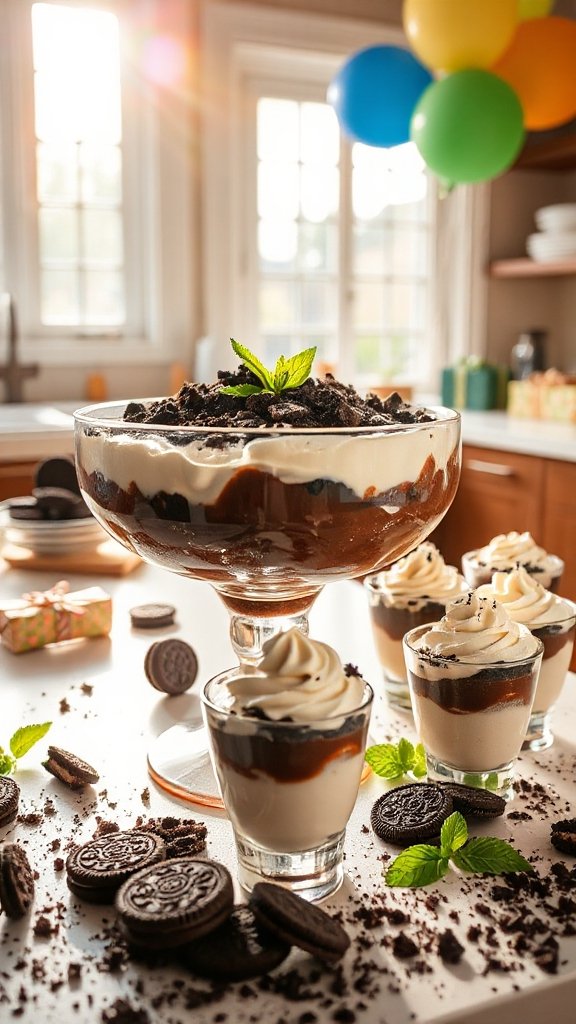
Classic Cookies and Cream Pudding is a delightful and indulgent dessert that combines the rich flavors of chocolate cookies with a smooth and creamy pudding base. Perfect for celebration days, this treat is simple to prepare and sure to satisfy any sweet tooth. Whether you’re hosting a party or enjoying a cozy night in, this dessert will add a touch of sweetness to your occasion.
| Ingredients | Quantity |
|---|---|
| Vanilla pudding mix | 1 package (3.4 oz) |
| Milk | 2 cups |
| Heavy whipping cream | 1 cup |
| Powdered sugar | ¼ cup |
| Chocolate sandwich cookies | 1 ½ cups (crushed) |
| Vanilla extract | 1 teaspoon |
Cooking Steps:
- In a medium bowl, whisk together the vanilla pudding mix and milk until smooth. Let it sit for 5 minutes to thicken.
- In another bowl, whip the heavy cream and powdered sugar until soft peaks form. Gently fold in the pudding mixture and add vanilla extract. Mix until well combined.
- Add half of the crushed chocolate cookies into the pudding mixture and gently fold to combine.
- In serving cups, layer the pudding mixture, remaining crushed cookies, and more pudding until cups are filled.
- Chill in the refrigerator for at least 1 hour before serving. Enjoy your delicious cookies and cream pudding!
Dreamy Mousse Cups
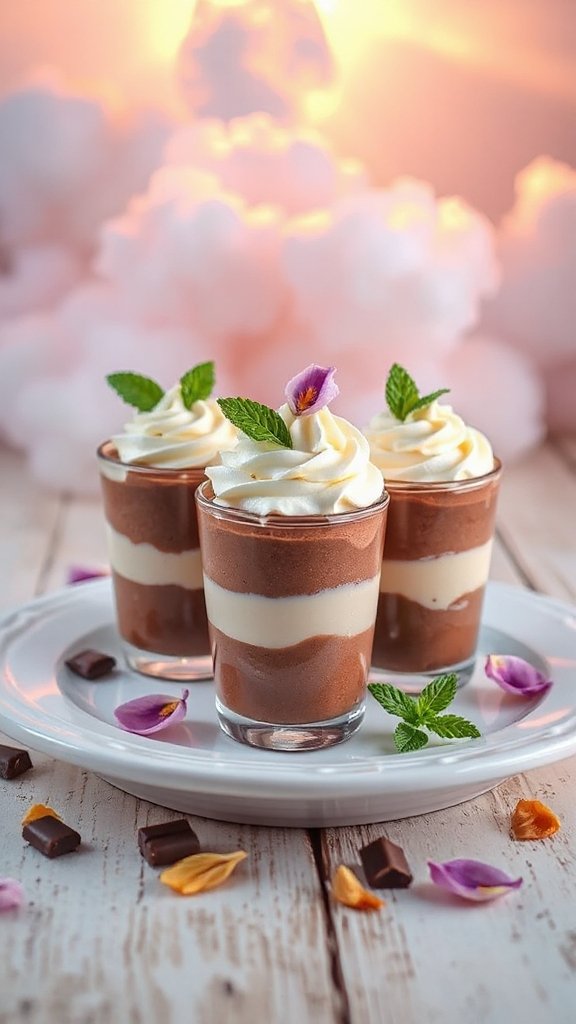
Dreamy Mousse Cups are a luxurious and light dessert, perfect for any celebration. With a velvety texture and a rich flavor, these mousse cups can bring a touch of elegance to your dessert table. Easy to prepare and visually appealing, these treats will impress your guests and make your celebration even sweeter.
| Ingredients | Quantity |
|---|---|
| Semi-sweet chocolate | 8 oz |
| Heavy whipping cream | 2 cups |
| Granulated sugar | ¼ cup |
| Vanilla extract | 1 teaspoon |
| Eggs | 2 large (separated) |
| Pinch of salt | – |
Cooking Steps:
- Melt the semi-sweet chocolate in a microwave-safe bowl, stirring every 30 seconds until smooth; let it cool slightly.
- In a separate bowl, whip the heavy cream, sugar, and vanilla extract until soft peaks form.
- In another bowl, beat the egg whites with a pinch of salt until stiff peaks form.
- Gently fold the melted chocolate into the whipped cream until combined, then fold in the beaten egg whites.
- Spoon or pipe the mousse into serving cups and refrigerate for at least 2 hours before serving. Enjoy the dreamy layers of flavor!
Whimsical Cake Pops
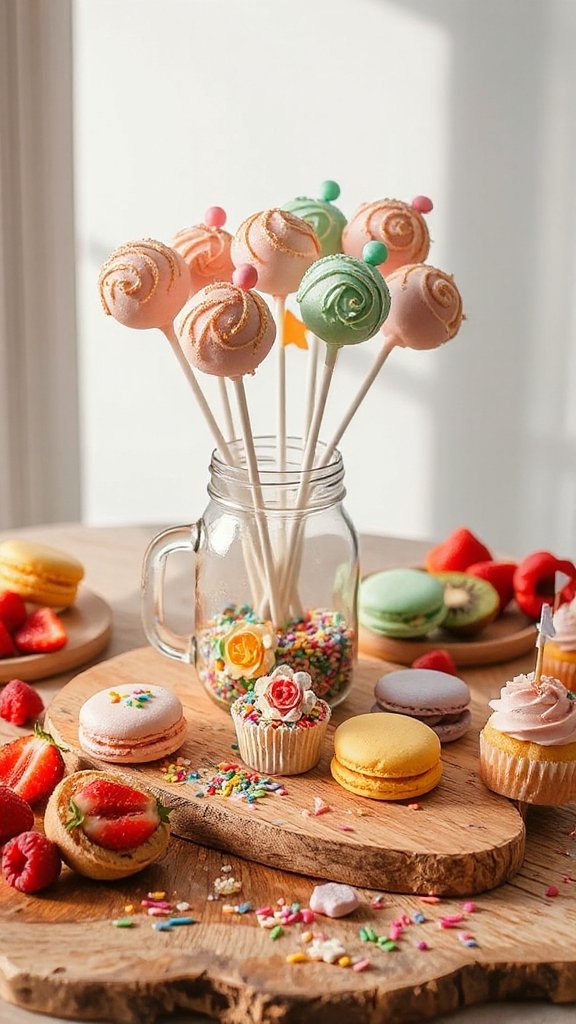
Whimsical Cake Pops are a fun and festive treat that adds a playful twist to any celebration. These bite-sized desserts are made from crumbled cake mixed with frosting, coated in chocolate, and decorated with colorful sprinkles, making them a delightful option for both kids and adults. Perfect for parties, weddings, or birthdays, they provide both visual appeal and indulgent sweetness in every pop!
| Ingredients | Quantity |
|---|---|
| Cake (any flavor) | 1 (9-inch round) |
| Frosting (any flavor) | 1 cup |
| Candyman chocolate melts | 2 cups |
| Sprinkles | For decoration |
| Lollipop sticks | 20 (approximately) |
Cooking Steps:
- Crumble the cooled cake in a large bowl until fine, then mix in the frosting until well combined.
- Scoop the mixture and form into small balls, placing them on a baking sheet lined with parchment paper.
- Insert a lollipop stick into each cake ball and freeze for 30 minutes.
- Melt the candy melts according to package instructions, then dip each cake pop into the melted chocolate, ensuring it’s fully coated.
- While the chocolate is still wet, sprinkle your desired decorations on top.
- Allow the cake pops to set in a styrofoam block or upright on a baking sheet until the chocolate hardens. Enjoy your whimsical creations!
Layered Trifle Delight
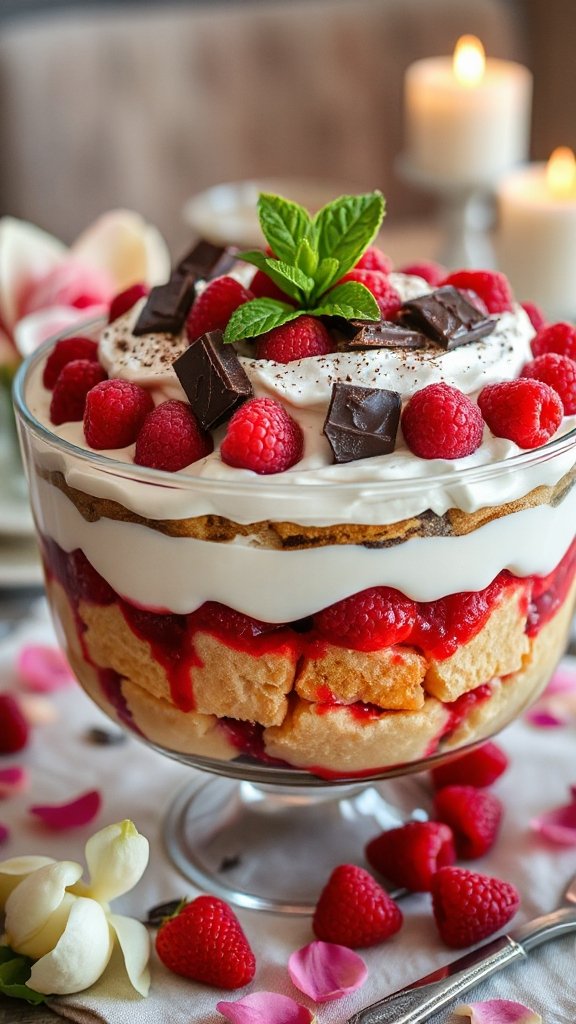
Layered Trifle Delight is a stunning dessert that combines layers of cake, creamy filling, and vibrant fruits, resulting in a visually appealing and delicious treat perfect for any celebration. This no-bake dessert can be easily assembled in a large glass bowl or individual cups, making it not only a delight to indulge in but also a delightful centerpiece for your celebration table.
| Ingredients | Quantity |
|---|---|
| Angel food cake (or sponge cake) | 1 (9-inch round) |
| Vanilla pudding | 2 cups |
| Whipped cream | 2 cups |
| Mixed berries (strawberries, blueberries, raspberries) | 2 cups |
| Mint leaves for garnish | Optional |
Cooking Steps:
- Cut the angel food cake into bite-sized pieces and place a layer at the bottom of your trifle dish or individual cups.
- Spoon a layer of vanilla pudding over the cake pieces, followed by a layer of whipped cream.
- Add a layer of mixed berries on top, repeating the layers until you reach the top of your dish.
- Finish with a final layer of whipped cream and top with a few berries and mint leaves for garnish.
- Chill the trifle in the refrigerator for at least 2 hours before serving to allow the flavors to meld. Enjoy your Layered Trifle Delight!
Salted Caramel Brownies
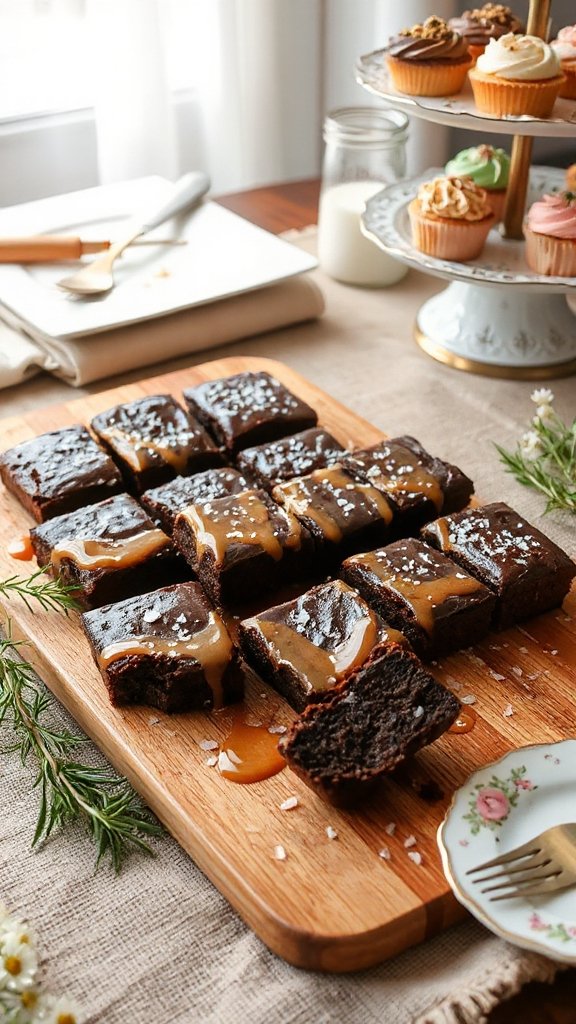
Salted Caramel Brownies are a decadent treat that offers the perfect combination of rich chocolate flavor and gooey caramel goodness, topped with a sprinkle of sea salt for an extra burst of flavor. These brownies are perfect for celebration days, bringing a satisfying and indulgent element to your dessert table that will delight your guests.
| Ingredients | Quantity |
|---|---|
| Unsalted butter | 1 cup (2 sticks) |
| Granulated sugar | 2 cups |
| Brown sugar | 1 cup |
| Large eggs | 4 |
| Vanilla extract | 2 teaspoons |
| All-purpose flour | 1 cup |
| Cocoa powder | 1 cup |
| Baking powder | 1 teaspoon |
| Salt | 1/2 teaspoon |
| Semi-sweet chocolate chips | 1 cup |
| Salted caramel sauce | 1 cup |
| Sea salt | For sprinkling |
Cooking Steps:
- Preheat your oven to 350°F (175°C) and grease a 9×13 inch baking pan.
- In a saucepan, melt the butter over low heat. Remove from heat and stir in the granulated sugar and brown sugar until well combined.
- Add the eggs and vanilla to the butter and sugar mixture, whisking until smooth.
- In a separate bowl, combine the flour, cocoa powder, baking powder, and salt. Gradually mix the dry ingredients into the wet mixture until just combined.
- Fold in the chocolate chips, then pour half the brownie batter into the prepared pan and spread evenly.
- Drizzle half of the salted caramel sauce over the brownie batter, then add the remaining brownie batter on top, smoothing out the surface.
- Drizzle the rest of the salted caramel sauce over the top and swirl it gently with a knife.
- Bake for 25-30 minutes, or until a toothpick inserted in the center comes out with moist crumbs. Let the brownies cool before cutting into squares and sprinkling with sea salt. Enjoy your Salted Caramel Brownies!
Mini Pavlovas With Fresh Berries
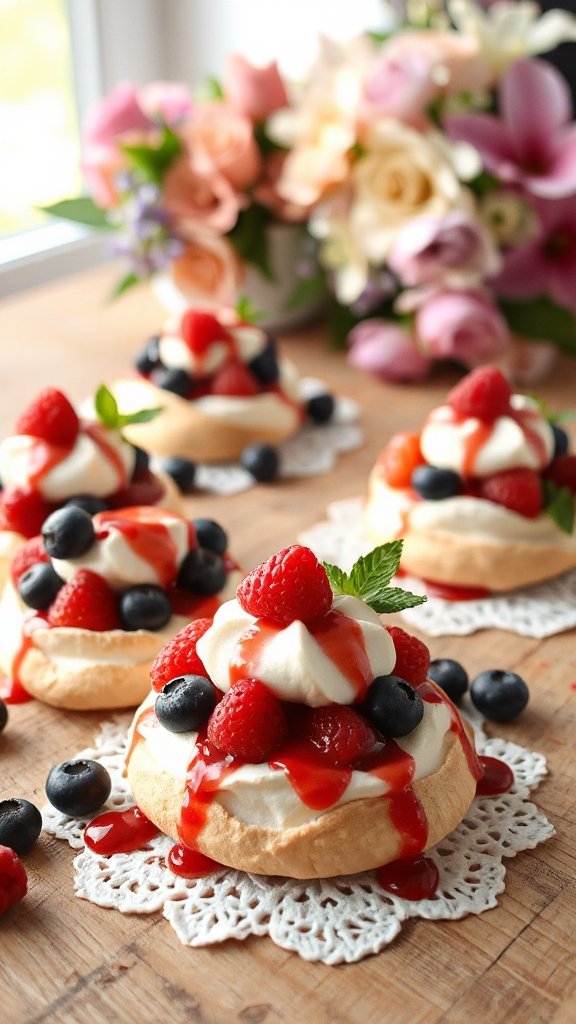
Mini Pavlovas with Fresh Berries are delightful little meringue-based desserts that are crisp on the outside while remaining soft and chewy on the inside. These airy treats are perfect for celebration days, as they can be easily topped with a variety of fresh berries and whipped cream, making them both a visual delight and a deliciously sweet addition to any dessert table.
| Ingredients | Quantity |
|---|---|
| Egg whites | 4 large |
| Granulated sugar | 1 cup |
| Cornstarch | 1 teaspoon |
| White vinegar | 1 teaspoon |
| Vanilla extract | 1 teaspoon |
| Heavy whipping cream | 1 cup |
| Powdered sugar | 2 tablespoons |
| Fresh mixed berries | 2 cups (strawberries, blueberries, raspberries) |
Cooking Steps:
- Preheat your oven to 250°F (120°C) and line a baking sheet with parchment paper.
- In a clean bowl, beat the egg whites until soft peaks form, then gradually add the granulated sugar, continuing to beat until glossy and firm peaks form.
- Gently fold in the cornstarch, white vinegar, and vanilla extract until combined.
- Spoon or pipe small mounds of the meringue onto the prepared baking sheet, creating little nests with an indentation in the center.
- Bake for 1 hour, then turn off the oven and let the mini pavlovas cool inside with the door slightly ajar.
- Once cooled, whip the heavy cream with the powdered sugar until soft peaks form, then spoon it into the pavlova nests.
- Top with fresh mixed berries and serve immediately. Enjoy your Mini Pavlovas with Fresh Berries!
S’mores Dip Party Treat

S’mores Dip is a fun and indulgent party treat that brings the classic flavors of s’mores to a warm, shareable dessert. This dip is an ideal option for celebration days, inviting guests to gather around and enjoy gooey chocolate, melted marshmallows, and crispy graham crackers in each bite. It’s simple to make and perfect for dipping, making it a hit at any gathering.
| Ingredients | Quantity |
|---|---|
| Semi-sweet chocolate chips | 1 cup |
| Mini marshmallows | 1 cup |
| Graham cracker crumbs | 1 cup |
| Butter | 2 tablespoons |
| Vanilla extract | 1 teaspoon |
| Pinch of salt | to taste |
Cooking Steps:
- Preheat your oven to 450°F (230°C) and grease a small baking dish.
- In the prepared dish, layer the semi-sweet chocolate chips evenly on the bottom.
- Top the chocolate chips with mini marshmallows, spreading them out evenly.
- Drizzle melted butter over the marshmallows and sprinkle with graham cracker crumbs, vanilla extract, and a pinch of salt.
- Bake for about 5-7 minutes, or until the marshmallows are golden and gooey.
- Remove from the oven and serve warm with graham crackers for dipping. Enjoy your S’mores Dip!