
As an Amazon Associate I earn from qualifying purchases.
Editorial Policy | Disclosure Policy
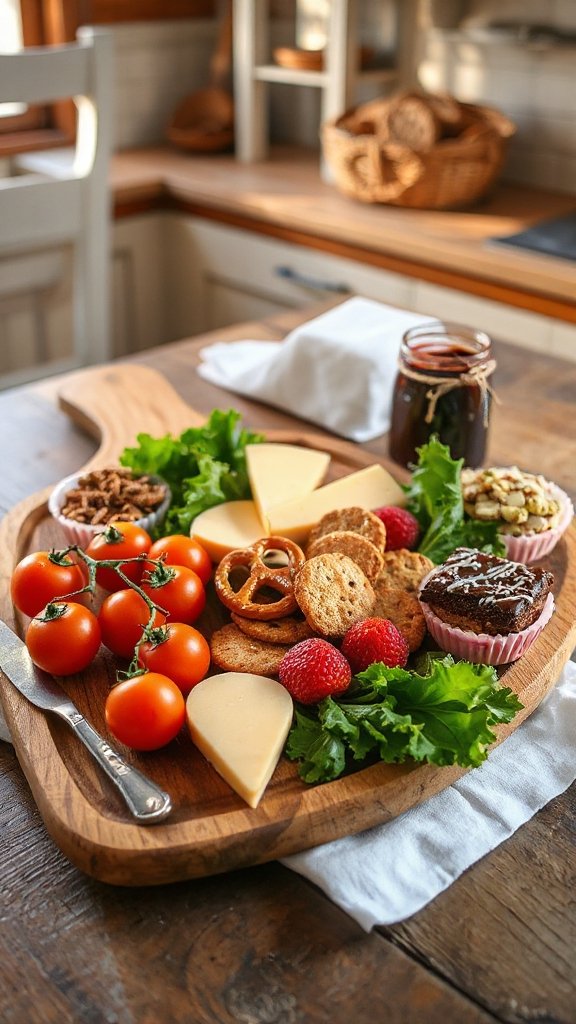
Classic Cheese and Crackers
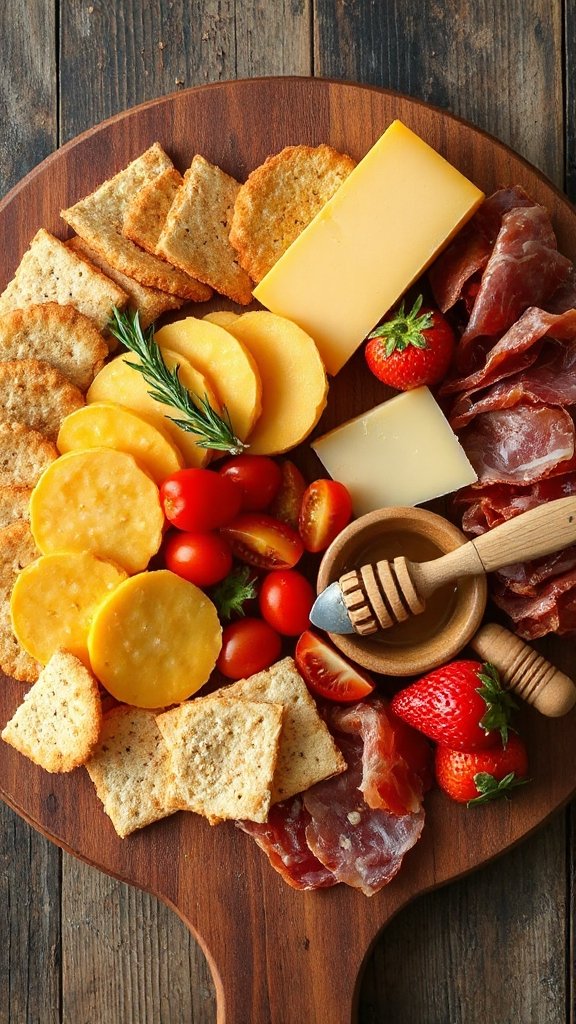
DIY Lunchables are a fun and customizable way to enjoy a nostalgic snack that combines a variety of flavors and textures. This Classic Cheese and Crackers version allows you to create a delicious, portable meal that is perfect for lunches, snacks, or even picnics. You can select your favorite cheeses, crackers, and other accompaniments to make it uniquely yours.
| Ingredient | Quantity |
|---|---|
| Cheese (Cheddar, Swiss, etc.) | 4 ounces |
| Crackers (whole grain, Ritz, etc.) | 8-10 crackers |
| Sliced deli meat (ham, turkey, etc.) | 2 ounces |
| Grapes or apple slices | 1 cup |
| Baby carrots | 1 cup |
| Hummus or dip of choice | 2 tablespoons |
| Optional: nuts or trail mix | 1/4 cup |
Instructions:
- Cut the cheese into bite-sized squares or slices and arrange them on a plate or lunch container.
- Lay out the crackers next to the cheese for easy pairing.
- Add thin slices of deli meat on the plate, along with your choice of grapes or apple slices.
- Include a small portion of baby carrots and your choice of hummus or dip for additional flavor.
- If desired, sprinkle some nuts or trail mix in the corner for a crunchy addition.
- Pack everything into a lunch container or bento box for easy transport. Enjoy!
Deconstructed Sandwiches
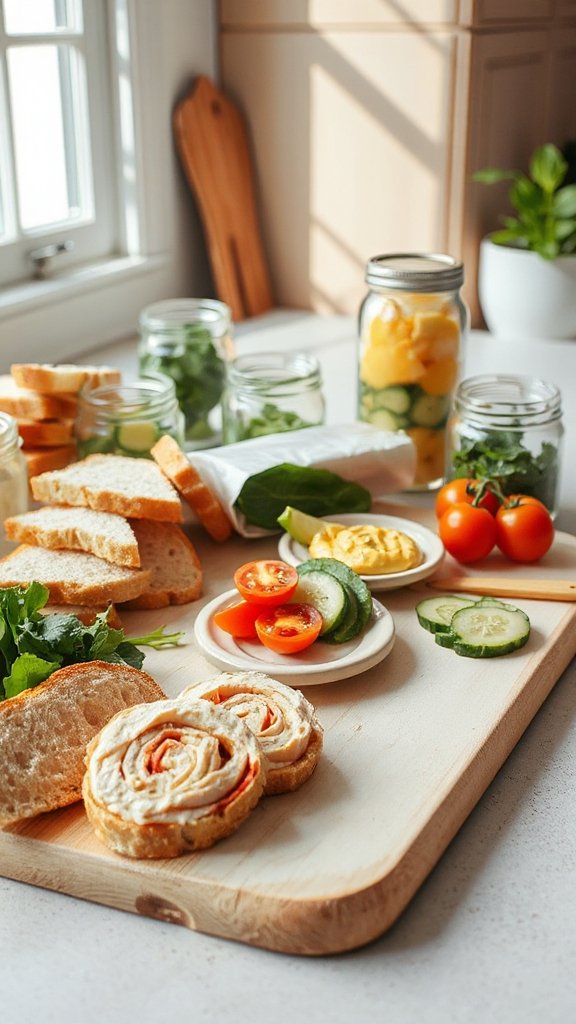
Deconstructed sandwiches are a creative and fun way to enjoy all the delicious components of a classic sandwich without the need for bread. This DIY Lunchables version lets you choose your favorite sandwich fillings, allowing for endless combinations. Perfect for kids and adults alike, it makes for a portable meal that can be customized to suit any palate.
| Ingredient | Quantity |
|---|---|
| Sliced deli meat | 4 ounces |
| Cheese (Cheddar, Provolone, etc.) | 4 ounces |
| Veggies (cucumbers, bell peppers, etc.) | 1 cup |
| Whole grain crackers | 8-10 crackers |
| Pickles | 1/2 cup |
| Mustard or mayonnaise | 2 tablespoons |
| Optional: olives | 1/4 cup |
Instructions:
- Arrange slices of deli meat on a plate or lunch container.
- Cut cheese into bite-sized squares and place them alongside the deli meat.
- Slice veggies into sticks or rounds and lay them out on the plate.
- Add a portion of whole grain crackers next to the meat and cheese.
- Include pickles and a small container for mustard or mayonnaise for dipping.
- If desired, sprinkle some olives on the side for an extra treat.
- Pack everything into a lunch container or bento box for easy transport. Enjoy!
Protein-Packed Snack Boxes
Protein-packed snack boxes are a delightful and nutritious way to enjoy a variety of flavors and textures in one convenient meal. These boxes are perfect for on-the-go snacking, providing a good balance of protein, healthy fats, and fiber that will keep you satisfied. You can customize your protein-packed snack box with your favorite ingredients or whatever you have on hand, making it a versatile option for lunch, snack time, or meal prep.
| Ingredient | Quantity |
|---|---|
| Sliced grilled chicken or turkey | 4 ounces |
| Hard-boiled eggs | 2 eggs |
| Greek yogurt | 1 cup |
| Mixed nuts (almonds, walnuts, etc.) | 1/2 cup |
| String cheese or cheese cubes | 2 ounces |
| Hummus | 1/2 cup |
| Baby carrots | 1 cup |
| Optional: apple or fruit slices | 1 serving |
Instructions:
- Start by placing the sliced grilled chicken or turkey in one compartment of your snack box.
- Add the hard-boiled eggs, either whole or halved, next to the chicken.
- Fill another section with Greek yogurt and add a dollop of hummus beside it.
- Sprinkle mixed nuts into a small section of the box for crunch.
- Add string cheese or cheese cubes for an extra protein boost.
- Include baby carrots for a fresh, crunchy element and consider adding apple or other fruit slices for a touch of sweetness.
- Secure the lid and pack your snack box for an easy meal or snack option. Enjoy!
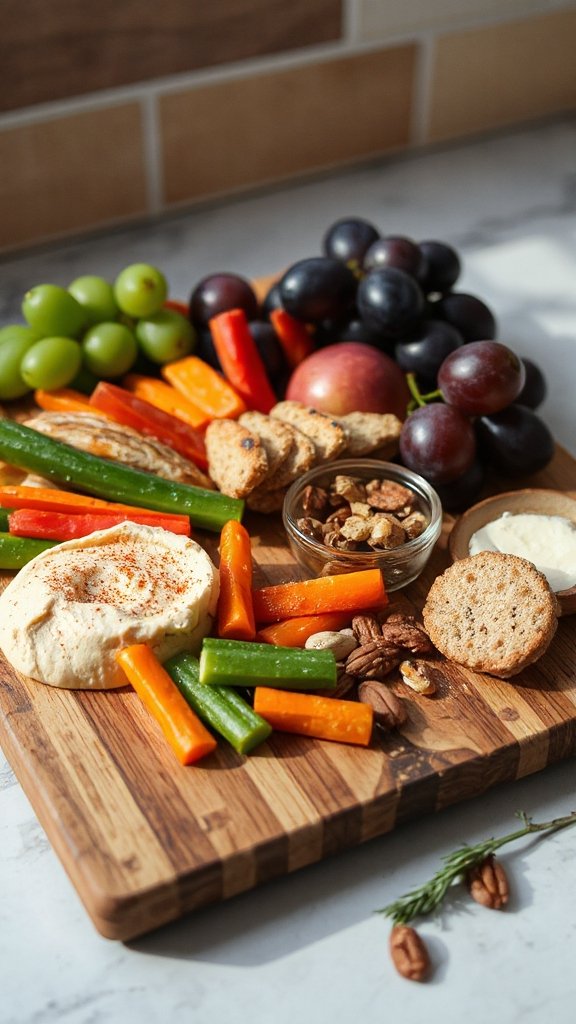
Veggie and Hummus Dippers
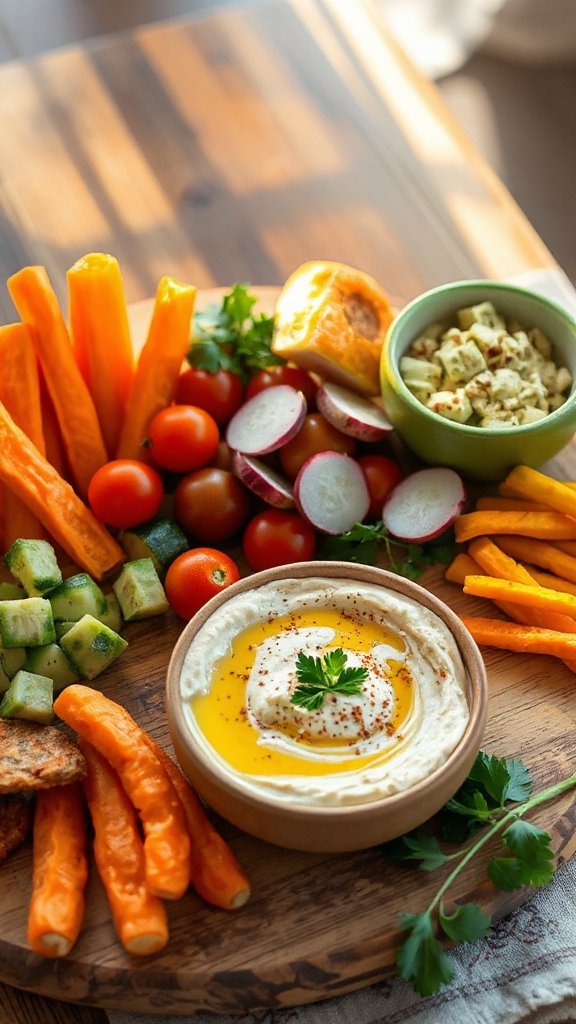
DIY Lunchables are a fun and interactive way to put together your own meal, reminiscent of the classic store-bought version but packed with fresh, healthy ingredients. They allow for creativity and customization, making them perfect for kids and adults alike. With a variety of proteins, veggies, and dips, these DIY Lunchables can be tailored to suit any palate.
| Ingredient | Quantity |
|---|---|
| Whole grain crackers | 10-12 pieces |
| Sliced deli meats (ham, turkey, etc.) | 4 ounces |
| Cheese slices or cubes | 4 ounces |
| Hummus | 1/2 cup |
| Mixed veggies (cucumber, bell peppers, etc.) | 1 cup |
| Cherry tomatoes | 1 cup |
| Optional: olives or pickles | 1/2 cup |
Instructions:
- Begin by arranging the whole grain crackers in one section of your Lunchables container.
- Next, layer the sliced deli meats on top of the crackers or in a separate compartment.
- Add the cheese slices or cubes next to the meats for a tasty combination.
- Scoop a portion of hummus into a small container within the Lunchables for dipping.
- Include a mix of fresh veggies and cherry tomatoes in another section for a crunchy addition.
- Optionally, add olives or pickles for extra flavor.
- Close up the container and refrigerate until it’s time to enjoy your DIY Lunchables!
Fruit and Yogurt Parfaits
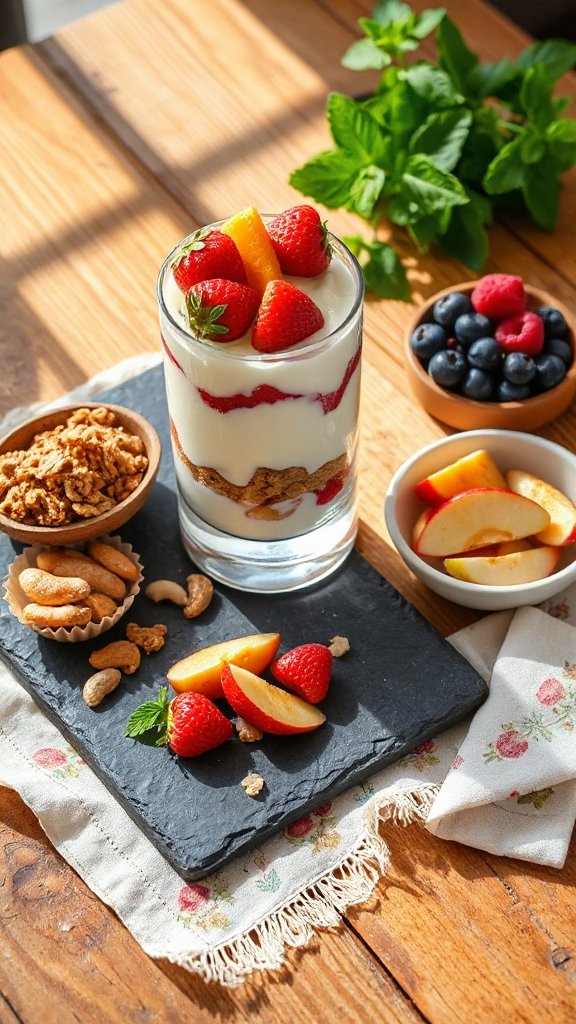
Fruit and yogurt parfaits are a delicious and nutritious treat that can serve as a revitalizing snack or a satisfying breakfast. Layering creamy yogurt with fresh fruits and granola not only creates a visually appealing dish but also packs in various flavors and textures. These parfaits can be easily customized based on seasonal fruits or personal preferences, making them a versatile option for any time of day.
| Ingredient | Quantity |
|---|---|
| Greek yogurt | 2 cups |
| Mixed fresh fruits (berries, banana, etc.) | 2 cups |
| Granola | 1 cup |
| Honey or maple syrup (optional) | 2 tablespoons |
| Chopped nuts (optional) | 1/4 cup |
Instructions:
- Start by selecting a clear glass or bowl to showcase your layers.
- Spoon a layer of Greek yogurt into the bottom of the container.
- Add a layer of mixed fresh fruits on top of the yogurt.
- Sprinkle a layer of granola over the fruits.
- Repeat the layers until the container is filled, finishing with a layer of fruit and a drizzle of honey or syrup if desired.
- Top with chopped nuts for added crunch if using.
- Serve immediately or refrigerate for a quick snack later!
Pizza Roll-Ups

Pizza Roll-Ups are a fun and tasty twist on traditional pizza, perfect for DIY Lunchables. These bite-sized snacks combine all the flavors of pizza into a convenient roll, making them a hit for kids and adults alike. They can be easily customized with your favorite toppings and are great for lunchboxes or after-school snacks.
| Ingredient | Quantity |
|---|---|
| Tortilla wraps | 4 large |
| Mozzarella cheese, shredded | 2 cups |
| Pepperoni slices | 1 cup |
| Pizza sauce | 1/2 cup |
| Italian seasoning (optional) | 1 teaspoon |
| Olive oil | 2 tablespoons |
| Parmesan cheese, grated (optional) | 1/4 cup |
Instructions:
- Preheat your oven to 400°F (200°C).
- Lay out the tortilla wraps on a clean surface.
- Spread a thin layer of pizza sauce over each tortilla.
- Evenly distribute the shredded mozzarella cheese and pepperoni slices over the sauce.
- Sprinkle Italian seasoning if desired, then roll each tortilla tightly from one end to the other.
- Brush the outside of each roll with olive oil and sprinkle with Parmesan cheese if using.
- Place the rolled tortillas on a baking sheet and bake for 12-15 minutes or until golden brown and crispy.
- Slice into pinwheels or halves, serve warm, and enjoy!
Taco Lunchables
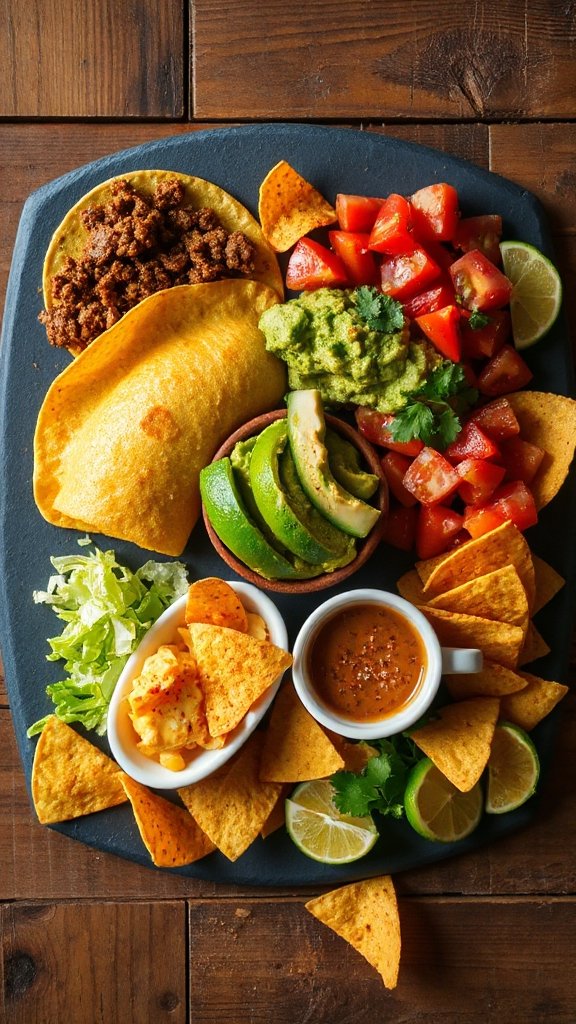
Taco Lunchables are a fun and interactive way to enjoy a classic dish with a DIY twist. These customizable taco kits make for an excellent lunch option, especially for kids. By providing all the components separately, everyone can build their perfect taco using fresh ingredients. Perfect for lunchboxes or family meals, Taco Lunchables are sure to satisfy all taste preferences.
| Ingredient | Quantity |
|---|---|
| Mini flour tortillas | 8 |
| Ground beef or turkey | 1 pound |
| Taco seasoning | 2 tablespoons |
| Shredded lettuce | 1 cup |
| Diced tomatoes | 1 cup |
| Shredded cheese (cheddar or Mexican blend) | 1 cup |
| Salsa | 1/2 cup |
| Sour cream | 1/2 cup |
| Avocado (optional) | 1, sliced |
Instructions:
- In a skillet over medium heat, cook the ground beef or turkey until browned and cooked through; drain excess fat.
- Stir in the taco seasoning and a little water (as per seasoning package instructions); simmer for a few minutes.
- Prepare your ingredient section by neatly placing mini tortillas, meat, lettuce, tomatoes, cheese, salsa, and sour cream in separate containers or compartments.
- Allow everyone to build their own taco with the desired toppings and enjoy!
Breakfast for Lunch
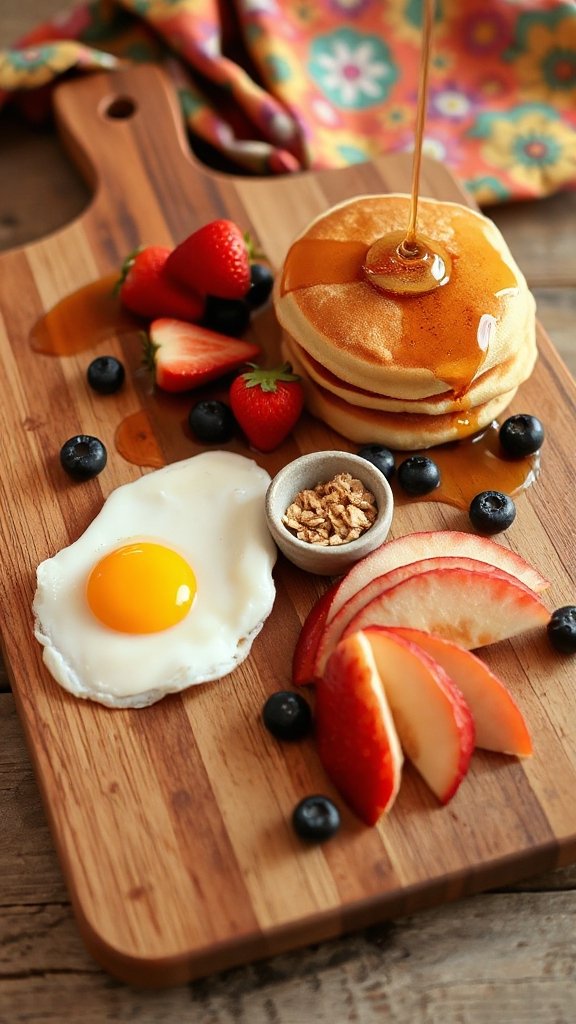
Breakfast for Lunch is a delightful way to bring the flavors of your favorite morning meals to your midday nourishment. This DIY version of breakfast foods allows you to mix and match popular breakfast elements, creating a fun, customizable experience for both kids and adults. Think waffles, eggs, bacon, and fruit all packed in one lunch that is as satisfying as it is versatile.
| Ingredient | Quantity |
|---|---|
| Mini waffles | 4 |
| Scrambled eggs | 4 eggs |
| Cooked bacon strips | 4 strips |
| Sliced strawberries | 1 cup |
| Sliced bananas | 1 cup |
| Maple syrup | 1/2 cup |
| Whipped cream (optional) | 1/2 cup |
Instructions:
- Begin by preparing the scrambled eggs: crack the eggs into a bowl, whisk with a pinch of salt and pepper, then cook in a non-stick skillet until fluffy.
- Cook the bacon strips in the same skillet, or bake in the oven until crispy, then chop into smaller pieces.
- Once everything is cooked, prepare your ingredient sections by placing the mini waffles, scrambled eggs, cooked bacon, sliced strawberries, and sliced bananas in separate containers.
- Pack a small container of maple syrup and whipped cream for drizzling, and allow everyone to assemble their breakfast for lunch combinations. Enjoy!
DIY Sushi Rolls
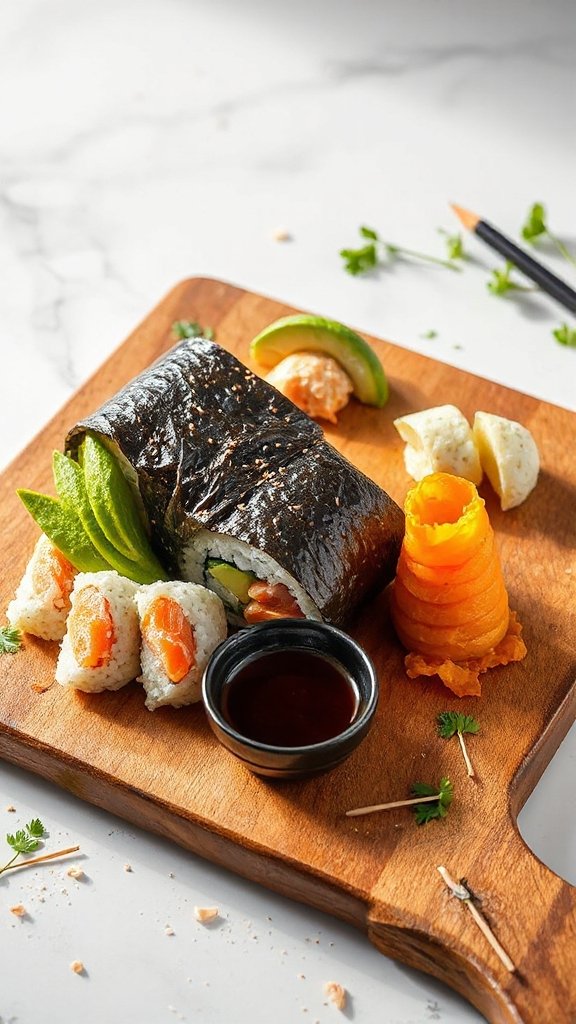
DIY Sushi Rolls are a fun and interactive way to enjoy a variety of flavors and textures, allowing you to customize each roll to your liking. Perfect for lunches, these portable rolls can be filled with your favorite ingredients such as fresh vegetables, proteins, and sauces. Creating your own sushi rolls not only provides an opportunity for creativity but also makes for a delicious and nutritious meal that can be enjoyed by all ages.
| Ingredient | Quantity |
|---|---|
| Sushi rice | 2 cups |
| Nori sheets | 4 sheets |
| Cooked shrimp or crab | 1 cup |
| Cucumber, julienned | 1 cup |
| Carrots, julienned | 1 cup |
| Avocado, sliced | 1 |
| Soy sauce | For dipping |
| Sesame seeds | For garnish |
| Wasabi (optional) | For serving |
Instructions:
- Cook the sushi rice according to package instructions. Once cooked, let it cool slightly and season with rice vinegar, salt, and sugar.
- Lay a bamboo sushi mat on a clean surface and place a sheet of nori, shiny side down, on top of the mat.
- With wet hands, spread an even layer of sushi rice over the nori, leaving a small border at the top.
- Arrange your choice of shrimp or crab, cucumber, carrots, and avocado in a line across the rice.
- Using the bamboo mat, carefully roll the sushi away from you, tucking in the filling tightly as you go.
- Once rolled, seal the edges with a bit of water. Slice the roll into bite-sized pieces and sprinkle with sesame seeds.
- Serve with soy sauce and wasabi for dipping. Enjoy your DIY sushi rolls!
Greek Salad Cups
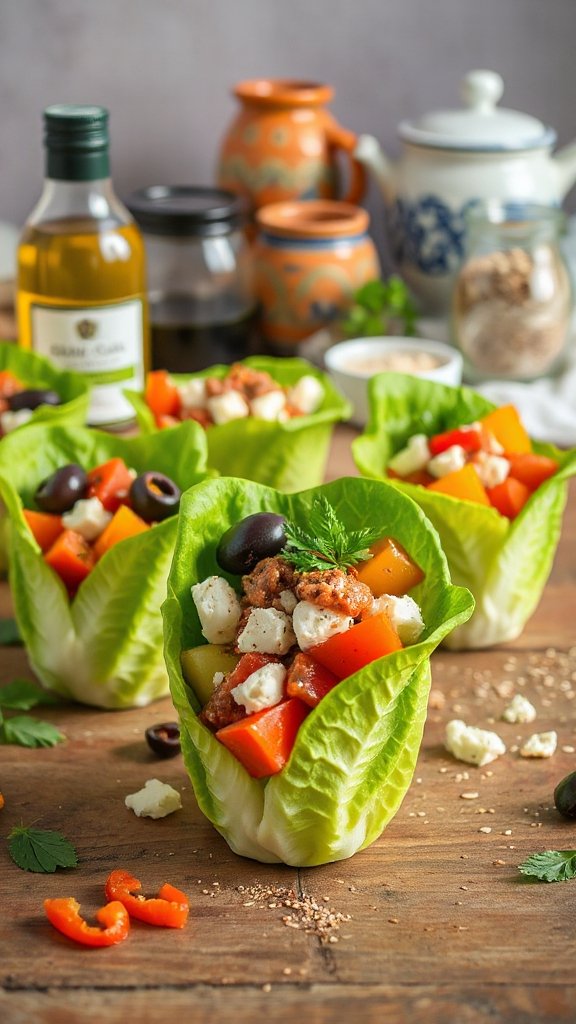
Greek Salad Cups are a rejuvenating and healthy way to enjoy the classic flavors of a Greek salad in a portable format. Perfect for lunchboxes or as a snack, these individual servings are made with crisp vegetables, creamy feta cheese, and a zesty dressing, all served in convenient lettuce cups. They are not only delicious but also colorful and appealing for both kids and adults.
| Ingredient | Quantity |
|---|---|
| Romaine lettuce leaves | 8 large leaves |
| Cherry tomatoes, halved | 1 cup |
| Cucumber, diced | 1 cup |
| Red onion, finely chopped | 1/2 small onion |
| Kalamata olives, pitted | 1/2 cup |
| Feta cheese, crumbled | 1 cup |
| Olive oil | 2 tablespoons |
| Red wine vinegar | 1 tablespoon |
| Dried oregano | 1 teaspoon |
| Salt and pepper | To taste |
Instructions:
- In a large bowl, combine the cherry tomatoes, cucumber, red onion, kalamata olives, and feta cheese.
- In a separate small bowl, whisk together the olive oil, red wine vinegar, dried oregano, salt, and pepper to make the dressing.
- Pour the dressing over the vegetable-feta mixture and toss gently to combine.
- Spoon the Greek salad mixture into individual romaine lettuce leaves.
- Serve immediately for a crisp and flavorful snack or lunch option. Enjoy your Greek Salad Cups!
Sweet Treats Box
The Sweet Treats Box is a fun and delicious way to satisfy your sweet tooth while still keeping it portable and easy to pack. Perfect for lunchboxes, picnics, or a tasty midday snack, this DIY treat offers a delightful selection of sweet goodies that are sure to please everyone. With a combination of chocolate, fruit, and nut-based treats, this box is a customizable option that allows you to mix and match your favorites.
| Ingredient | Quantity |
|---|---|
| Mini chocolate bars | 5 pieces |
| Fruit gummies | 1 cup |
| Trail mix (nuts and dried fruit) | 1 cup |
| Cookie bites | 1 cup |
| Pretzel bites | 1 cup |
| Granola clusters | 1 cup |
| Fresh fruit (grapes or apple slices) | 1 cup |
Instructions:
- Choose a variety of sweet ingredients from the list above to include in your Sweet Treats Box.
- In a compartmentalized container or bento box, place each of the selected treats into separate sections.
- For fresh fruit, arrange the grapes or apple slices in a dedicated section, ensuring they are kept fresh.
- Close the container and store the Sweet Treats Box in the refrigerator if desired, or pack it for on-the-go enjoyment.
- Enjoy your pre-packed Sweet Treats Box whenever you need a sweet pick-me-up!