
As an Amazon Associate I earn from qualifying purchases.
Editorial Policy | Disclosure Policy
Wrap It Up: Gourmet Sandwich Wraps
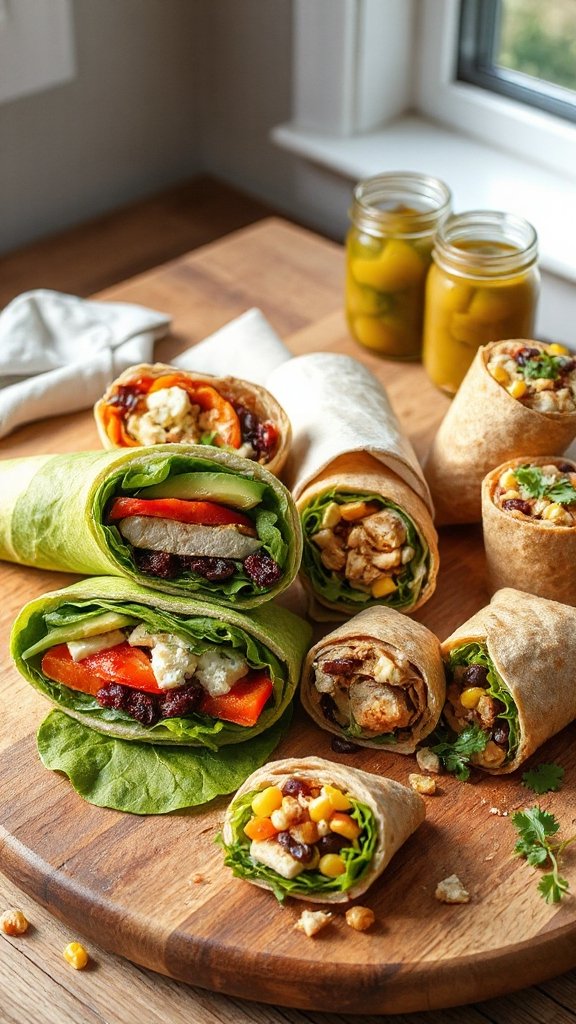
Gourmet sandwich wraps are a delightful and healthy option for school lunches, offering a perfect blend of flavors and textures that kids will love. They are versatile and can be filled with a variety of ingredients, making them easy to customize according to your child’s taste preferences. These wraps are not only nutritious but also fun to eat, ensuring that lunchtime is something to look forward to.
| Ingredients | Quantity |
|---|---|
| Tortilla wraps | 4 |
| Hummus | 1 cup |
| Sliced turkey breast | 8 oz |
| Spinach leaves | 2 cups |
| Shredded carrots | 1 cup |
| Sliced cucumbers | 1 cup |
| Avocado, sliced | 1 |
| Feta cheese | ½ cup |
| Salt and pepper to taste | – |
Cooking Steps Instructions
- Lay a tortilla wrap flat on a clean surface.
- Spread hummus evenly over the wrap, covering most of the surface.
- Layer sliced turkey breast, spinach leaves, shredded carrots, sliced cucumbers, and avocado on one side of the wrap.
- Sprinkle some feta cheese on top and season with salt and pepper to taste.
- Roll the wrap tightly from the side with the fillings, tucking in the ends as you go.
- Slice the wrap in half diagonally and serve immediately, or pack it in a lunchbox for later.
Pasta Salad Pops: A Cold Twist on Noodles
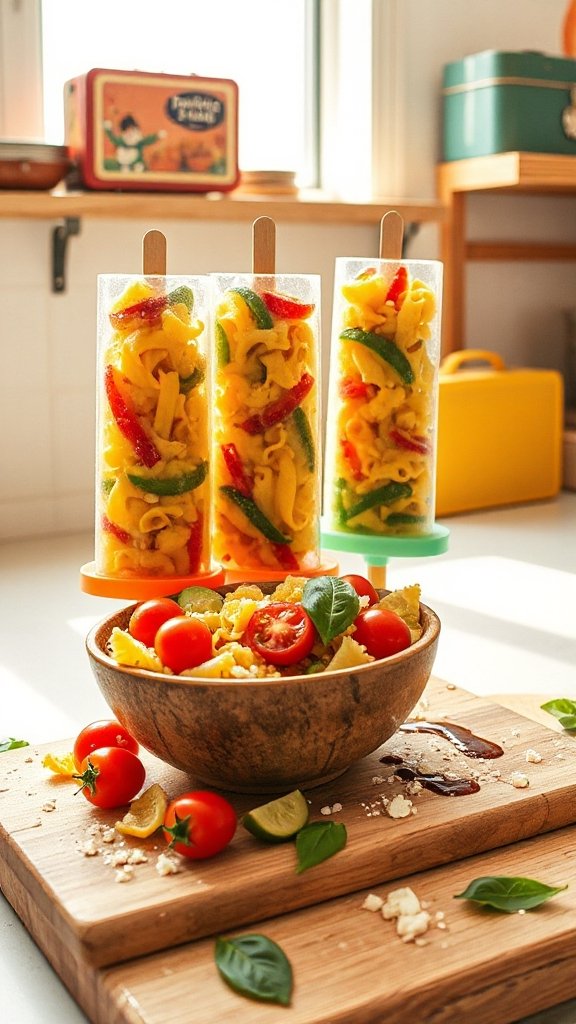
Pasta Salad Pops are a rejuvenating and innovative take on traditional pasta salads, perfect for school lunches and summer picnics. These fun, bite-sized popsicles combine the classic flavors of pasta salad with a fun twist that kids will love. Packed with colorful veggies and protein, they are not only visually appealing but also nutritious, making lunchtime a delicious adventure.
| Ingredients | Quantity |
|---|---|
| Cooked pasta (small shapes) | 2 cups |
| Cherry tomatoes, halved | 1 cup |
| Cucumber, diced | 1 cup |
| Bell pepper, diced | 1 cup |
| Black olives, sliced | ½ cup |
| Mozzarella cheese, cubed | 1 cup |
| Italian dressing | ½ cup |
| Fresh basil, chopped | ¼ cup |
| Popsicle molds | – |
Cooking Steps Instructions
- In a large mixing bowl, combine the cooked pasta, cherry tomatoes, cucumber, bell pepper, black olives, and mozzarella cheese.
- Pour the Italian dressing over the pasta mixture and toss until everything is well coated.
- Stir in the fresh basil for added flavor.
- Spoon the mixture into popsicle molds, pressing down slightly to eliminate any air pockets.
- Insert sticks into the molds and freeze for at least 4-6 hours, or until solid.
- To serve, run warm water over the outside of the molds to easily release the pasta salad pops. Enjoy!
Bento Box Bliss: Build Your Own Lunch
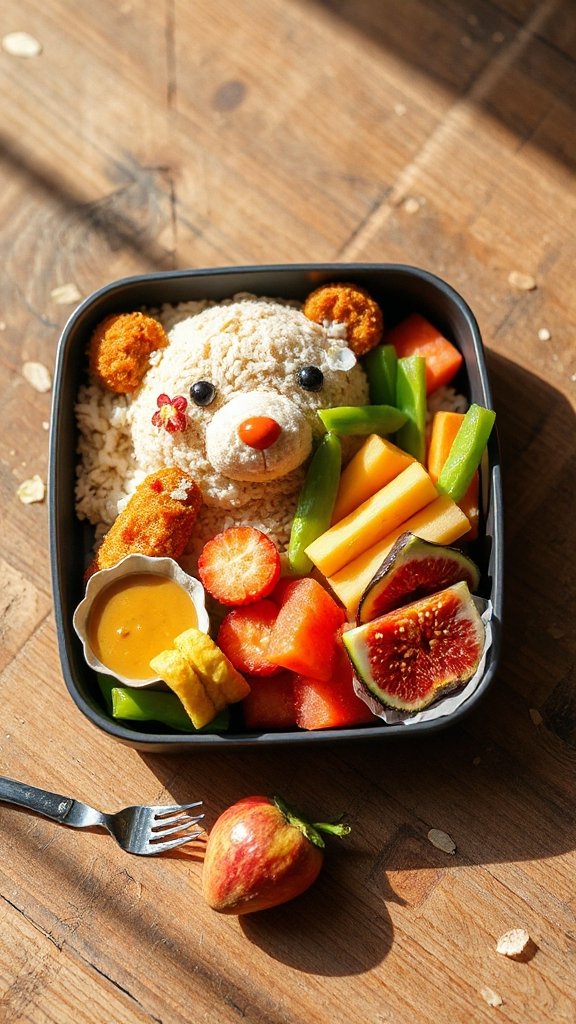
Bento Box Bliss is all about creativity and variety, allowing kids to mix and match their favorite foods into an exciting and nutritious lunch. A Bento Box typically consists of a balanced meal that includes a protein, grains, and plenty of colorful fruits and vegetables, all neatly compartmentalized for a fun and delicious lunch experience. This customizable approach not only makes meals visually appealing for kids, but also promotes healthy eating habits.
| Ingredients | Quantity |
|---|---|
| Cooked chicken breast, cubed | 1 cup |
| Brown rice or quinoa | 1 cup |
| Steamed broccoli | 1 cup |
| Carrots, cut into sticks | 1 cup |
| Edamame | ½ cup |
| Cherry tomatoes, halved | 1 cup |
| Hummus or yogurt dip | ½ cup |
| Fresh fruit (grapes, apple slices) | 1 cup |
| Bento box with compartments | – |
Cooking Steps Instructions
- Begin by cooking the brown rice or quinoa according to package instructions and let it cool.
- Cube the cooked chicken breast and steam the broccoli until tender.
- Prepare the carrots by cutting them into sticks, and halve the cherry tomatoes.
- In each compartment of the Bento box, arrange the cooked grains, chicken, steamed broccoli, carrot sticks, edamame, and cherry tomatoes.
- In a small container, add hummus or yogurt dip for dipping.
- Finally, fill another compartment with fresh fruit like grapes or apple slices for a sweet finish.
- Close the Bento box and store it in the refrigerator until ready to pack for school. Enjoy!
Fruit Kabobs: Fun Skewers for a Sweet Treat
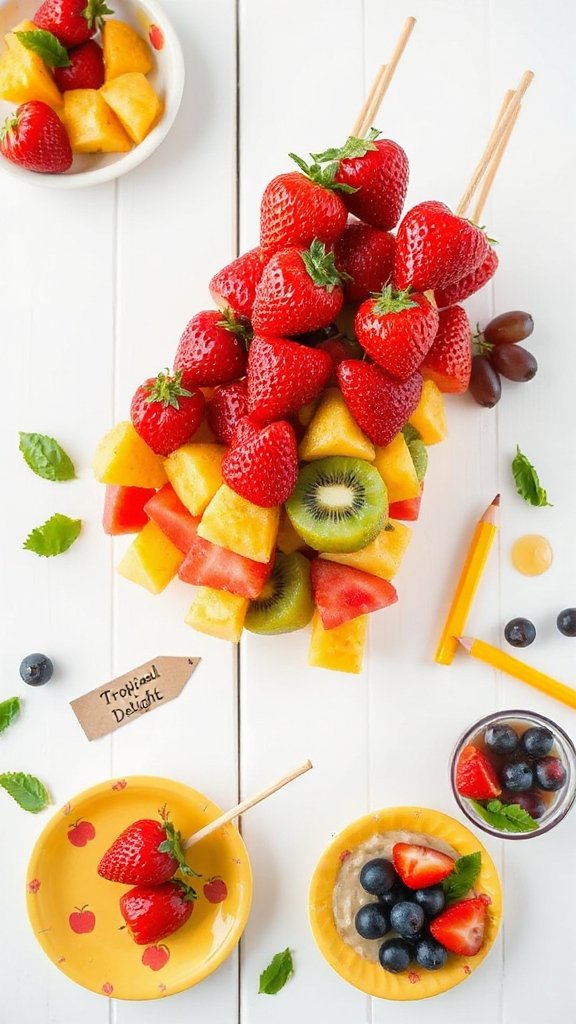
Fruit Kabobs are a delightful and colorful way to make healthy eating fun for kids! These skewered treats can be customized with a variety of fresh fruits, making them not only visually appealing but also a deliciously sweet addition to any lunchbox. They’re perfect for a snack on the go or as part of a nutritious meal, encouraging kids to enjoy their fruits in an exciting way.
| Ingredients | Quantity |
|---|---|
| Strawberries | 1 cup |
| Pineapple chunks | 1 cup |
| Grapes | 1 cup |
| Melon (cantaloupe or honeydew) | 1 cup |
| Banana slices | 1 cup |
| Wooden skewers | – |
| Yogurt (for dipping) | ½ cup |
Cooking Steps Instructions
- Begin by washing all the fruits thoroughly under running water.
- If using, cut the strawberries in halves, the pineapple into bite-sized chunks, and the melon into small cubes.
- Thread the fruits onto each wooden skewer, alternating different types for a colorful look.
- Arrange the fruit kabobs on a platter or place them in a lunchbox.
- Serve with a small container of yogurt for dipping, if desired. Enjoy the invigorating taste of your fruit kabobs!
Mini Pita Pockets: Stuffed With Flavor
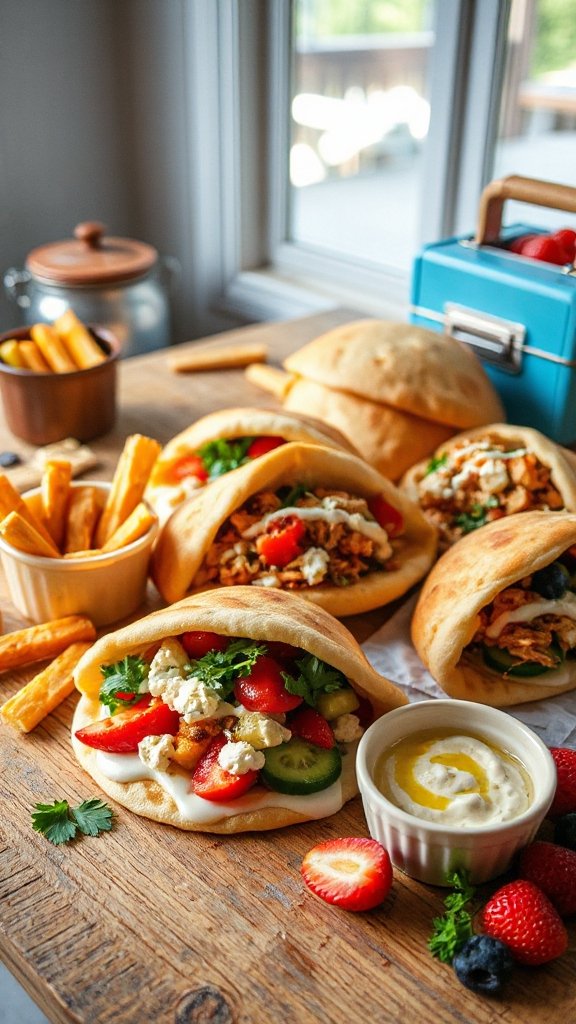
Mini Pita Pockets are a fun and versatile option for lunchboxes, offering a pocket of delight filled with a variety of flavors! These soft, mini pitas can be stuffed with an assortment of fillings ranging from savory meats and cheeses to fresh veggies and spreads. They are easy for kids to hold and eat, making them a perfect choice for busy school days.
| Ingredients | Quantity |
|---|---|
| Mini pita pockets | 6 |
| Hummus or tzatziki | ½ cup |
| Sliced cucumbers | 1 cup |
| Shredded carrots | 1 cup |
| Cooked chicken or turkey, diced | 1 cup |
| Feta cheese, crumbled | ½ cup |
| Fresh parsley, chopped | ¼ cup |
| Salt and pepper to taste | – |
Cooking Steps Instructions
- Begin by preparing your fillings: slice the cucumbers, shred the carrots, and dice the cooked chicken or turkey.
- Take each mini pita pocket and carefully cut it open to create a pouch.
- Spread a layer of hummus or tzatziki inside each pita pocket.
- Stuff the pockets with cucumbers, shredded carrots, diced chicken, and sprinkle feta cheese on top.
- Garnish with chopped parsley and season with salt and pepper if desired.
- Pack the mini pita pockets in a lunchbox and enjoy a burst of flavor with every bite!
Savory Muffins: The Perfect Lunch Companion
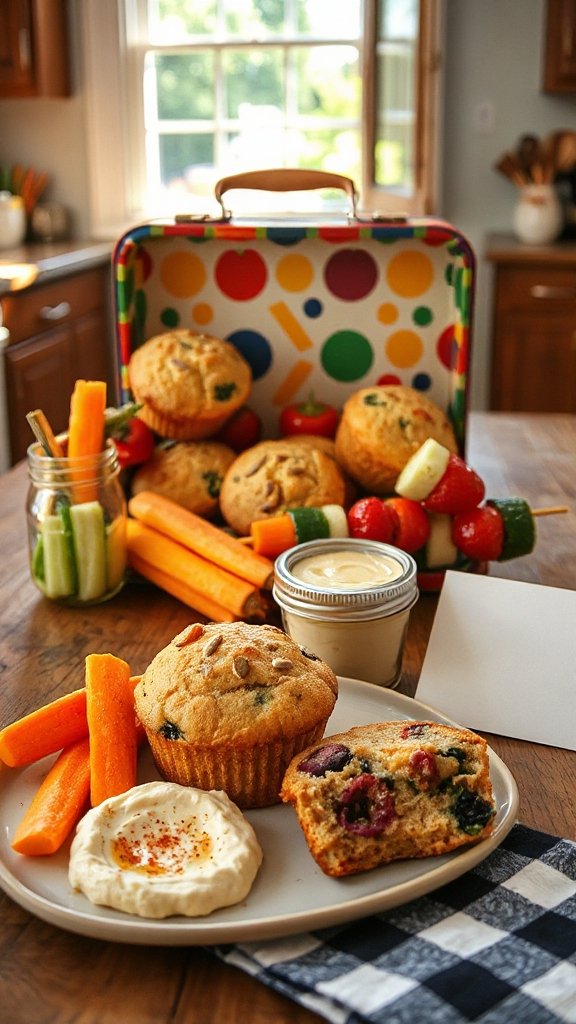
Savory Muffins are a delightful and nutritious addition to any lunchbox, offering a satisfying and portable option that packs a punch of flavor in every bite. Perfect for busy school days, these muffins can be made with a variety of ingredients such as cheese, vegetables, and proteins, making them customizable to meet individual tastes and preferences. They can be enjoyed warm or at room temperature and are sure to please kids and adults alike.
| Ingredients | Quantity |
|---|---|
| All-purpose flour | 2 cups |
| Baking powder | 1 tablespoon |
| Baking soda | ½ teaspoon |
| Salt | ½ teaspoon |
| Eggs | 2 |
| Milk | 1 cup |
| Vegetable oil | ⅓ cup |
| Shredded cheese (cheddar, mozzarella) | 1 cup |
| Diced bell peppers | ½ cup |
| Cooked bacon or ham, chopped | ½ cup |
| Fresh spinach, chopped | ½ cup |
Cooking Steps Instructions
- Preheat your oven to 375°F (190°C) and line a muffin tin with paper liners or grease it.
- In a large bowl, whisk together the flour, baking powder, baking soda, and salt.
- In a separate bowl, beat the eggs, then stir in milk and vegetable oil.
- Combine the wet ingredients with the dry ingredients, mixing until just combined.
- Gently fold in the shredded cheese, diced bell peppers, chopped bacon or ham, and fresh spinach.
- Evenly distribute the muffin batter into the prepared muffin tin.
- Bake for 18-20 minutes or until golden brown and a toothpick inserted comes out clean.
- Allow the muffins to cool before packing them in lunchboxes for a delicious and hearty school meal!
DIY Lunchables: Customize Your Own Snack
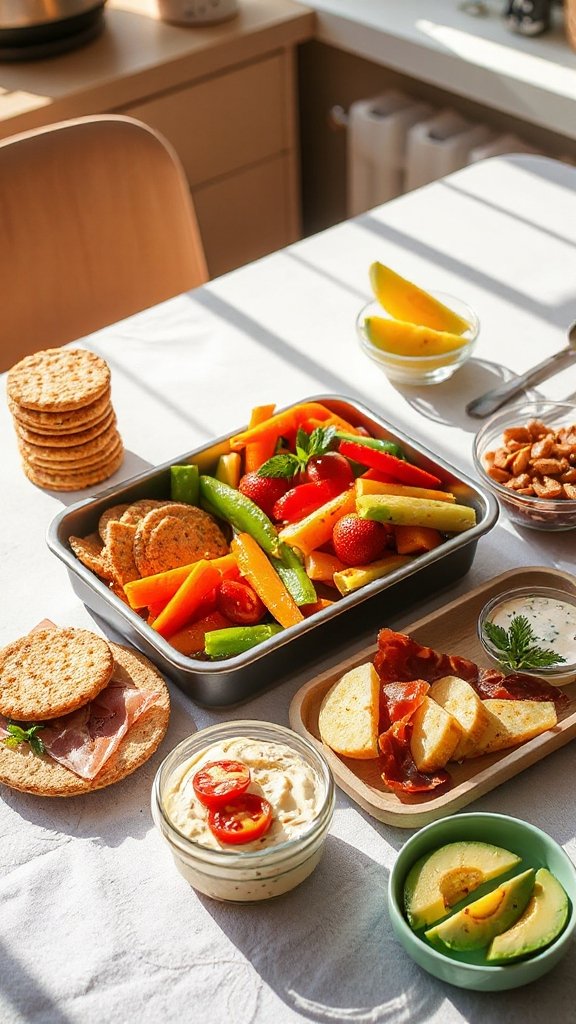
DIY Lunchables are a fun and interactive way to pack a lunch that kids will look forward to eating. This customizable snack lets children choose their favorites from a variety of meats, cheeses, crackers, and fruits, making lunchtime a tasty adventure. Perfect for personalizing each lunch to suit individual tastes, DIY Lunchables are a great way to incorporate healthy options while keeping things exciting.
| Ingredients | Quantity |
|---|---|
| Whole grain crackers | 1 box |
| Sliced cheese (cheddar, mozzarella, or Swiss) | 8 oz |
| Sliced deli meats (turkey, ham, or chicken) | 8 oz |
| Fresh fruit (grapes, apple slices, or berries) | 1 cup |
| Baby carrots or cucumber slices | 1 cup |
| Hummus or ranch dressing | ½ cup |
| Mini sweet peppers (optional) | 1 cup |
Cooking Steps Instructions
- Gather all the ingredients needed for assembling the Lunchables.
- Arrange, in a divided container or sectioned lunchbox, the whole grain crackers, sliced cheese, and sliced deli meats.
- Add the fresh fruit and baby carrots or cucumber slices to fill the remaining compartments.
- Include a small container of hummus or ranch dressing for dipping.
- Optionally, add mini sweet peppers for extra crunch and flavor.
- Seal the lunchbox tightly and pack it in the lunch bag for a delicious and customizable midday snack!
Overnight Oats: Breakfast for Lunch
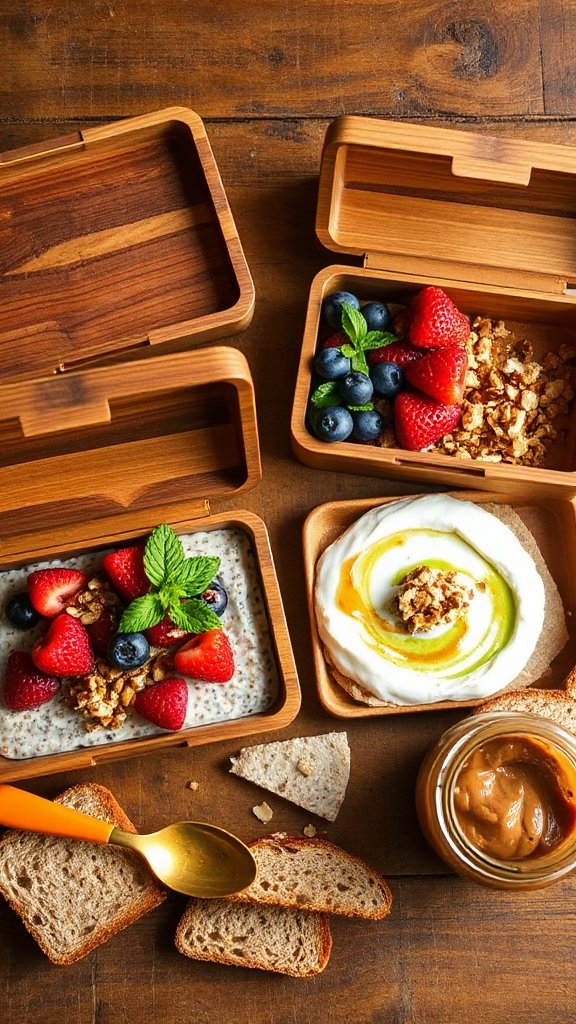
Overnight oats are a delightful and nutritious dish that makes for an ideal breakfast-for-lunch option. Packed with fiber and protein, these no-cook oats can be customized with various toppings to keep lunchtime exciting. Simply prepare the oats the night before and allow them to soak in the fridge for a quick grab-and-go meal that kids (and adults!) will love.
| Ingredients | Quantity |
|---|---|
| Rolled oats | 1 cup |
| Milk (dairy or non-dairy) | 1 cup |
| Greek yogurt | ½ cup |
| Chia seeds | 2 tablespoons |
| Honey or maple syrup | 2 tablespoons |
| Fresh fruit (berries, banana, or diced apples) | 1 cup |
| Nuts or seeds (optional) | ¼ cup |
| Cinnamon (optional) | ½ teaspoon |
Cooking Steps Instructions
- In a medium bowl, combine rolled oats, milk, Greek yogurt, chia seeds, and your choice of sweetener (honey or maple syrup).
- Stir well to guarantee all the ingredients are mixed together.
- Cover the bowl or transfer to individual jars with lids and refrigerate overnight.
- The next day, stir the oats and add fresh fruit, nuts, or any additional toppings of your choice.
- Pack in a lunchbox for a delicious and nutritious lunch option, or enjoy it as a quick breakfast!
Sushi Rolls: A Kid-Friendly Take
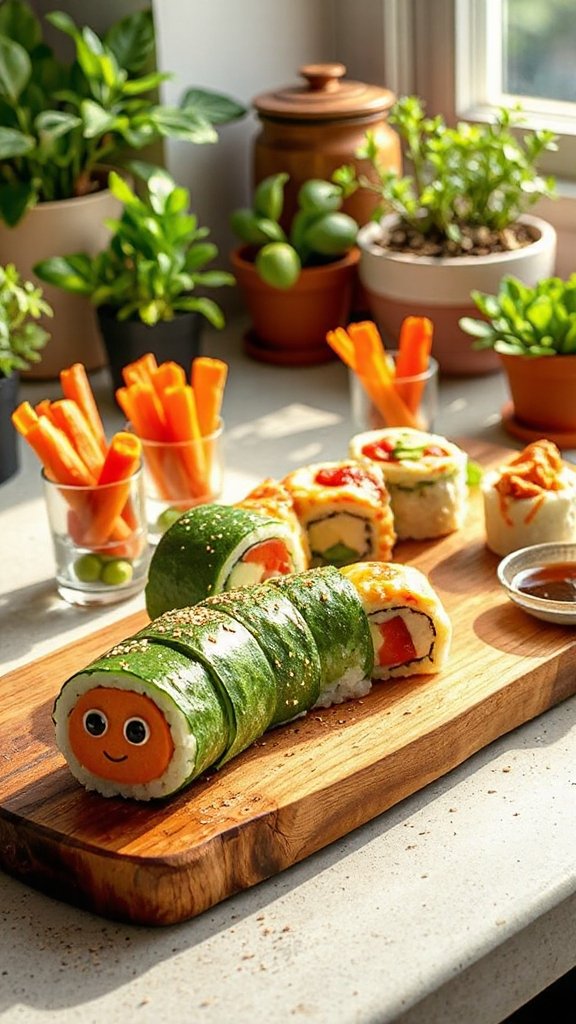
Sushi rolls can be a fun and creative lunch option for kids, bringing a taste of the exotic to their lunchboxes. This kid-friendly take on sushi allows you to fill the rolls with favorite ingredients such as cucumber, carrots, and even cooked chicken or crab, making it a versatile choice that is both delicious and nutritious.
| Ingredients | Quantity |
|---|---|
| Sushi rice | 1 cup |
| Rice vinegar | 2 tablespoons |
| Seaweed sheets (nori) | 4 sheets |
| Cucumber | 1, julienned |
| Carrots | 1, julienned |
| Avocado | 1, sliced |
| Cooked chicken or crab | ½ cup, shredded |
| Soy sauce | For serving |
| Sesame seeds | Optional, for garnish |
Cooking Steps Instructions
- Rinse the sushi rice under cold water until the water runs clear, then cook according to package instructions.
- Once cooked, mix the warm rice with rice vinegar and let it cool.
- Lay a seaweed sheet on a bamboo sushi mat, spread an even layer of sushi rice over the nori, leaving a 1-inch border at the top.
- Arrange cucumber, carrots, avocado, and cooked chicken or crab in the center of the rice.
- Using the bamboo mat, roll the sushi tightly away from you, pressing gently as you go.
- Slice the roll into bite-sized pieces and serve with soy sauce and sesame seeds if desired. Pack in a lunchbox for an exciting lunch!
Quesadilla Quarters: Cheesy and Delicious
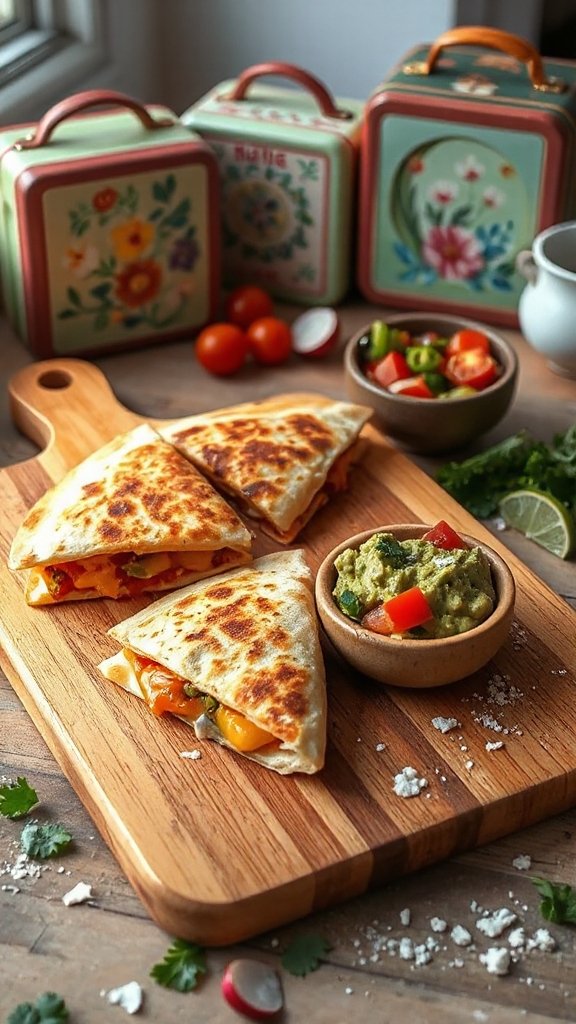
Quesadilla quarters are a classic and kid-friendly lunch option that is both cheesy and delicious. They are quick to make, customizable, and easy to pack in a lunchbox, ensuring that kids will enjoy this tasty meal with a flavorful filling of cheese and various ingredients like beans, chicken, or veggies.
| Ingredients | Quantity |
|---|---|
| Flour tortillas | 4 large |
| Shredded cheese (cheddar or mozzarella) | 2 cups |
| Cooked chicken (optional) | 1 cup, shredded |
| Black beans (optional) | 1 cup, drained |
| Bell pepper (optional) | 1, diced |
| Olive oil | 1 tablespoon |
| Salsa (for serving) | To taste |
Cooking Steps Instructions
- Heat olive oil in a skillet over medium heat.
- Place one tortilla in the skillet and sprinkle half of the cheese evenly over it.
- Add the cooked chicken, black beans, and bell pepper (if using) on top of the cheese.
- Sprinkle the remaining cheese over the filling and top with another tortilla.
- Cook for 3-5 minutes until the bottom tortilla is golden brown, then carefully flip and cook the other side for another 3-5 minutes.
- Once both sides are golden and the cheese is melted, remove from skillet and let cool slightly before slicing into quarters.
- Pack the quesadilla quarters in a lunchbox with a side of salsa for dipping!
Smoothie Jars: Nutrient-Packed Sips
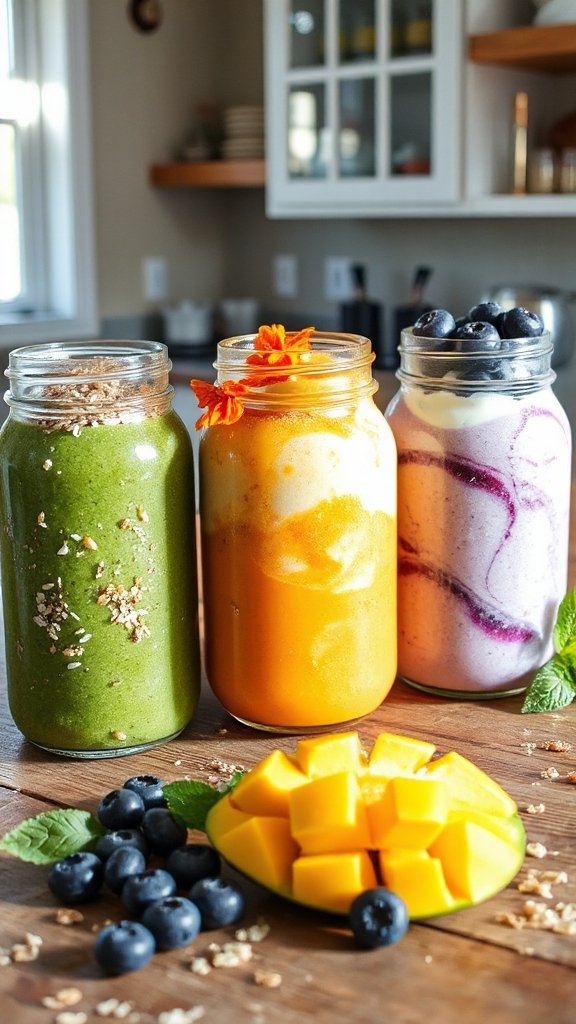
Smoothie jars are a fantastic, nutrient-packed option for school lunches, offering a revitalizing and healthy drink that kids will love. They are easy to prepare ahead of time, customizable with various fruits and vegetables, and packed with vitamins and minerals, making them a great way to fuel your child’s day.
| Ingredients | Quantity |
|---|---|
| Spinach or kale | 1 cup |
| Banana | 1 large |
| Frozen mixed berries | 1 cup |
| Greek yogurt | 1 cup |
| Almond milk or juice | 1 cup |
| Honey or maple syrup (optional) | To taste |
| Chia seeds (optional) | 2 tablespoons |
| Oats (optional) | 1/4 cup |
Cooking Steps Instructions
- Add spinach or kale, banana, frozen berries, Greek yogurt, and almond milk or juice into a blender.
- Blend on high until smooth and creamy, adding honey or maple syrup if desired for sweetness.
- Stir in chia seeds and oats if using for added texture and nutrients.
- Pour the smoothie into jars, seal them tightly, and store in the refrigerator until ready to pack in the lunchbox.