As an Amazon Associate I earn from qualifying purchases.
Editorial Policy | Disclosure Policy
Miniature Cheese Cubes
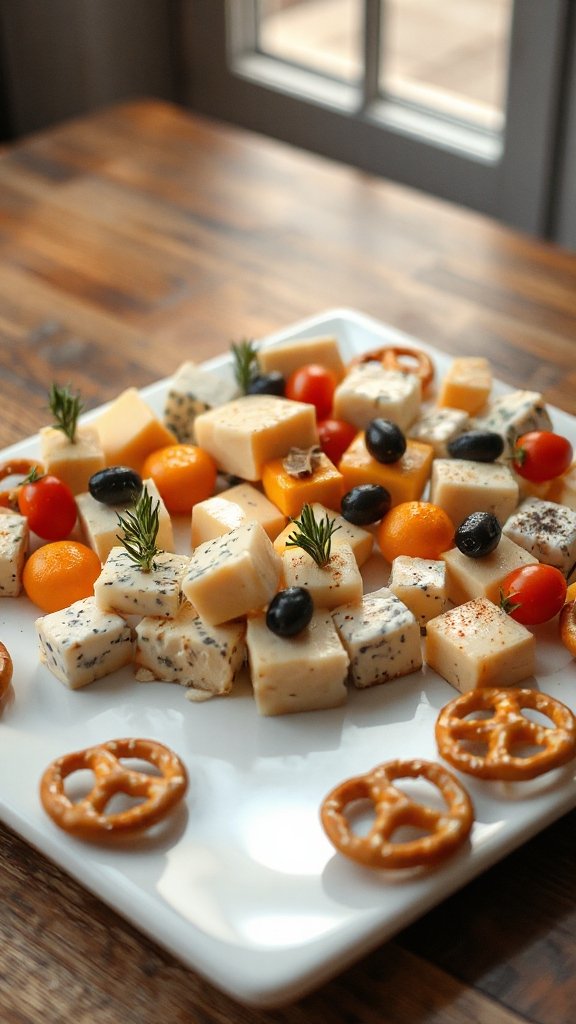
Miniature cheese cubes are a delightful and fun snack perfect for art projects or gatherings. They are simple to make, allowing for creativity with different cheese types and garnishes, and they can be served on their own or paired with crackers, fruits, and charcuterie items. These adorable cheese bites can add flair to any event or snack time.
| Ingredients | Quantity |
|---|---|
| Cheddar cheese | 200 grams |
| Gouda cheese | 200 grams |
| Mozzarella cheese | 200 grams |
| Skewers or toothpicks | 10-15 pieces |
| Olive oil | 1 tablespoon |
| Dried herbs (optional) | 1 teaspoon |
| Salt (to taste) | To taste |
Cooking Steps:
- Cut each type of cheese into small cubes, approximately 1-2 inches in size.
- Drizzle olive oil over the cheese cubes and sprinkle with dried herbs and salt if desired.
- Carefully thread each cube onto a skewer or toothpick.
- Arrange the skewered cheese cubes on a serving platter and serve immediately. Enjoy!
Pita Bread Triangles
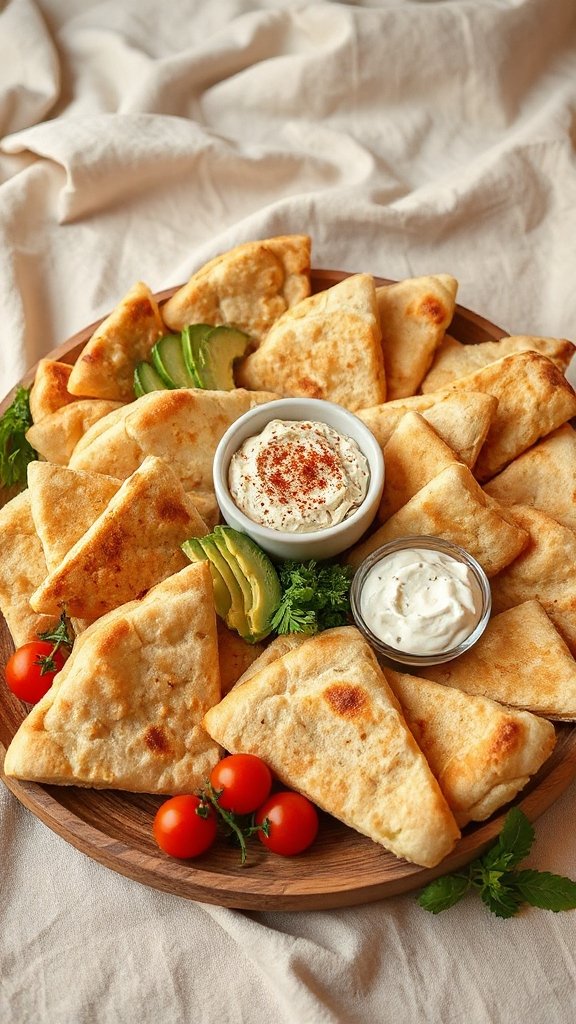
Pita bread triangles are a crispy and versatile snack that can complement a variety of dips and spreads, making them ideal for art projects, gatherings, or snacking at home. These triangular-shaped treats are simple to bake and can be flavored to suit any palate, whether served plain or seasoned with spices. Enjoy them fresh and warm, or prepare them ahead of time for easy serving.
| Ingredients | Quantity |
|---|---|
| Pita bread | 4 pieces |
| Olive oil | 2 tablespoons |
| Garlic powder | 1 teaspoon |
| Paprika | 1 teaspoon |
| Salt | To taste |
| Black pepper | To taste |
| Additional herbs (optional) | 1 teaspoon |
Cooking Steps:
- Preheat the oven to 375°F (190°C).
- Cut each pita bread into triangles, typically in quarters.
- In a bowl, mix olive oil, garlic powder, paprika, salt, and black pepper.
- Brush the mixture onto both sides of the pita triangles.
- Arrange the triangles in a single layer on a baking sheet.
- Bake for 8-10 minutes, or until they are golden and crispy.
- Allow to cool slightly before serving. Enjoy with your favorite dips!
Popcorn
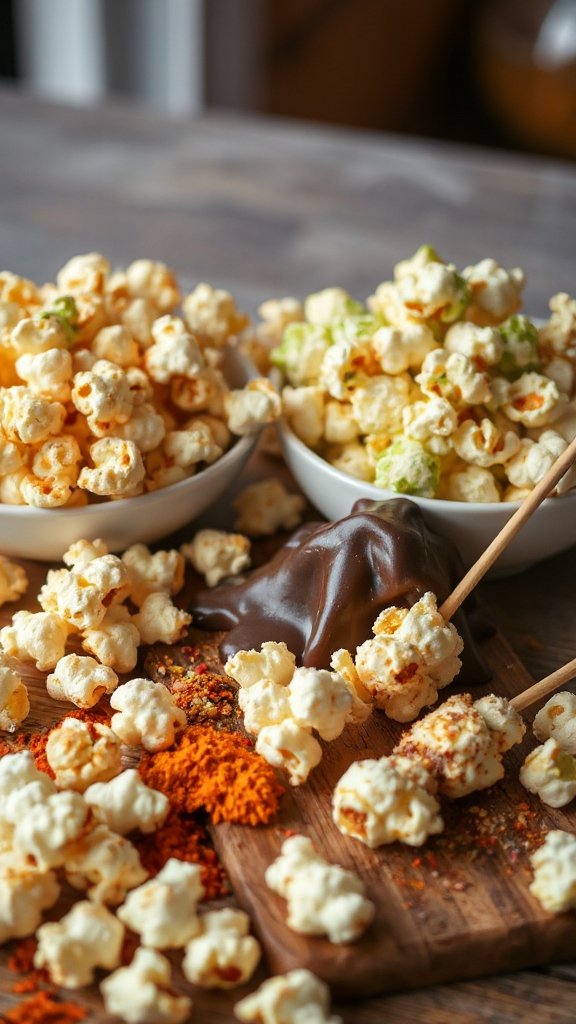
Popcorn is a light and airy snack that can be easily customized to suit your taste buds, making it a fantastic option for art projects, movie nights, or just a satisfying treat at home. This delightful treat is not only quick to prepare but can be seasoned in various ways to complement your favorite flavors, whether you prefer it sweet, salty, cheesy, or spicy.
| Ingredients | Quantity |
|---|---|
| Popcorn kernels | 1/2 cup |
| Vegetable oil | 2 tablespoons |
| Salt | To taste |
| Butter (optional) | 2 tablespoons |
| Additional seasonings (optional) | To taste |
Cooking Steps:
- Heat vegetable oil in a large pot over medium heat.
- Add a few popcorn kernels and cover the pot. Wait until the test kernels pop.
- Once they pop, add the remaining popcorn kernels in an even layer.
- Cover the pot and shake it gently to guarantee even popping.
- When popping slows down, remove the pot from heat; wait for a few seconds before removing the lid.
- Transfer the popcorn to a large bowl, drizzle with melted butter (if using), and season with salt and any additional toppings. Enjoy!
Fruit Skewers
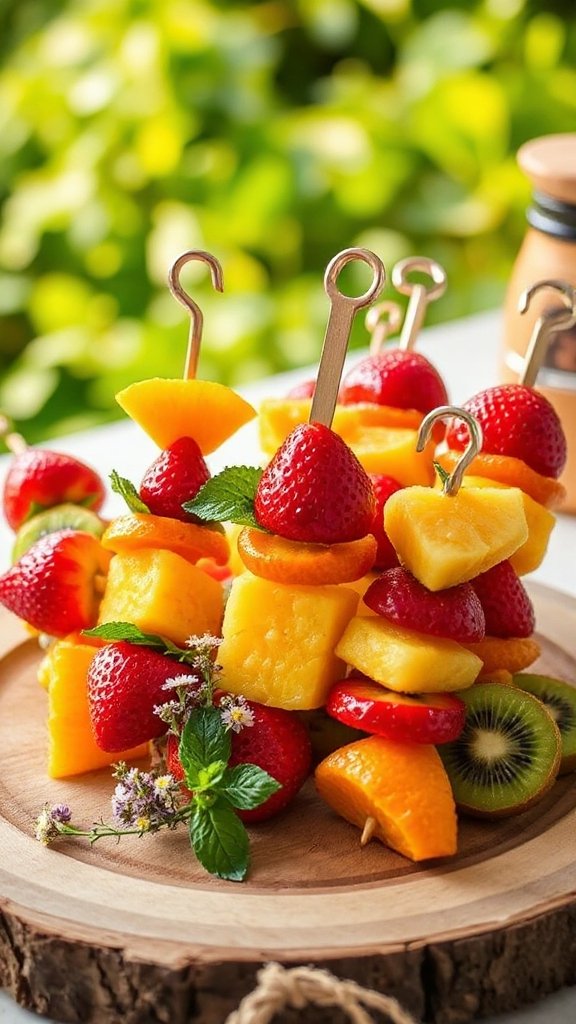
Fruit skewers are a vibrant and healthy snack option that brings together a variety of colorful fruits on a stick. They are perfect for art projects, picnics, or as an eye-catching addition to any gathering. Not only are they visually appealing, but they also provide a revitalizing taste while allowing for endless combinations of your favorite fruits.
| Ingredients | Quantity |
|---|---|
| Fresh fruit (e.g., strawberries, melon, pineapple, grapes) | 4 cups, diced |
| Wooden skewers | 10-12 pieces |
| Optional: honey or yogurt | To drizzle |
Cooking Steps:
- Wash and prepare the fruits by cutting them into bite-sized pieces.
- Take a wooden skewer and start threading the fruit pieces onto it, alternating between different types of fruit for a colorful effect.
- Continue until the skewer is filled, leaving space at both ends for handling.
- Repeat the process for all skewers.
- Drizzle with honey or serve with yogurt for dipping if desired. Enjoy your revitalizing fruit skewers!
Yogurt Dipped Pretzels
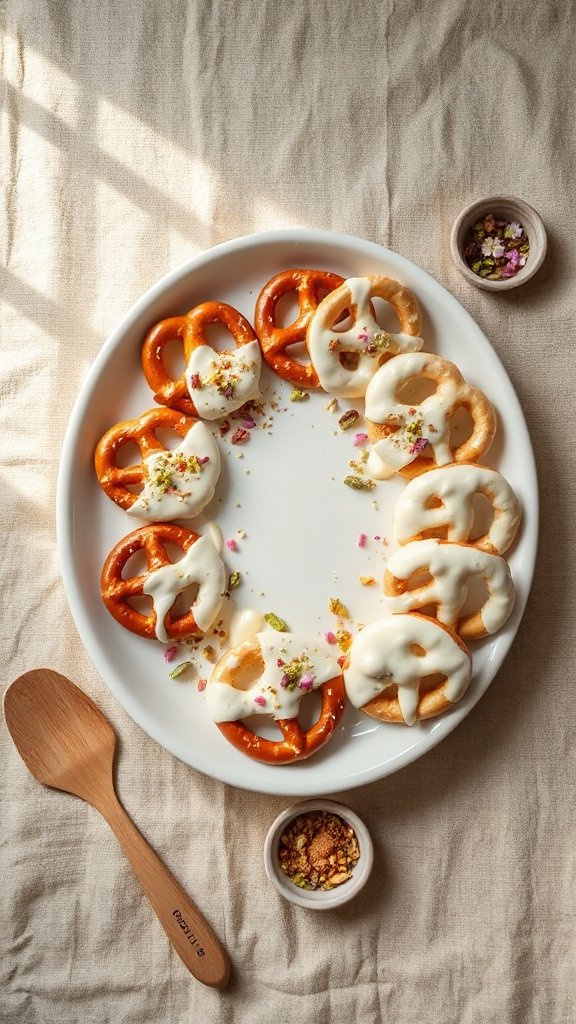
Yogurt dipped pretzels are a delightful and easy snack that combines the crunchy texture of pretzels with the creamy richness of yogurt. Perfect for art projects or as a treat any time, these pretzels can be customized with various yogurt flavors and toppings to suit your taste. Not only are they delicious and fun to make, but they also offer a satisfying combination of sweet and salty.
| Ingredients | Quantity |
|---|---|
| Pretzel rods | 10-12 pieces |
| Yogurt (plain, vanilla, or flavored) | 1 cup |
| Optional toppings (sprinkles, crushed nuts, or coconut) | As needed |
Cooking Steps:
- Line a baking sheet with parchment paper.
- Dip each pretzel rod into the yogurt, ensuring it is evenly coated.
- Place the yogurt-covered pretzels on the lined baking sheet.
- Sprinkle with optional toppings if desired.
- Refrigerate for about 30 minutes or until the yogurt is set. Enjoy your tasty yogurt dipped pretzels!
Rice Cakes
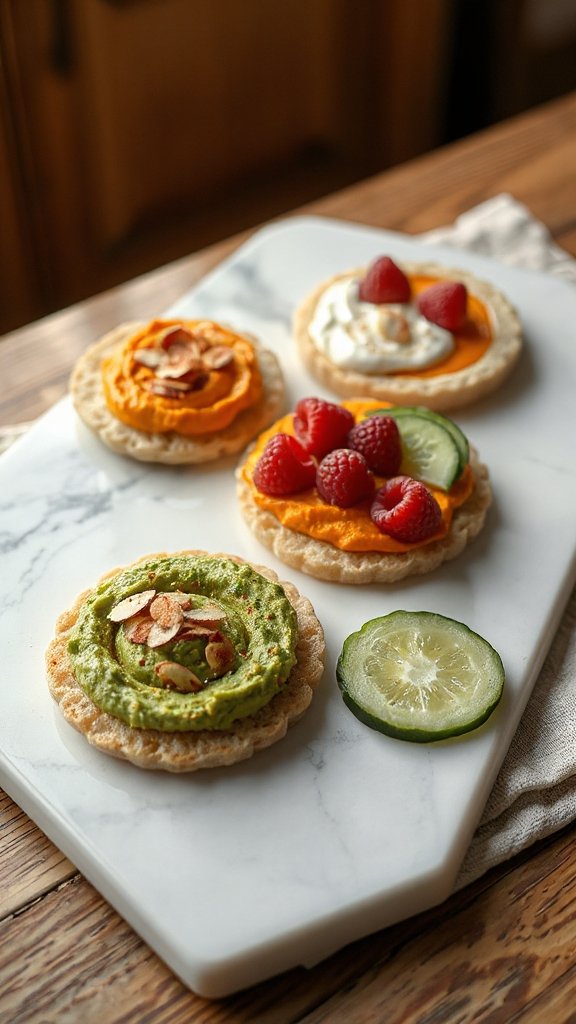
Rice cakes are a versatile and lightweight snack that can be enjoyed sweet or savory. They serve as a perfect canvas for various toppings, making them an excellent choice for art project snacks or a quick, healthy treat. Whether you prefer them topped with nut butter and fruit or cheese and veggies, rice cakes are sure to satisfy your cravings.
| Ingredients | Quantity |
|---|---|
| Plain rice cakes | 4-6 pieces |
| Nut butter (peanut or almond) | 1/2 cup |
| Fresh fruit (banana, strawberries, etc.) | 1 cup, sliced |
| Avocado | 1, sliced |
| Hummus | 1/2 cup |
| Optional toppings (seeds, spices, or herbs) | As needed |
Cooking Steps:
- Choose your rice cakes and place them on a serving platter.
- For a sweet option, spread nut butter on each rice cake and top with fresh fruit slices.
- For a savory option, spread hummus or avocado on each rice cake and add any desired toppings such as seeds, spices, or herbs.
- Enjoy your customized rice cakes as a delicious snack!
Corn Chips
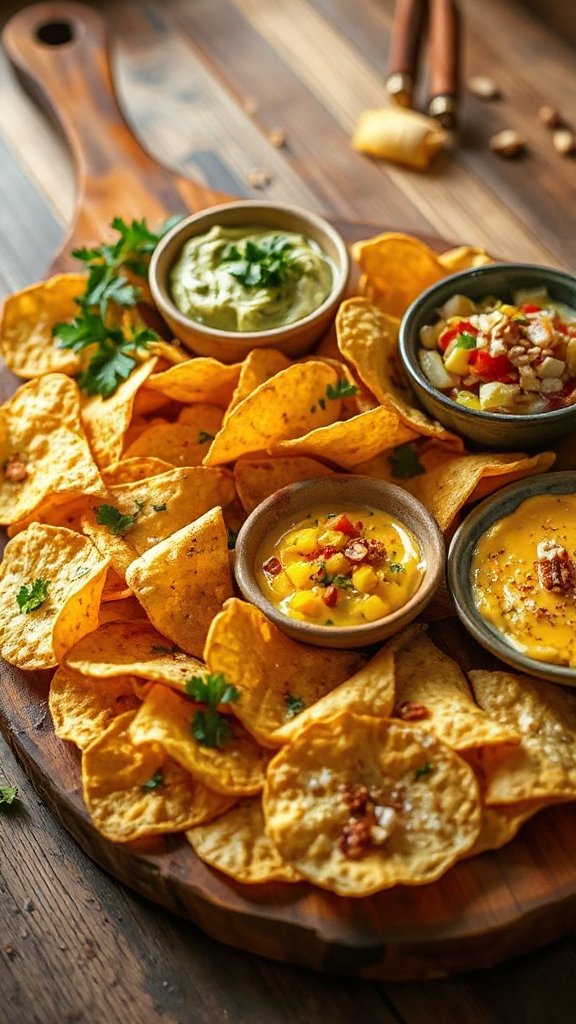
Corn chips are a crunchy and flavorful snack that pairs wonderfully with various dips or can be enjoyed on their own. They are perfect for art project snacks, as you can use them to create fun, edible artwork while satisfying your snack cravings. Whether you’re hosting a gathering or just enjoying a quiet evening, corn chips offer a delightful crunch that everyone will love.
| Ingredients | Quantity |
|---|---|
| Corn chips | 1 bag (12 oz) |
| Salsa | 1 cup |
| Guacamole | 1 cup |
| Cheese (shredded or sliced) | 1 cup |
| Jalapeños (sliced) | 1/4 cup |
| Fresh cilantro | 1/4 cup, chopped |
| Optional toppings | As needed |
Cooking Steps:
- Open the bag of corn chips and arrange them in a serving bowl or platter.
- Prepare your dips, such as salsa and guacamole, and place them in small bowls nearby.
- Add cheese and jalapeños on top of the chips if desired to create a loaded snack.
- Garnish with fresh cilantro for an extra burst of flavor.
- Serve and enjoy your delicious corn chip snack!
Veggie Sticks With Hummus
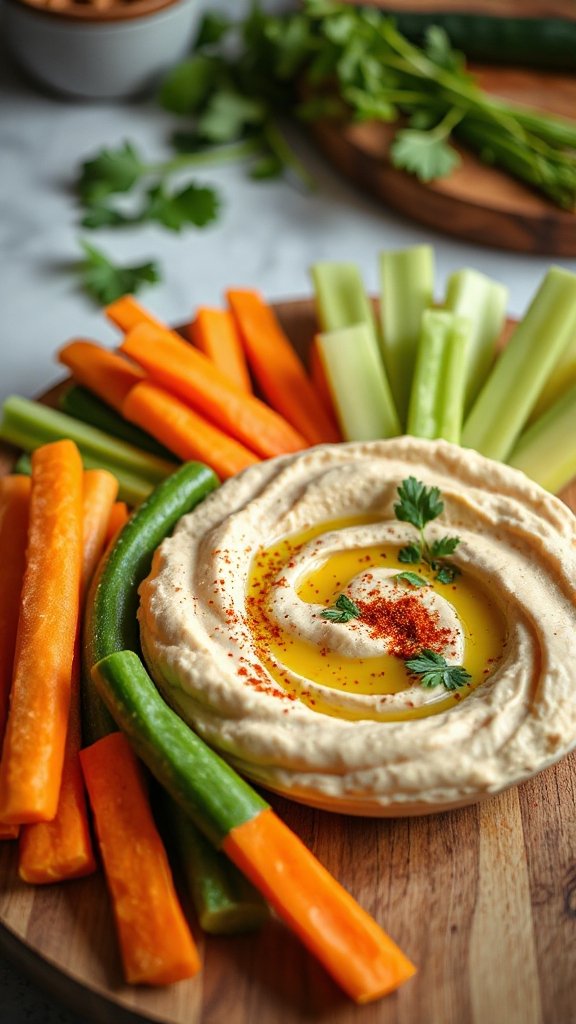
Veggie sticks with hummus are a revitalizing and healthy snack option perfect for fueling your creative endeavors during art projects. This delectable combination of crisp vegetables paired with creamy hummus not only satisfies your taste buds but also adds a vibrant touch to your snack time. It’s easy to prepare and can be customized with your favorite veggies and hummus flavors, making it a versatile choice for any gathering.
| Ingredients | Quantity |
|---|---|
| Carrots | 2 large, cut into sticks |
| Celery | 2 stalks, cut into sticks |
| Cucumber | 1 medium, cut into sticks |
| Bell peppers (any color) | 1, sliced into sticks |
| Cherry tomatoes | 1 cup |
| Hummus | 1 cup |
| Optional garnishes | As desired |
Cooking Steps:
- Wash and prepare the vegetables by cutting them into stick-shaped pieces.
- Arrange the veggie sticks and cherry tomatoes on a serving platter.
- Place the hummus in a bowl and set it in the center of the platter for dipping.
- Serve and enjoy your vibrant veggie sticks with hummus!
Goldfish Crackers
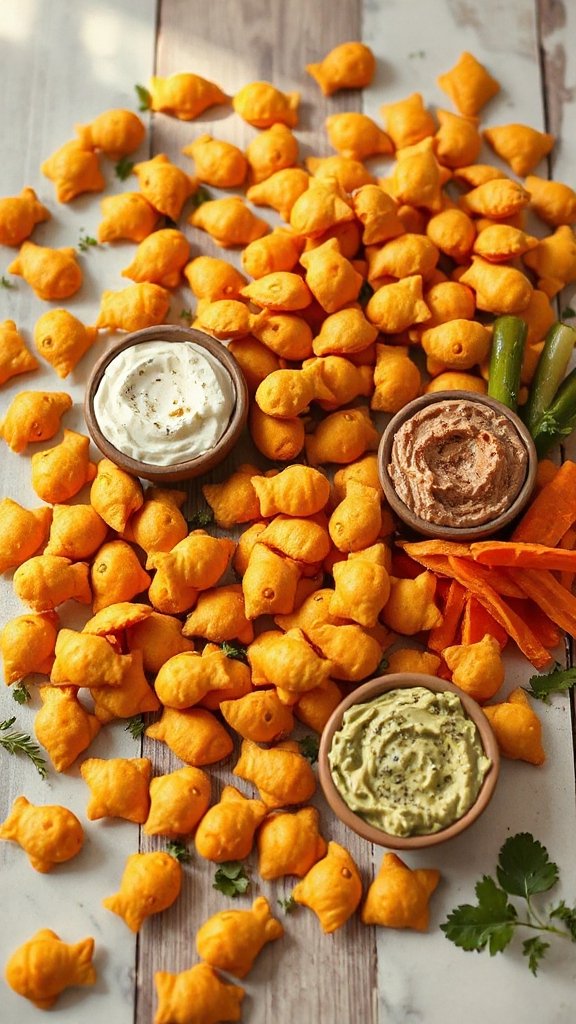
Goldfish crackers are a fun and nostalgic snack that are perfect for art projects and gatherings alike. Their delightful shape and crunchy texture make them an irresistible treat for both children and adults, and they can be enjoyed straight from the bag or as part of a more elaborate snack mix. Easy to prepare and customizable, Goldfish crackers bring joy and a sense of playfulness to any snack time.
| Ingredients | Quantity |
|---|---|
| Goldfish crackers | 2 cups |
| Cheddar cheese (shredded) | 1 cup |
| Pretzel sticks | 1 cup |
| Mini marshmallows | 1 cup |
| M&Ms or chocolate chips | ½ cup |
| Optional seasonings (like ranch or garlic powder) | As desired |
Cooking Steps:
- In a large mixing bowl, combine the Goldfish crackers, pretzel sticks, and mini marshmallows.
- Add shredded cheddar cheese and M&Ms (or chocolate chips) into the bowl.
- If desired, sprinkle optional seasonings over the mixture and toss to combine.
- Serve immediately or store in an airtight container for later enjoyment!
Granola Bars
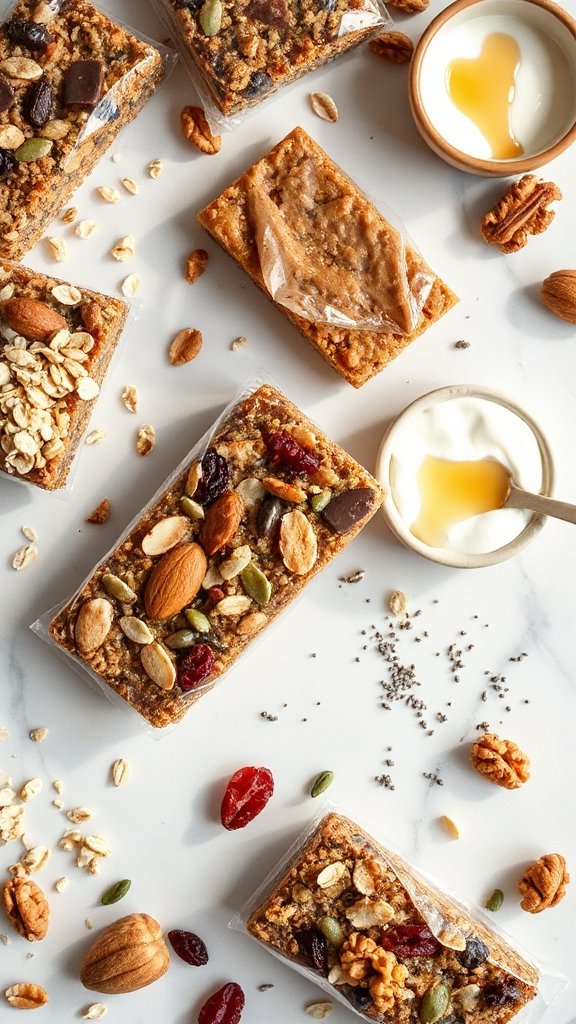
Granola bars are a delicious and nutritious snack that can be tailored to fit any taste preference. Perfect for art projects or as an energizing treat during creative sessions, they are simple to make and can incorporate various ingredients that reflect personal style. Whether enjoyed solo or shared with a group, homemade granola bars provide a wholesome option that holds up well and satisfies hunger.
| Ingredients | Quantity |
|---|---|
| Rolled oats | 2 cups |
| Honey or maple syrup | ½ cup |
| Peanut butter (or nut butter of choice) | ½ cup |
| Mixed nuts (chopped) | 1 cup |
| Dried fruits (e.g. raisins, cranberries) | 1 cup |
| Chocolate chips (optional) | ½ cup |
| Vanilla extract | 1 tsp |
| Salt | ½ tsp |
Cooking Steps:
- Preheat the oven to 350°F (175°C) and line an 8×8-inch baking dish with parchment paper.
- In a large mixing bowl, combine rolled oats, chopped nuts, dried fruits, and a pinch of salt.
- In a small saucepan, warm honey (or maple syrup) and peanut butter over low heat until melted and combined. Stir in vanilla extract.
- Pour the wet mixture into the dry ingredients and mix until everything is well coated.
- Press the mixture firmly into the prepared baking dish and bake for 20-25 minutes, or until golden brown.
- Allow to cool completely before cutting into bars and enjoy!
Freeze-Dried Fruit
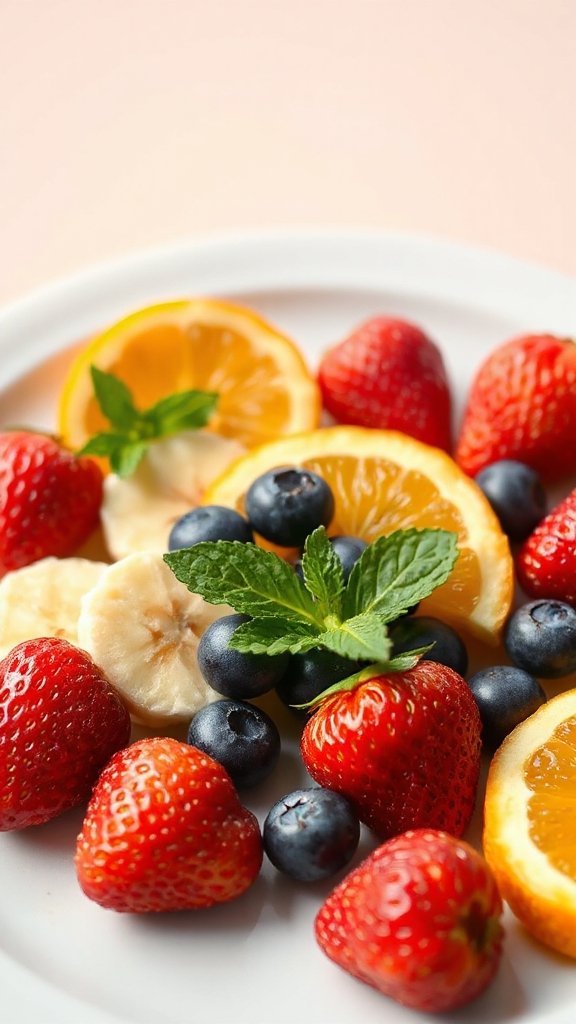
Freeze-dried fruit is a fantastic snack option that adds a burst of flavor and nutrition to any art project or creative session. These tasty treats retain most of their vitamins and minerals, making them a healthy choice for energizing your artistic endeavors. Easy to incorporate into various snacks, freeze-dried fruits can be enjoyed on their own or added to recipes like trail mixes, granola bars, or yogurt.
| Ingredients | Quantity |
|---|---|
| Freeze-dried strawberries | 1 cup |
| Freeze-dried blueberries | 1 cup |
| Freeze-dried bananas | 1 cup |
| Honey or agave syrup | 2 tablespoons |
| Yogurt (plain or flavored) | 1 cup |
| Granola (optional) | ½ cup |
Cooking Steps:
- In a mixing bowl, combine the freeze-dried fruit with honey or agave syrup, gently tossing to coat evenly.
- Serve the coated freeze-dried fruit over yogurt for a healthy snack or breakfast.
- Optionally, sprinkle granola on top for added crunch before enjoying.
